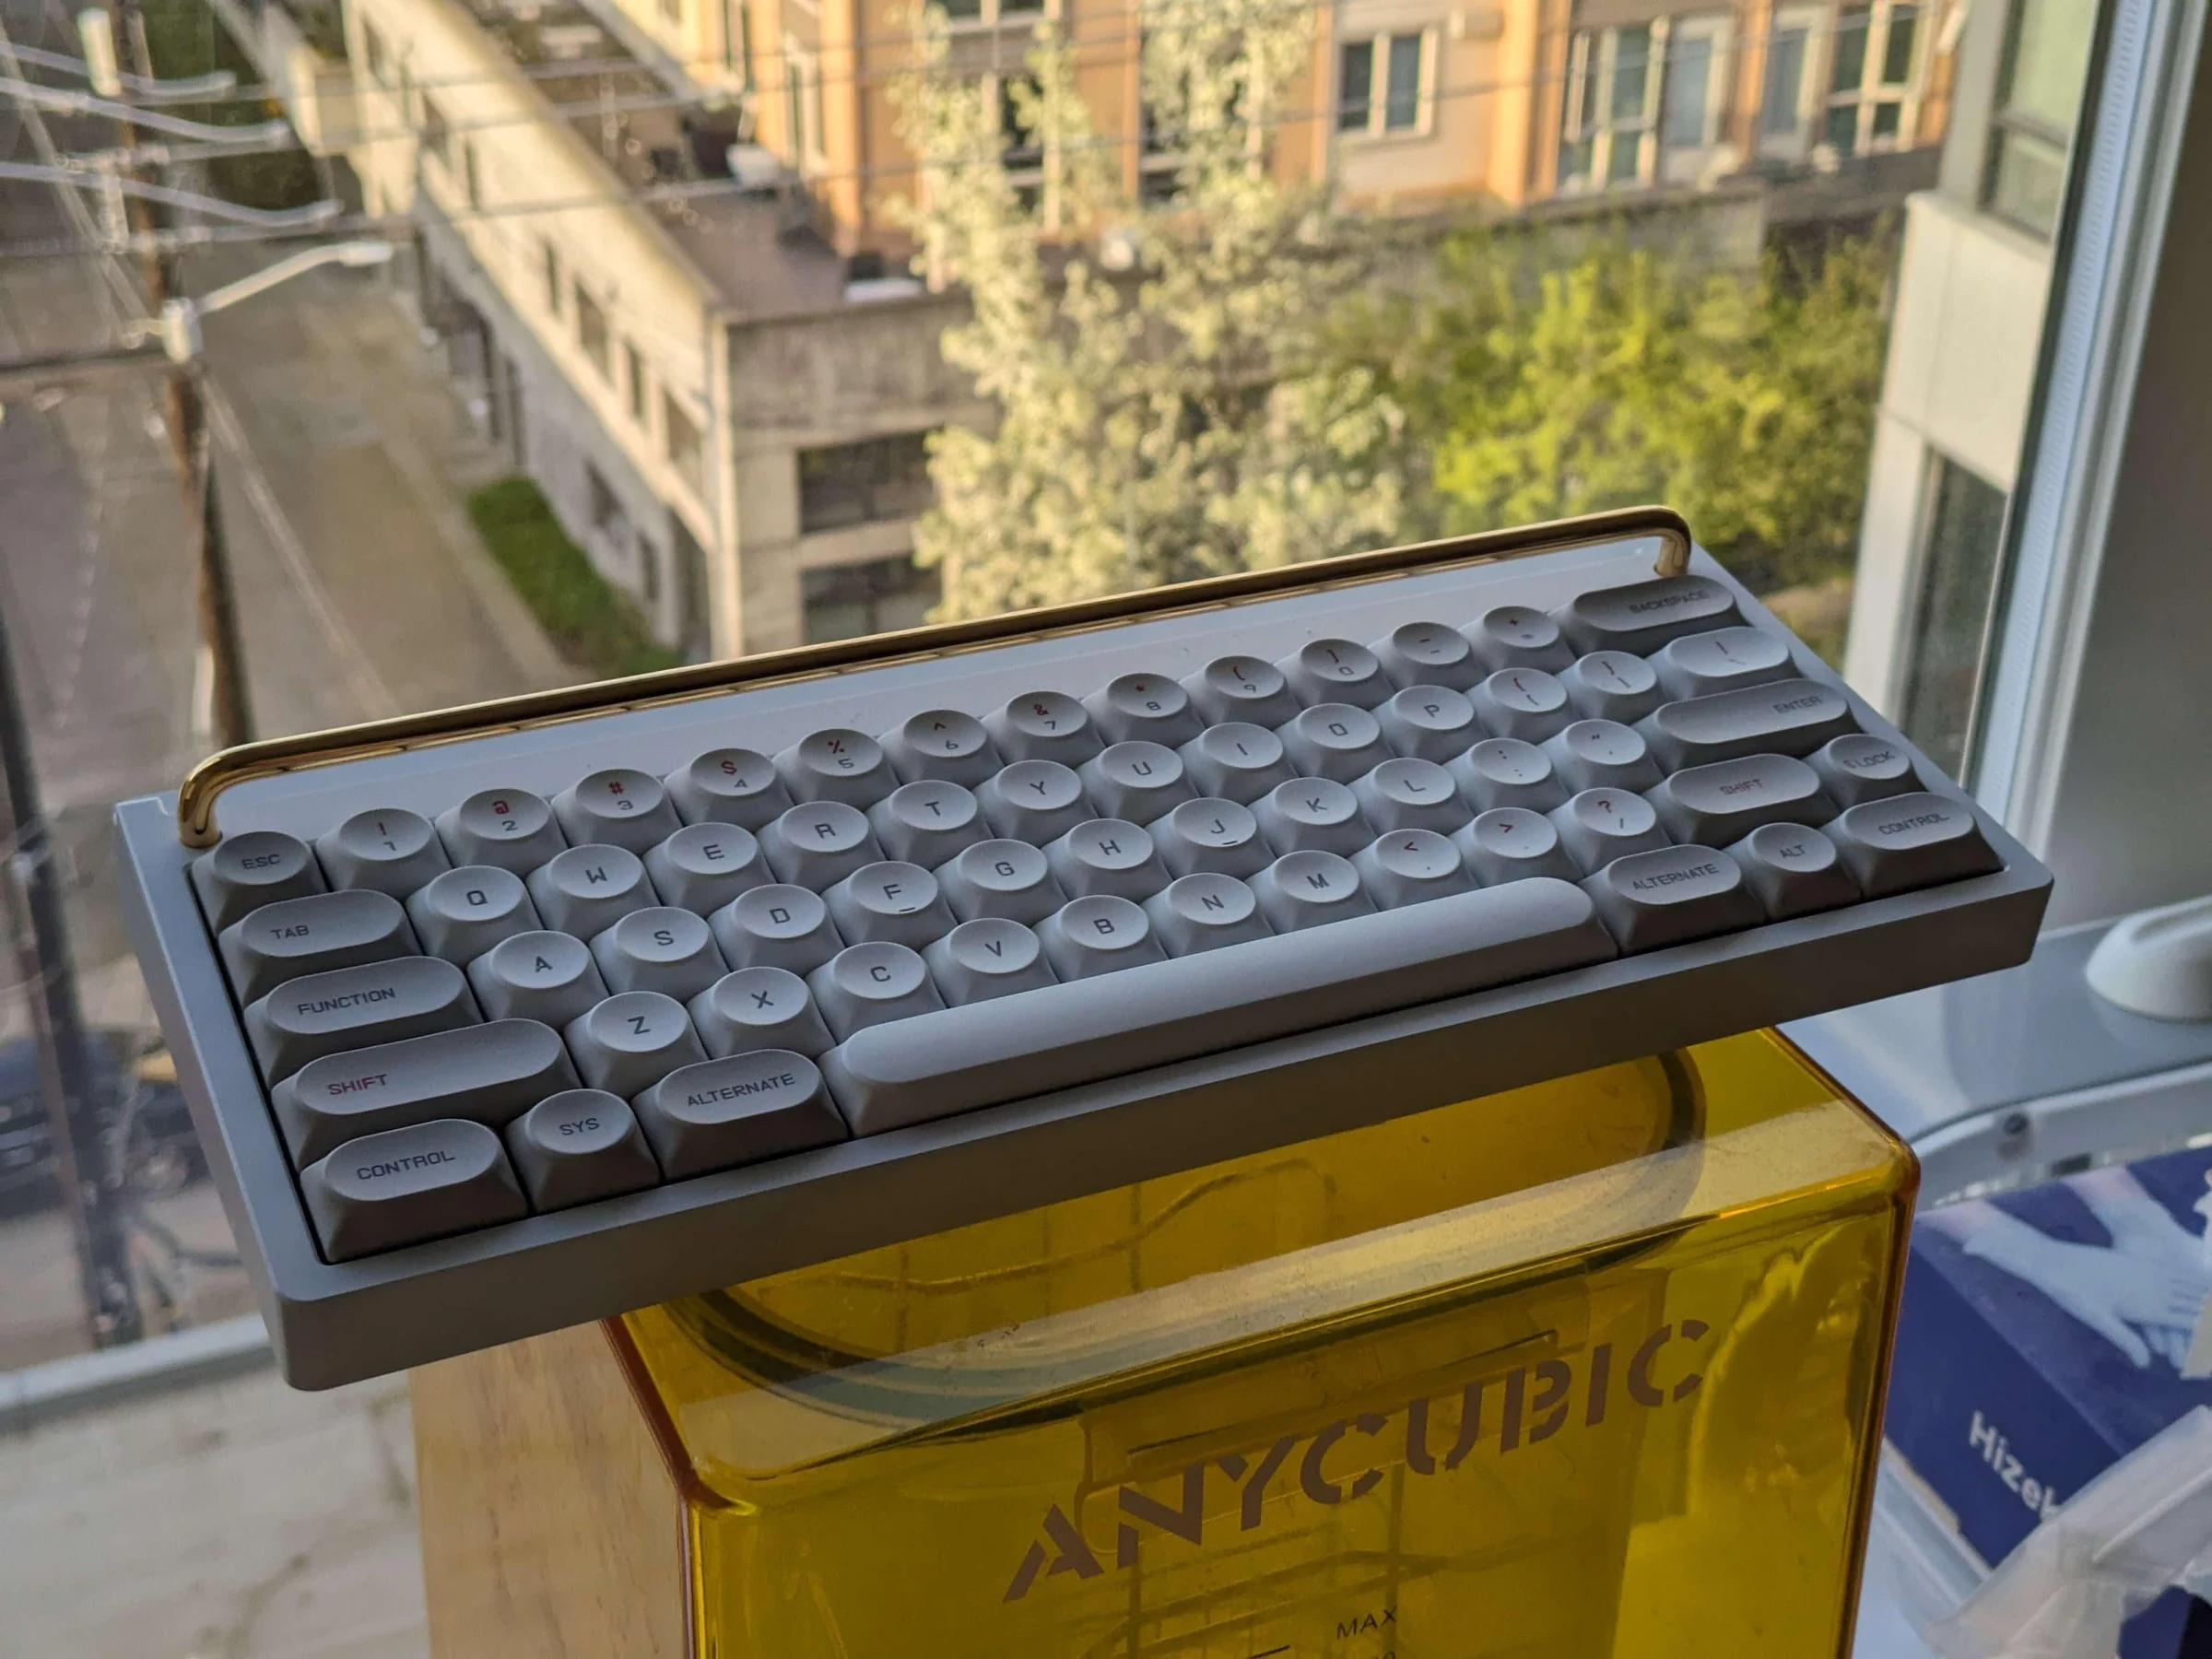
Overview
This is the first custom mechanical keyboard I've designed from start-to-finish.
More details on it are available here:
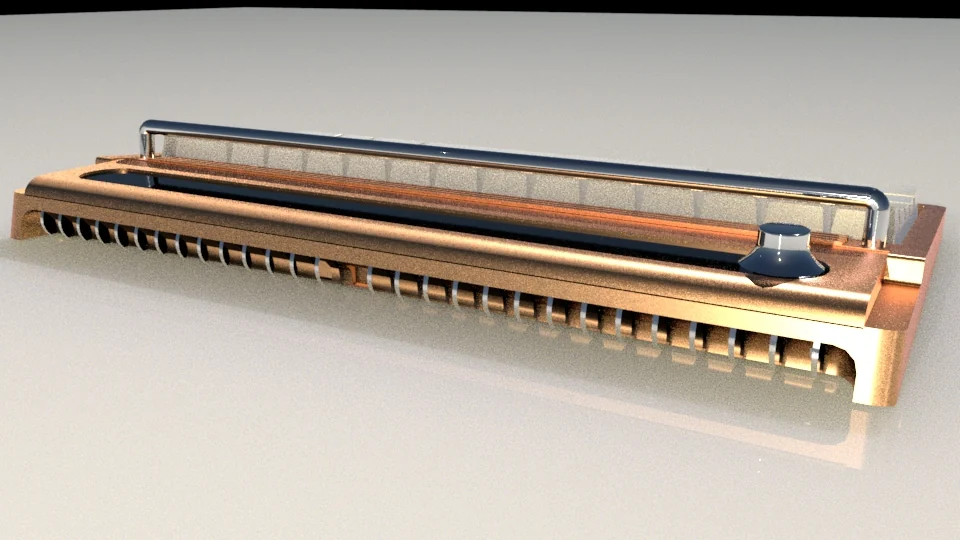
The 2019 concept
These are renders of the initial concept, which I had made in 2019, before I had any skills in CAD or manufacturing. I sketched it out on a piece of paper first, then rendered them roughly using Autodesk Maya, since that was what I was familiar with coming from a game-dev background.
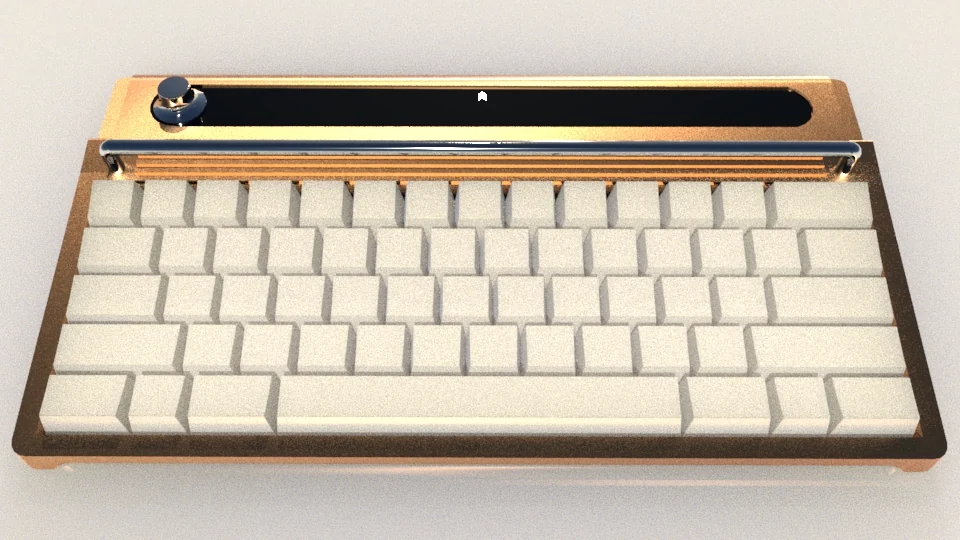
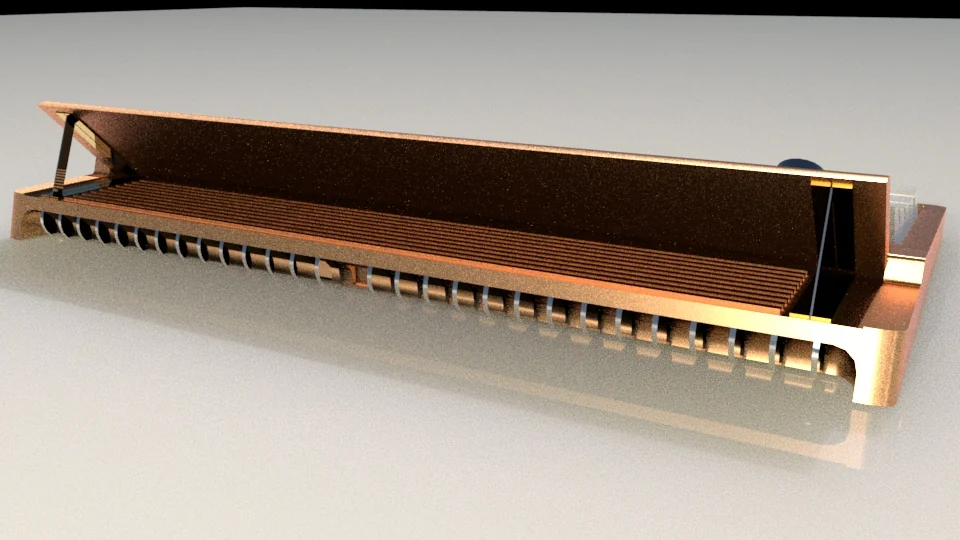
The rail in particular takes inspiration from 80's rack-mount synthesizers.
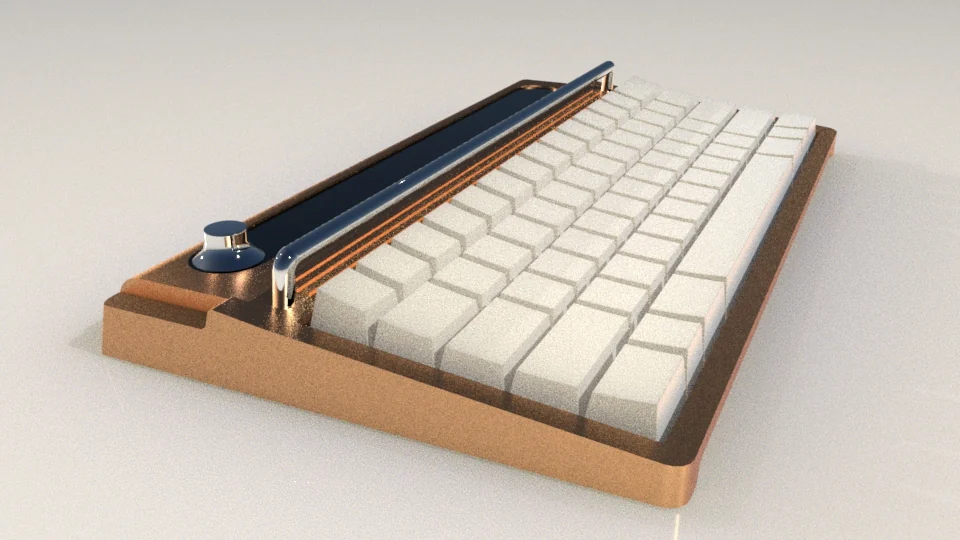
The fins on the back takes inspiration from rear-diffusers from sports cars.
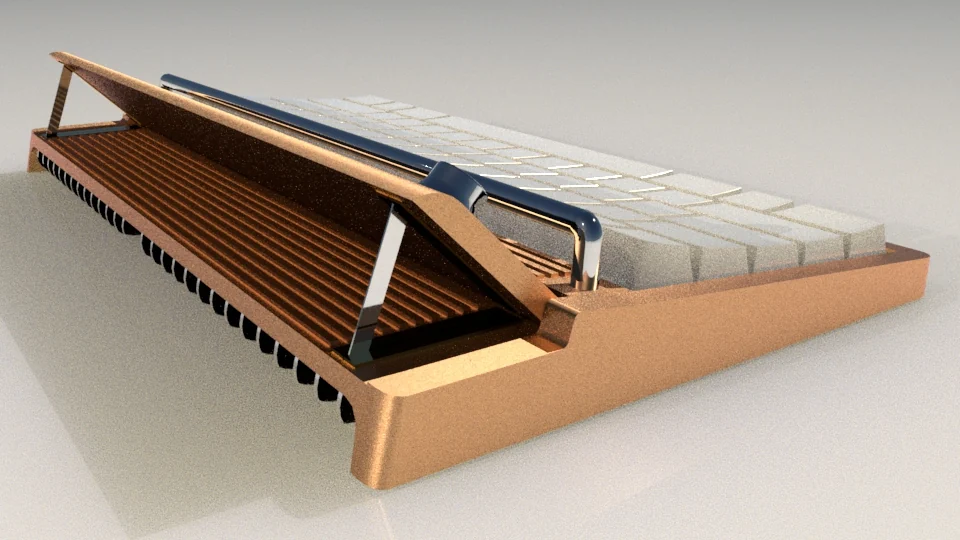
I later simplified the design to remove the screen.
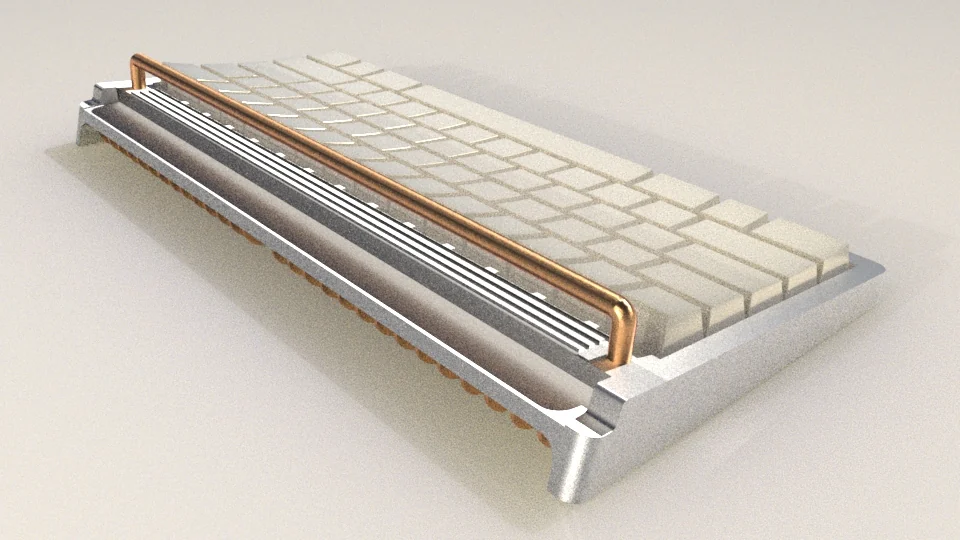
Rebuilding it in Fusion
In 2020, while I was between jobs, I learned how to use Autodesk Fusion, and recreated the design using that. Already, this felt way closer to something achievable.
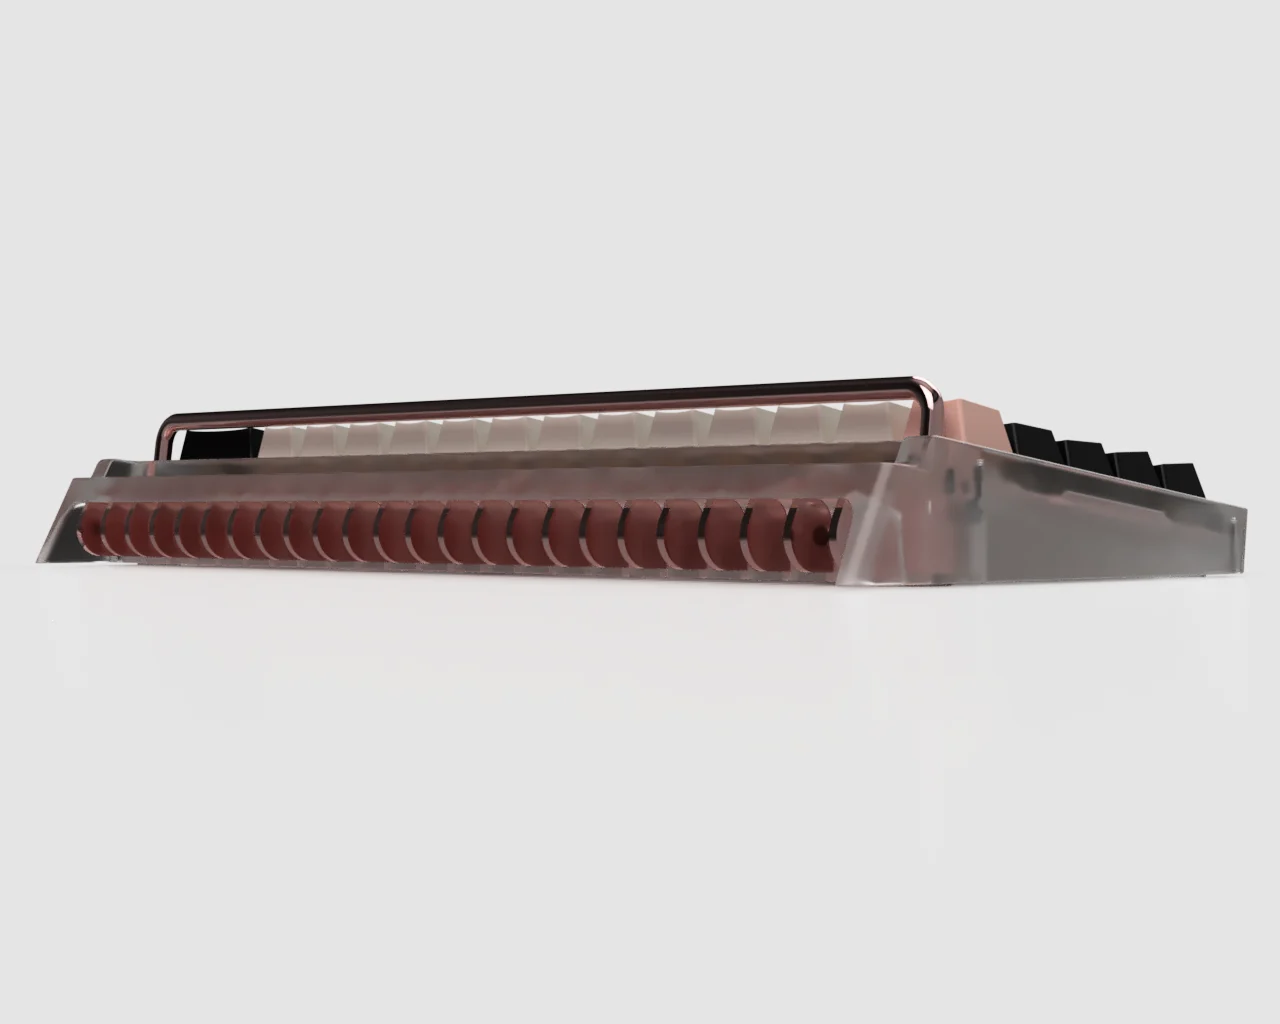
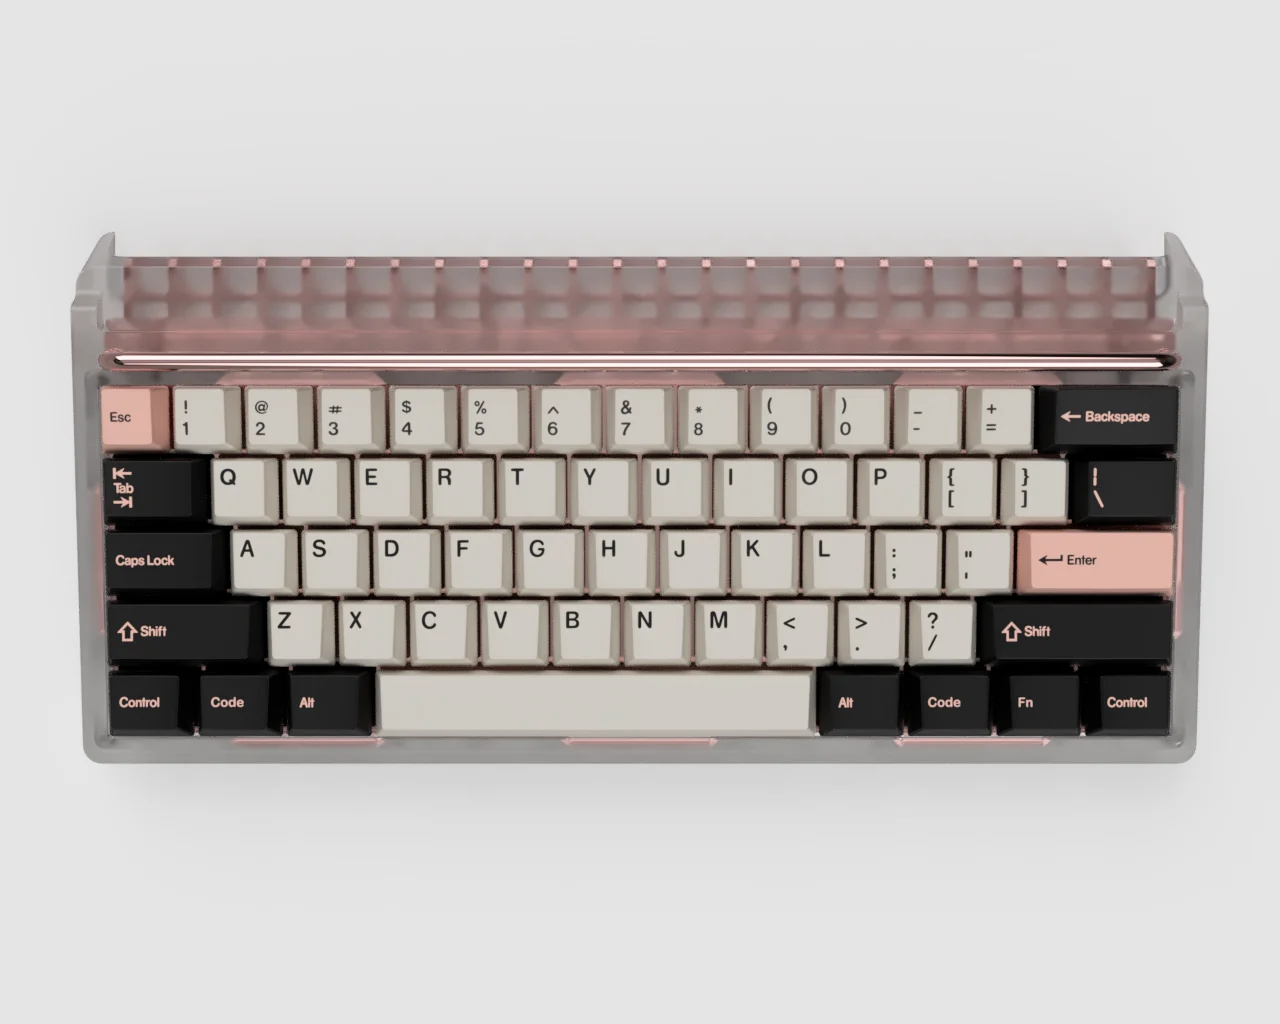
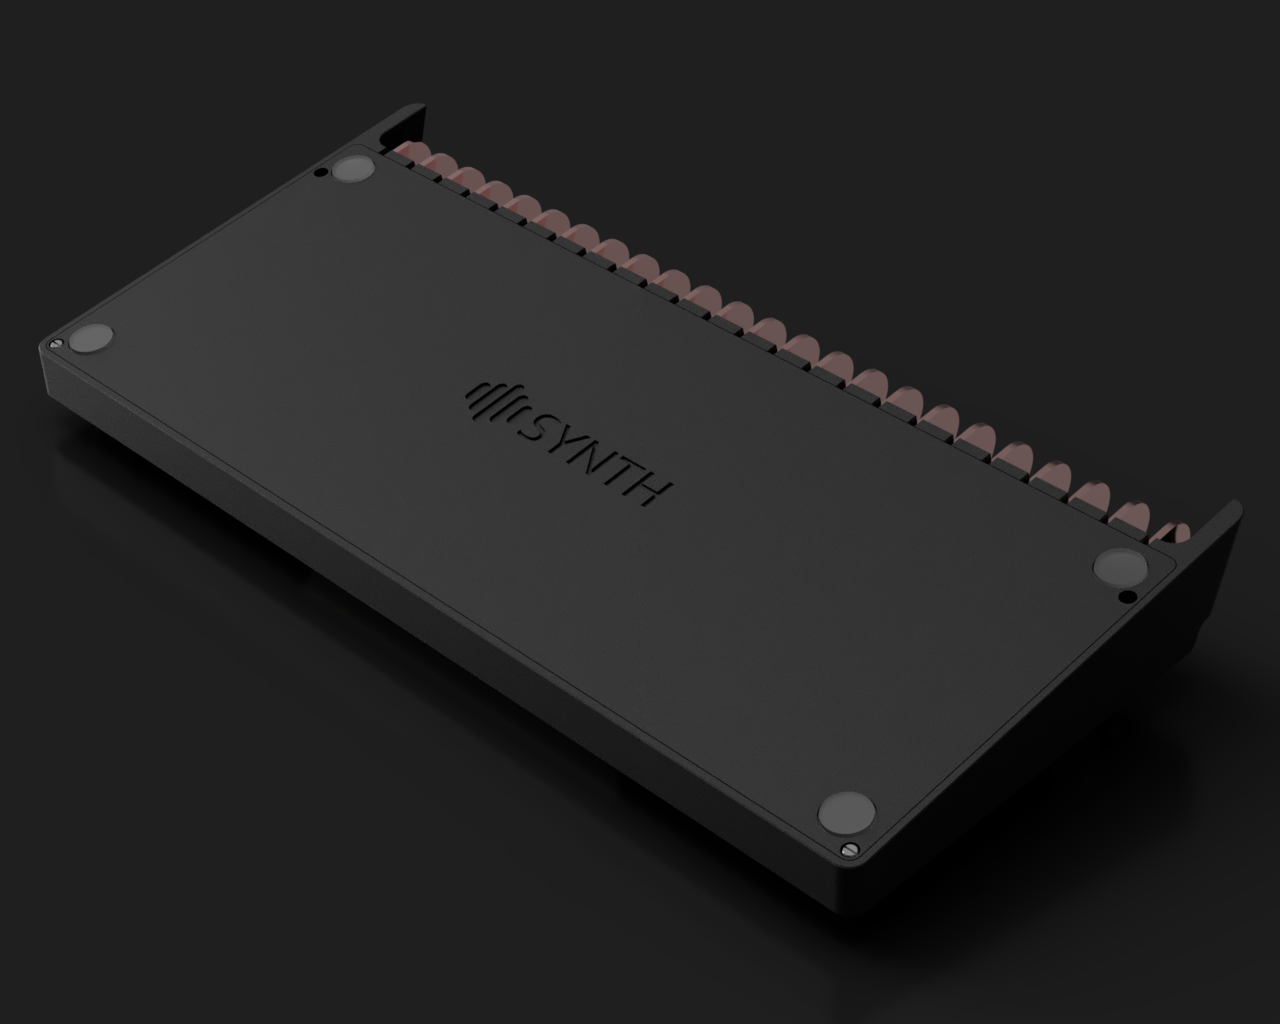
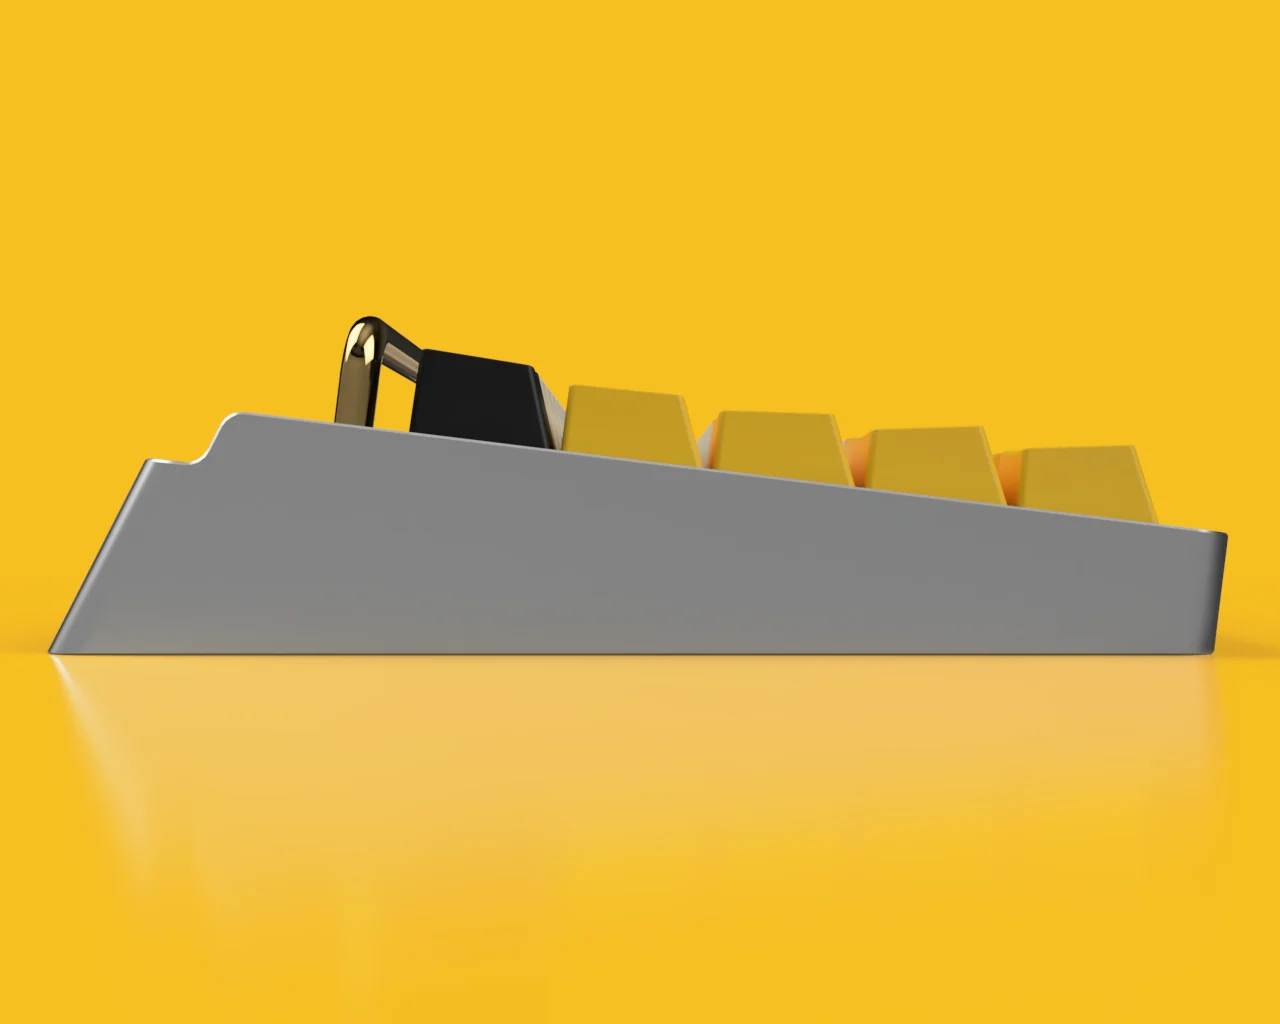
I refined the dimensioning on the side profile quite a lot. I tried to lean in more to the triangular shape, trying to capture a sharp shape, kind of like a fancy shoe.
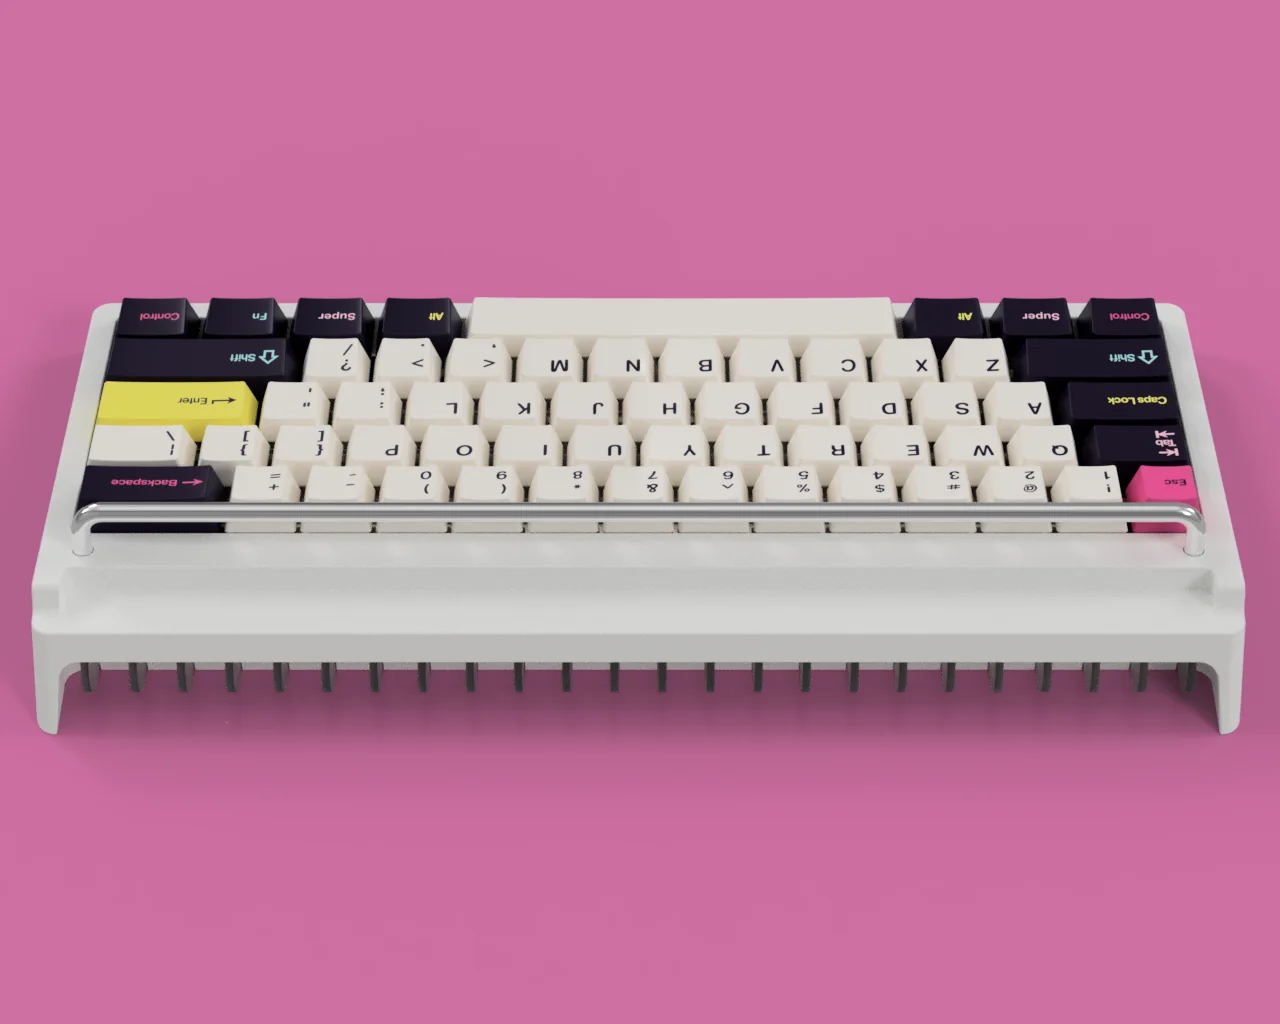
I figured out with the fin design that I'd need to make the USB port vertical to facilitate this.
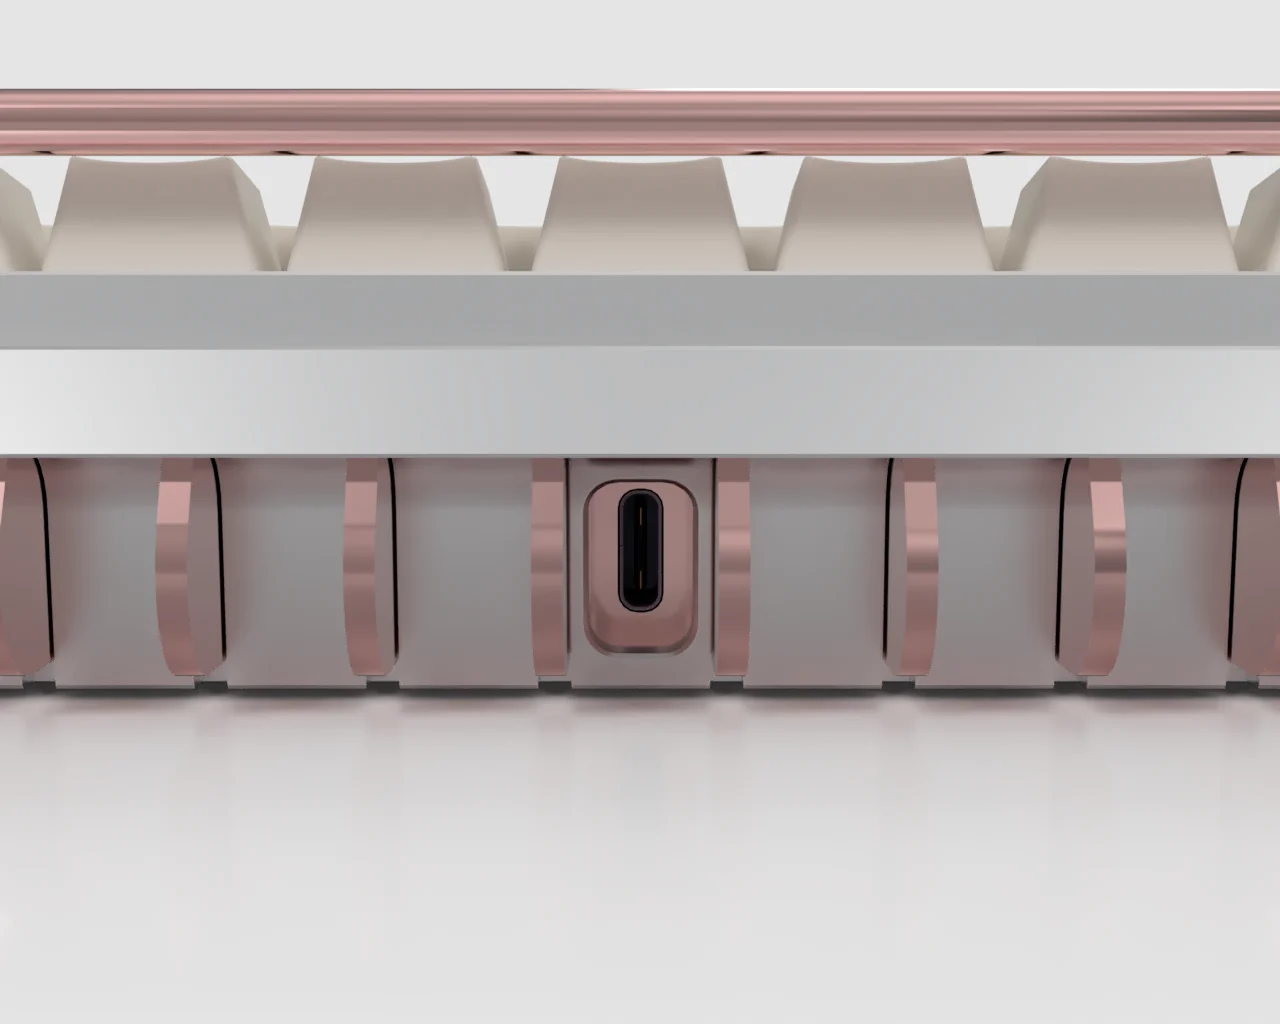
So I came up with the idea to use a daughterboard for the USB connection, using a specific component that allows it to reach through.
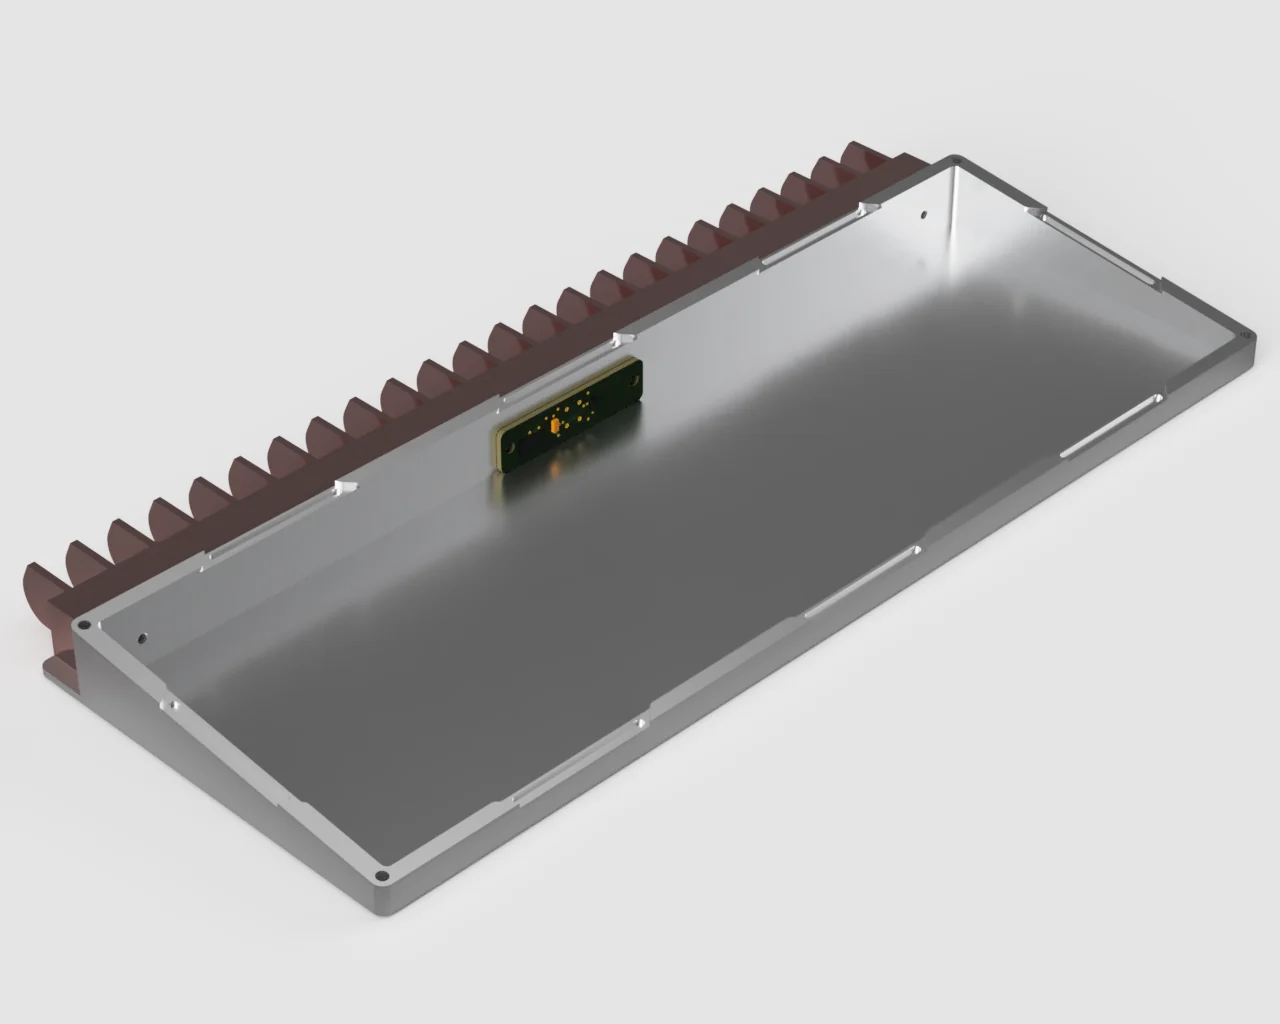
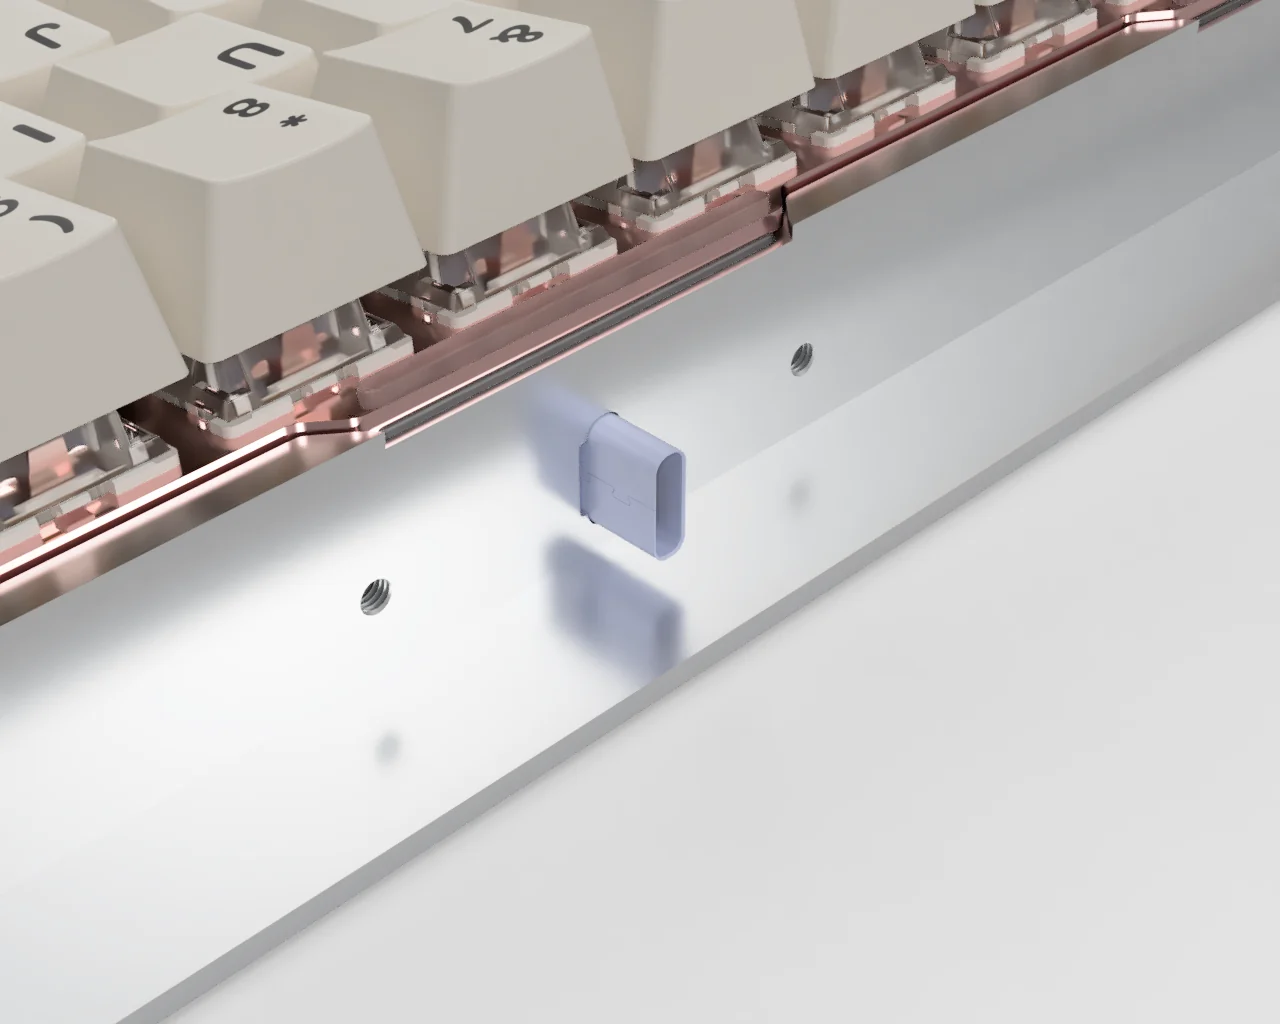
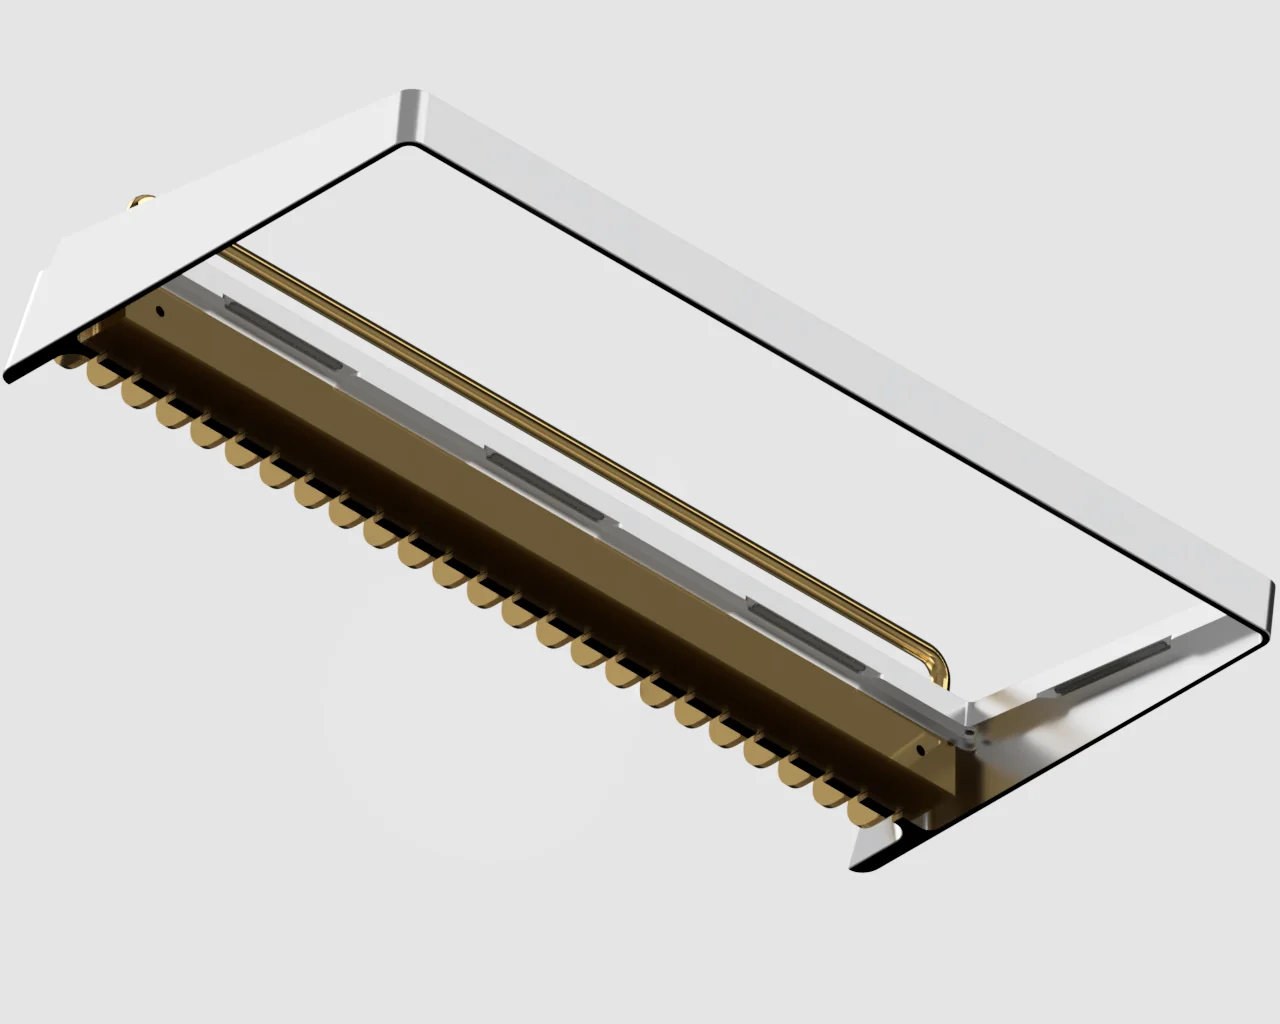
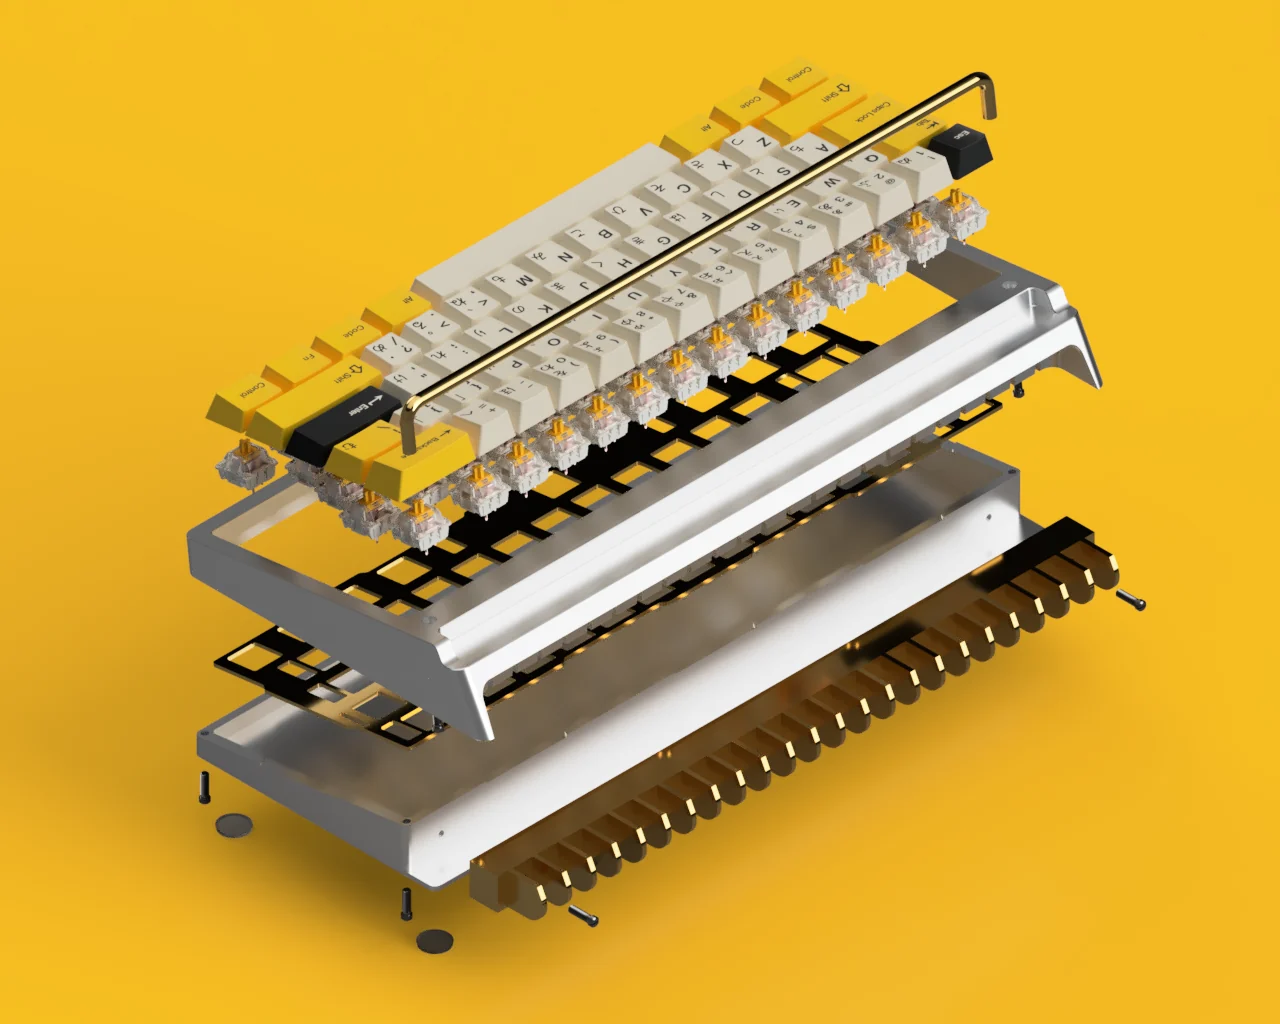
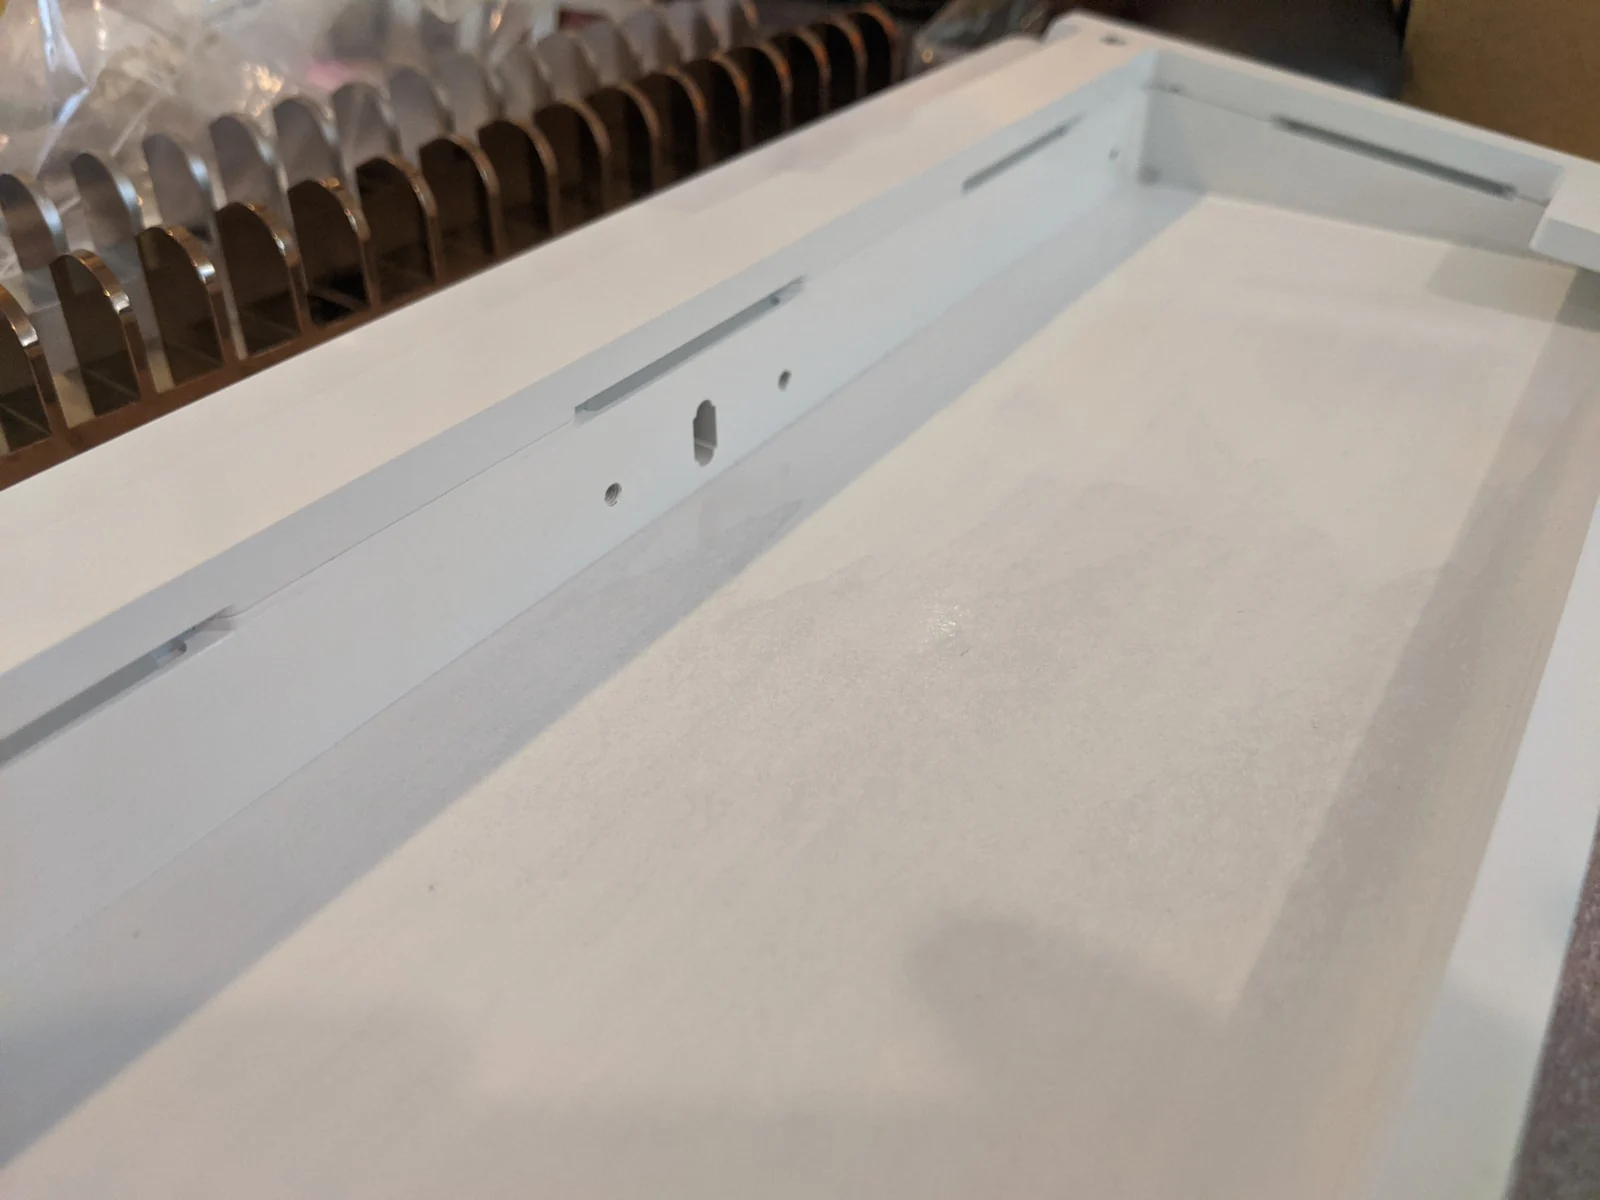
While I had some of the important things figured out, the internal construction is quite barebones. Basically just a huge empty cavity.
First CNC prototype
I sent the design to a CNC supplier to have it manufactured. Here are some of the photos of it before surface finishing.
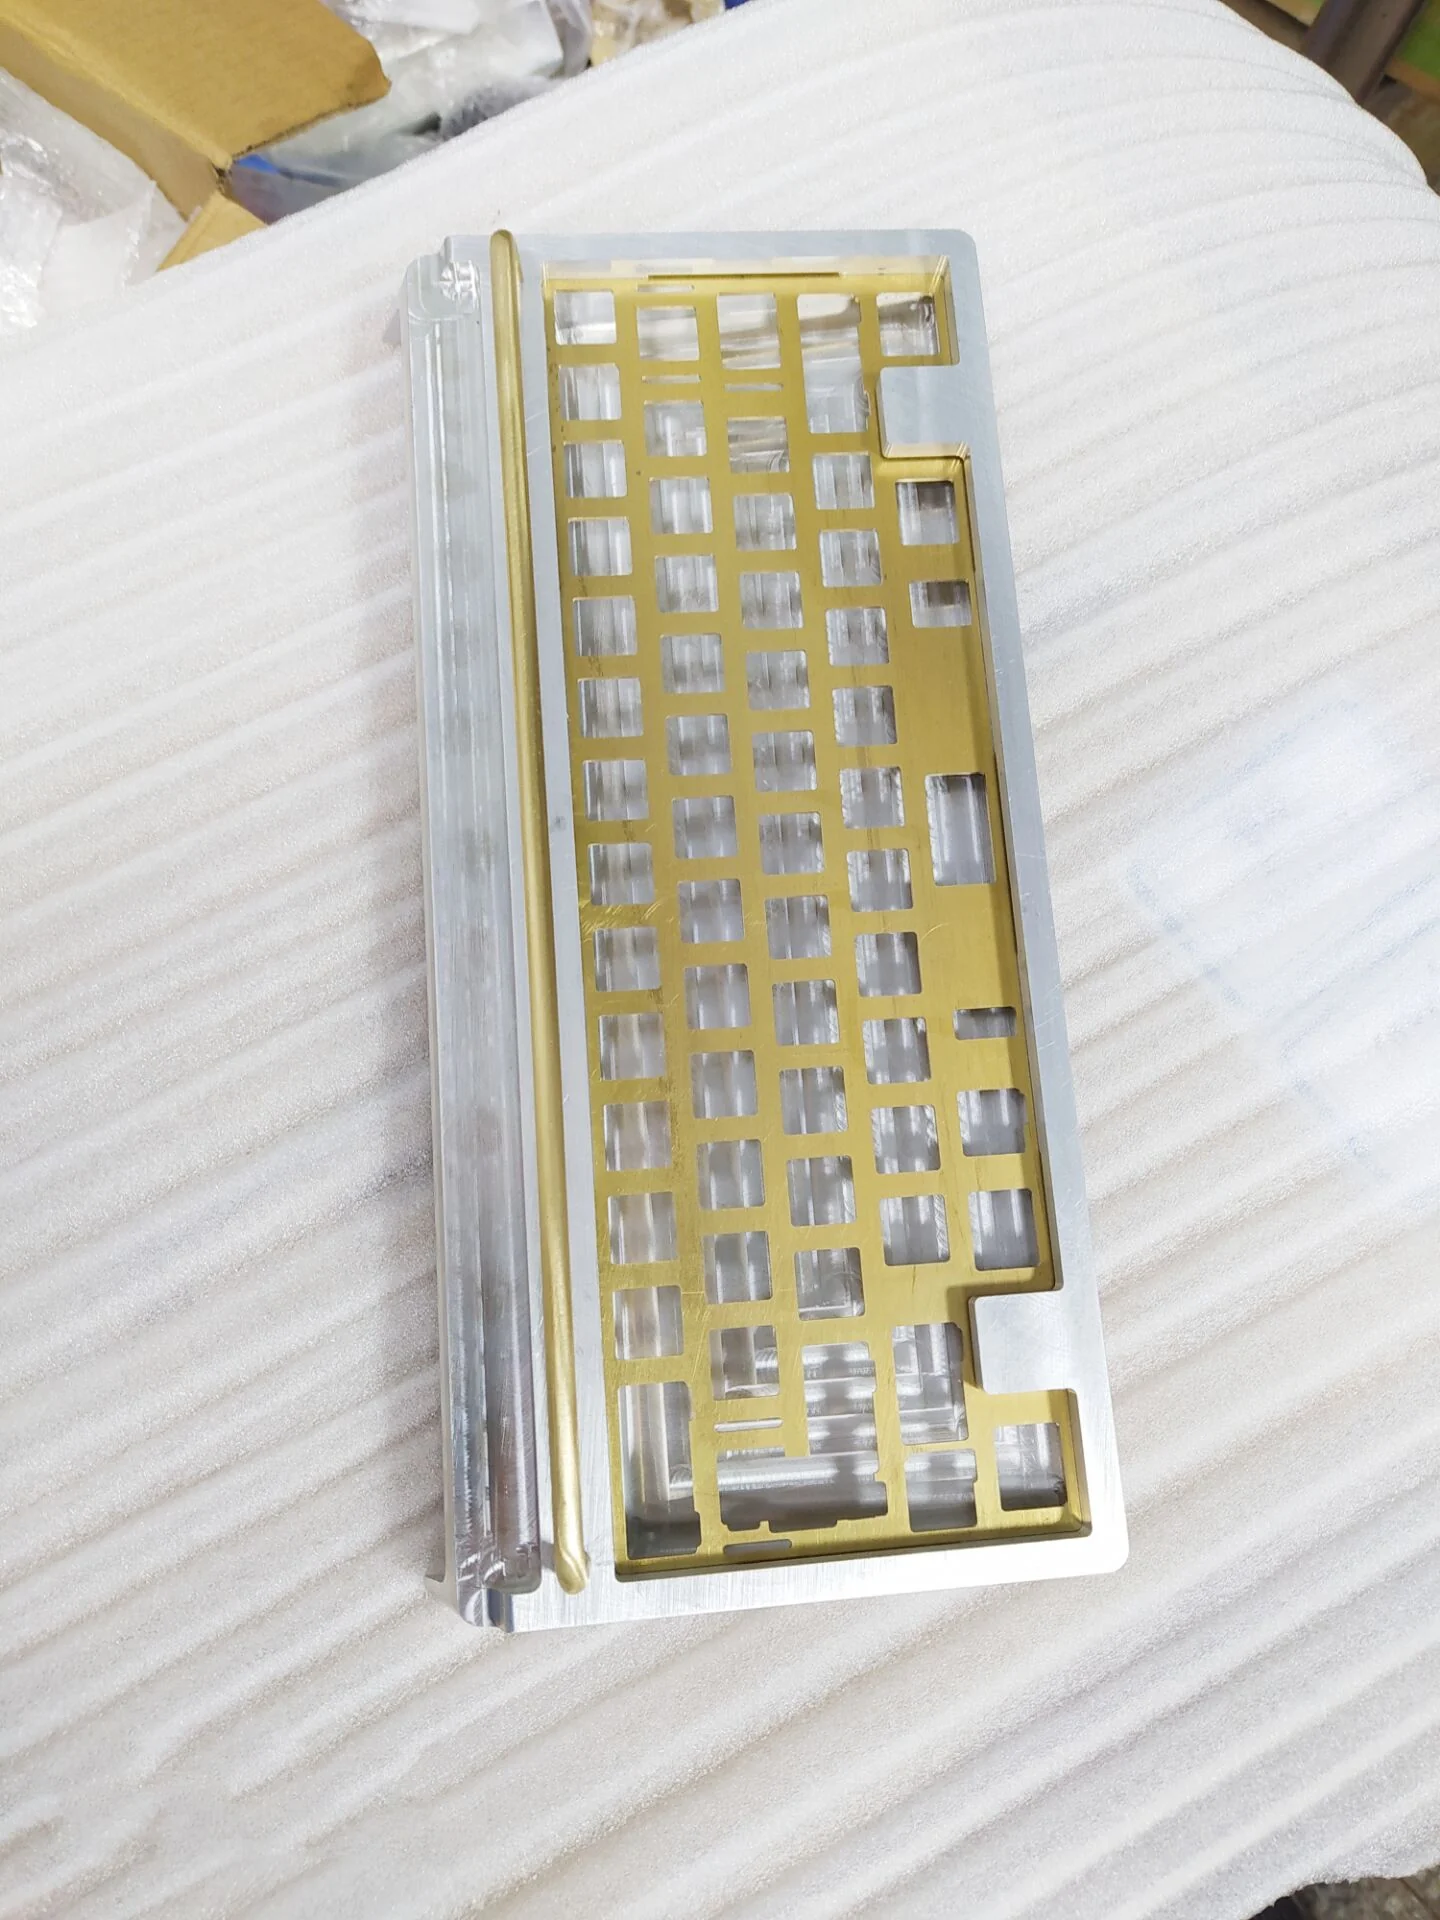
When I received it, it was quite amazing to see my design in person!
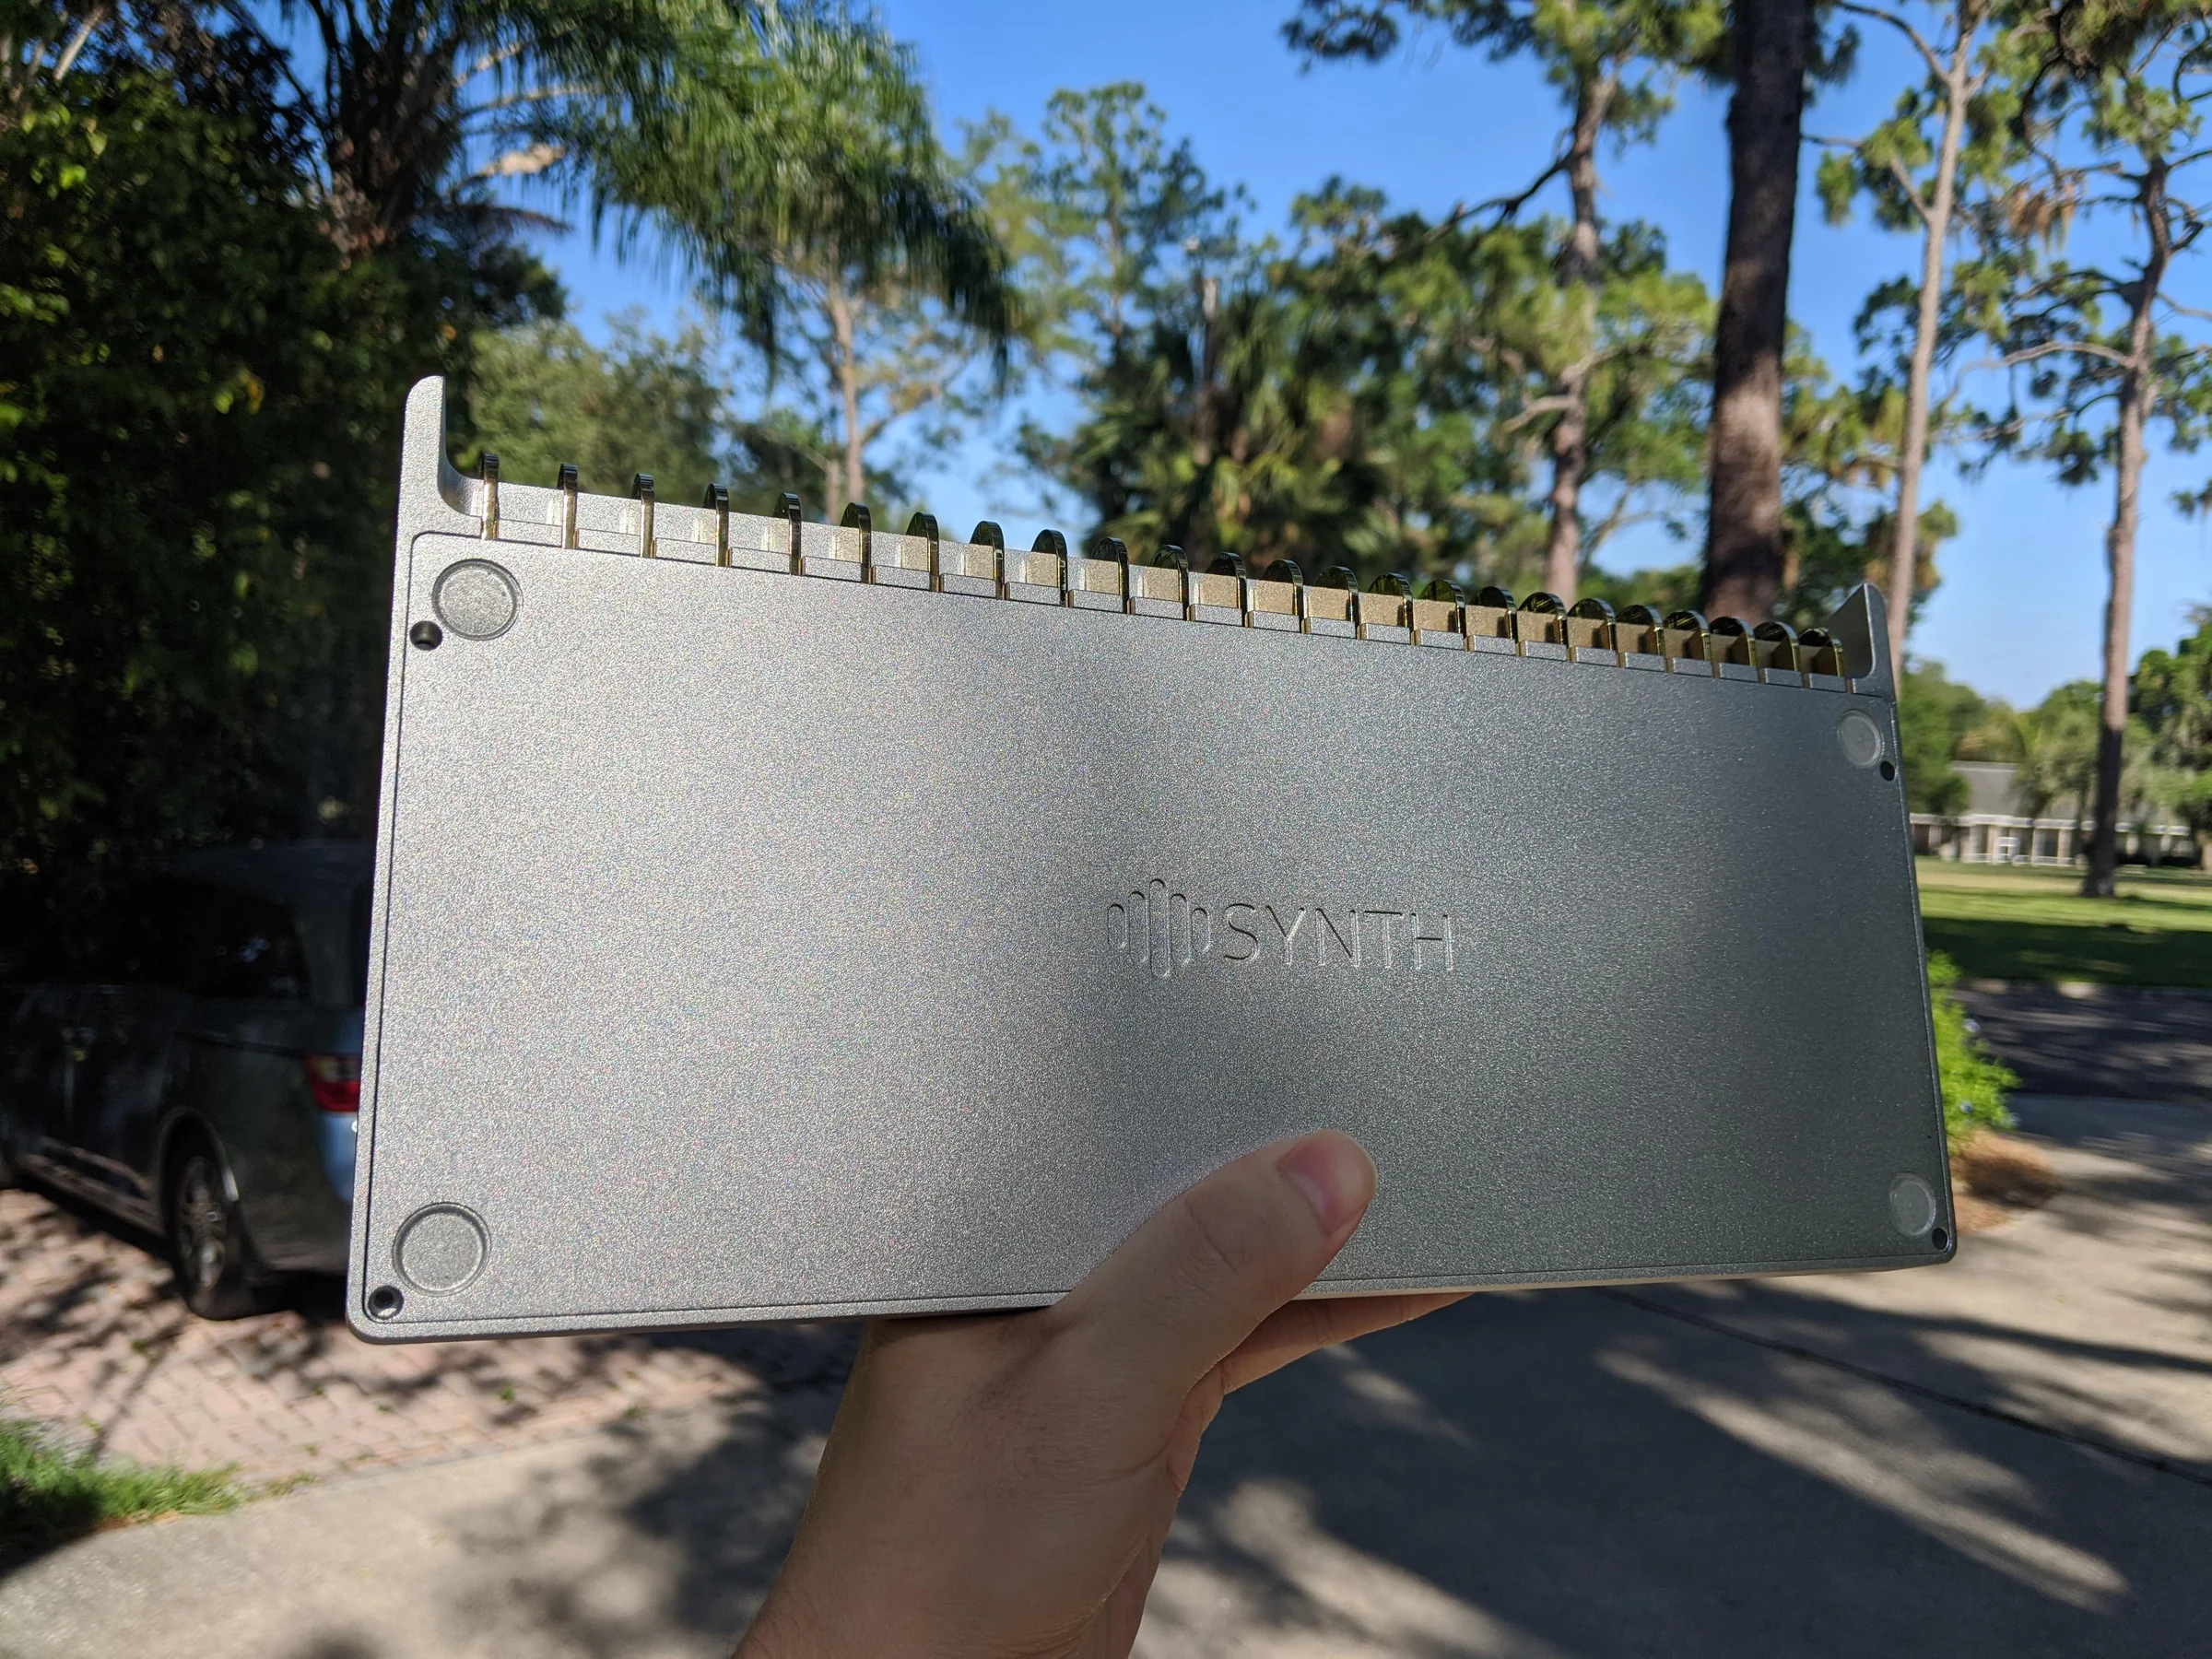
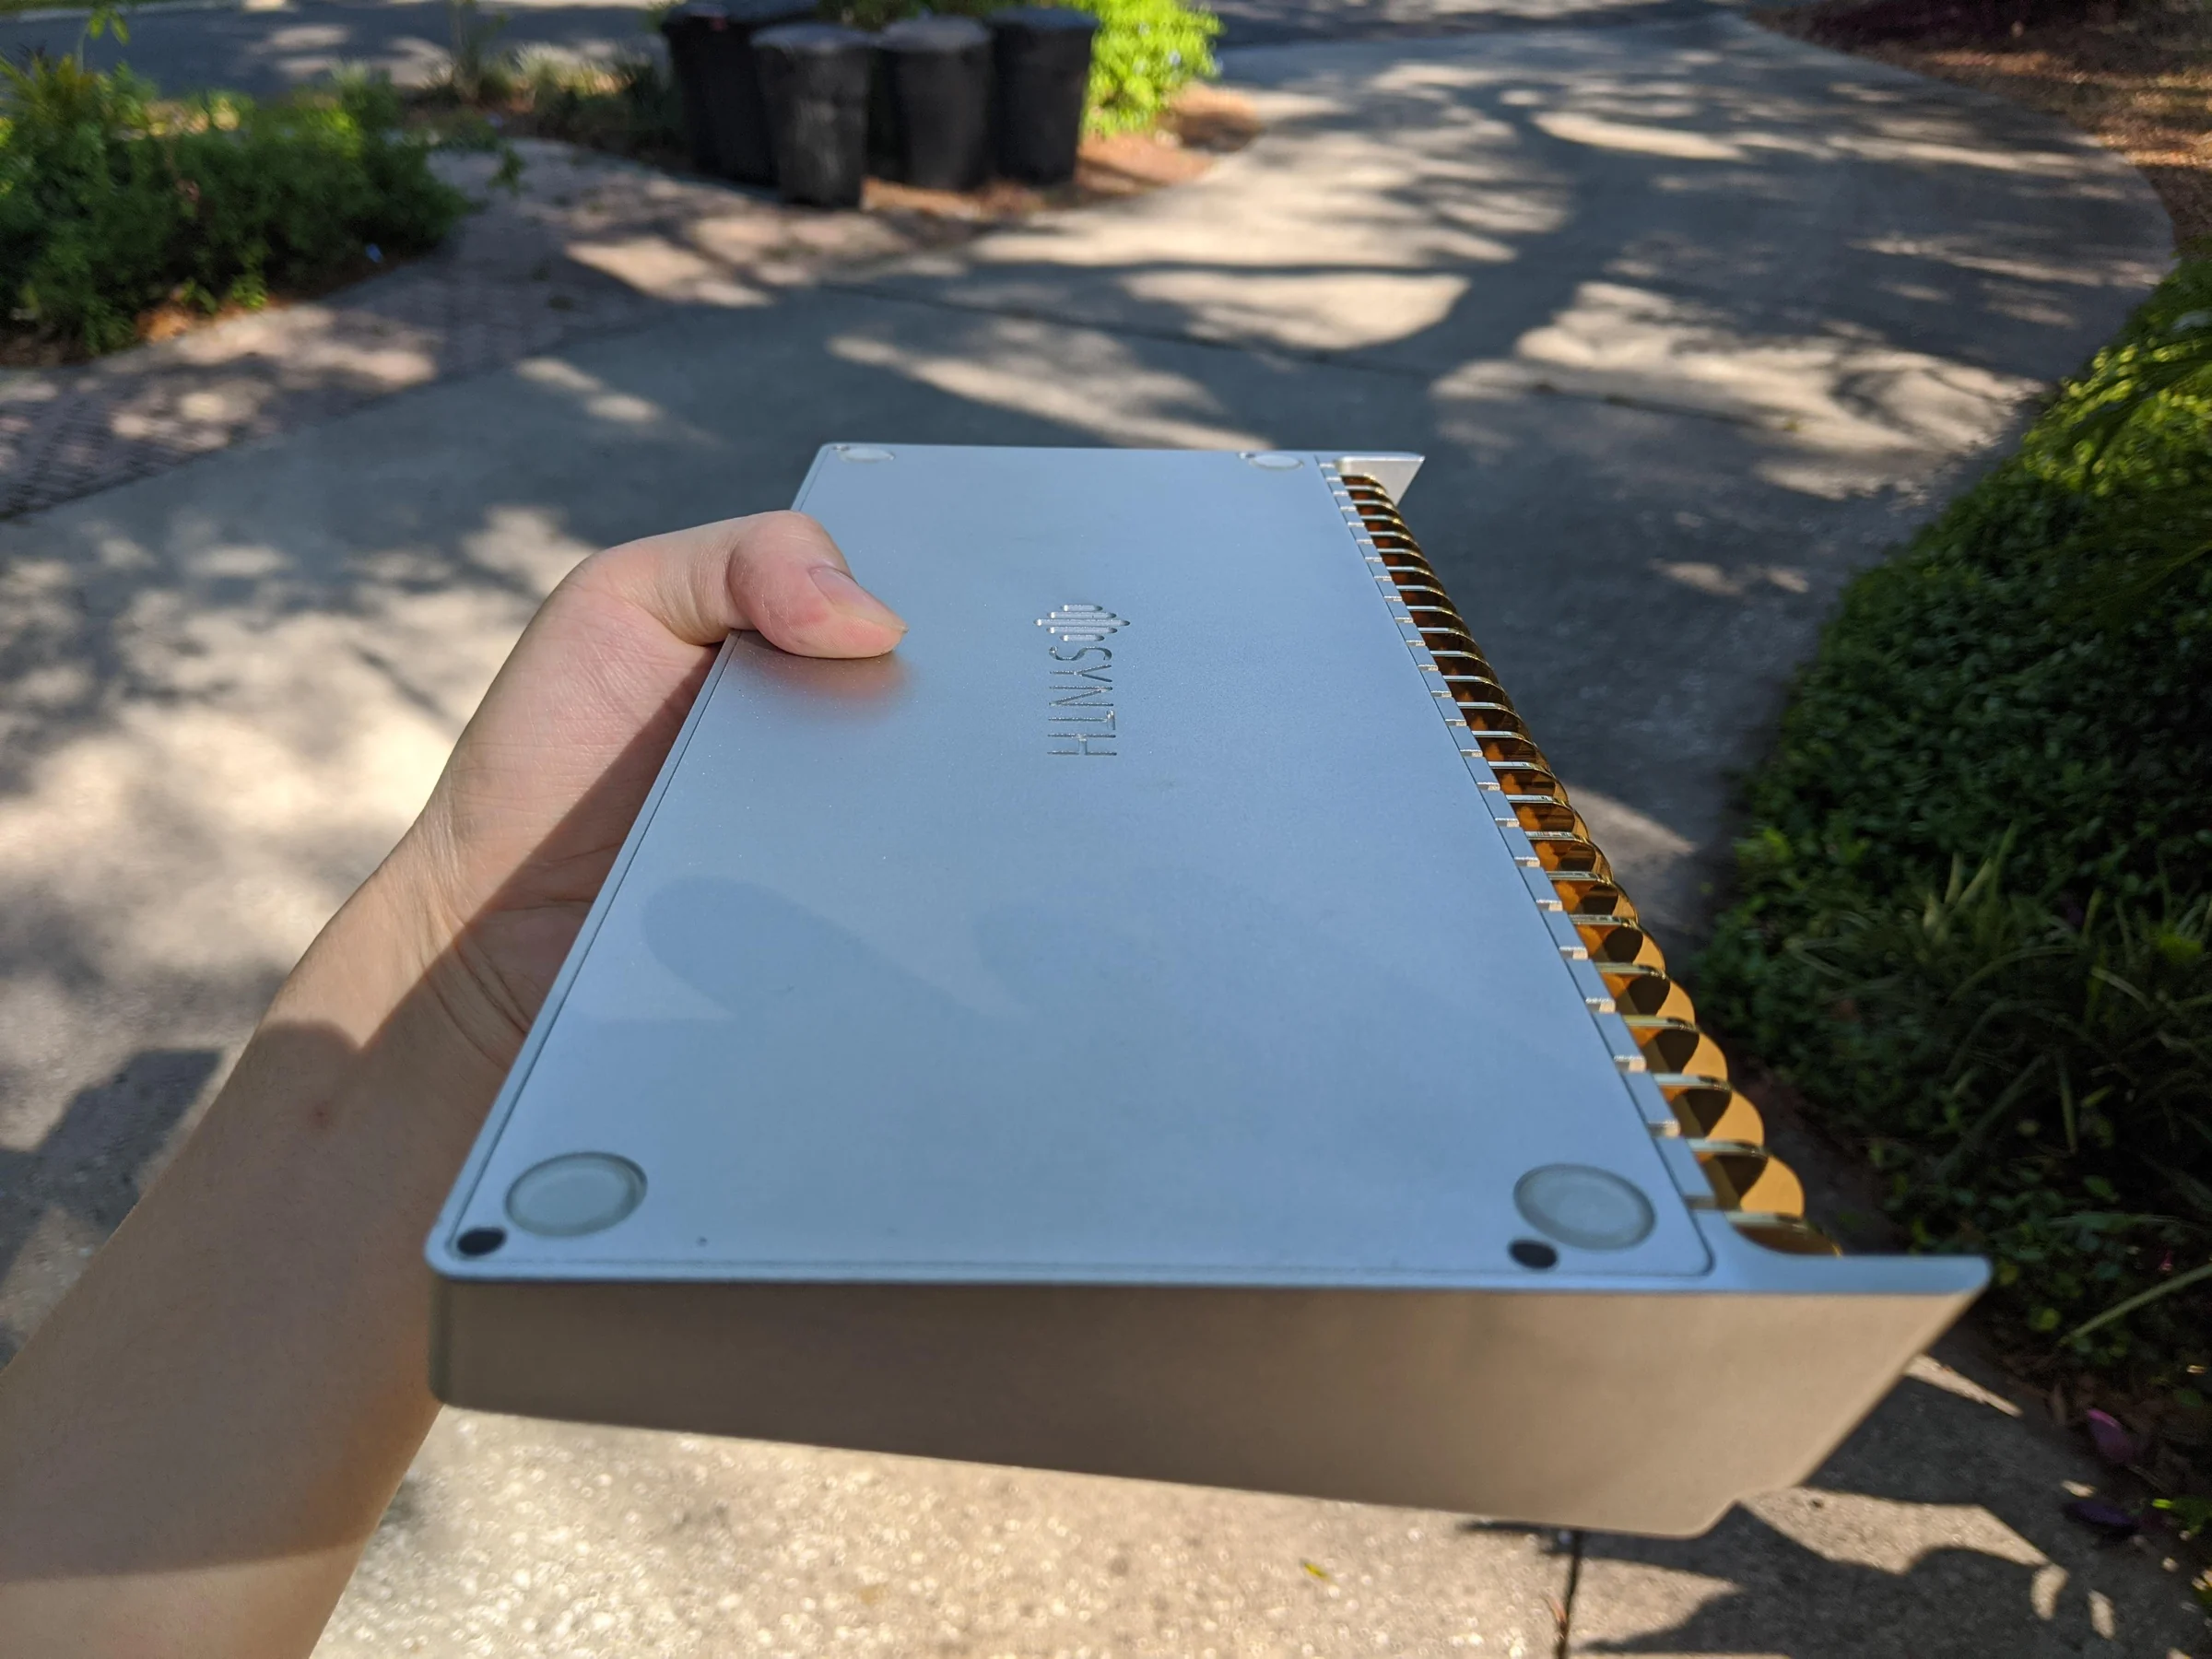
However, there were also issues, such as this surface-finish blemish.
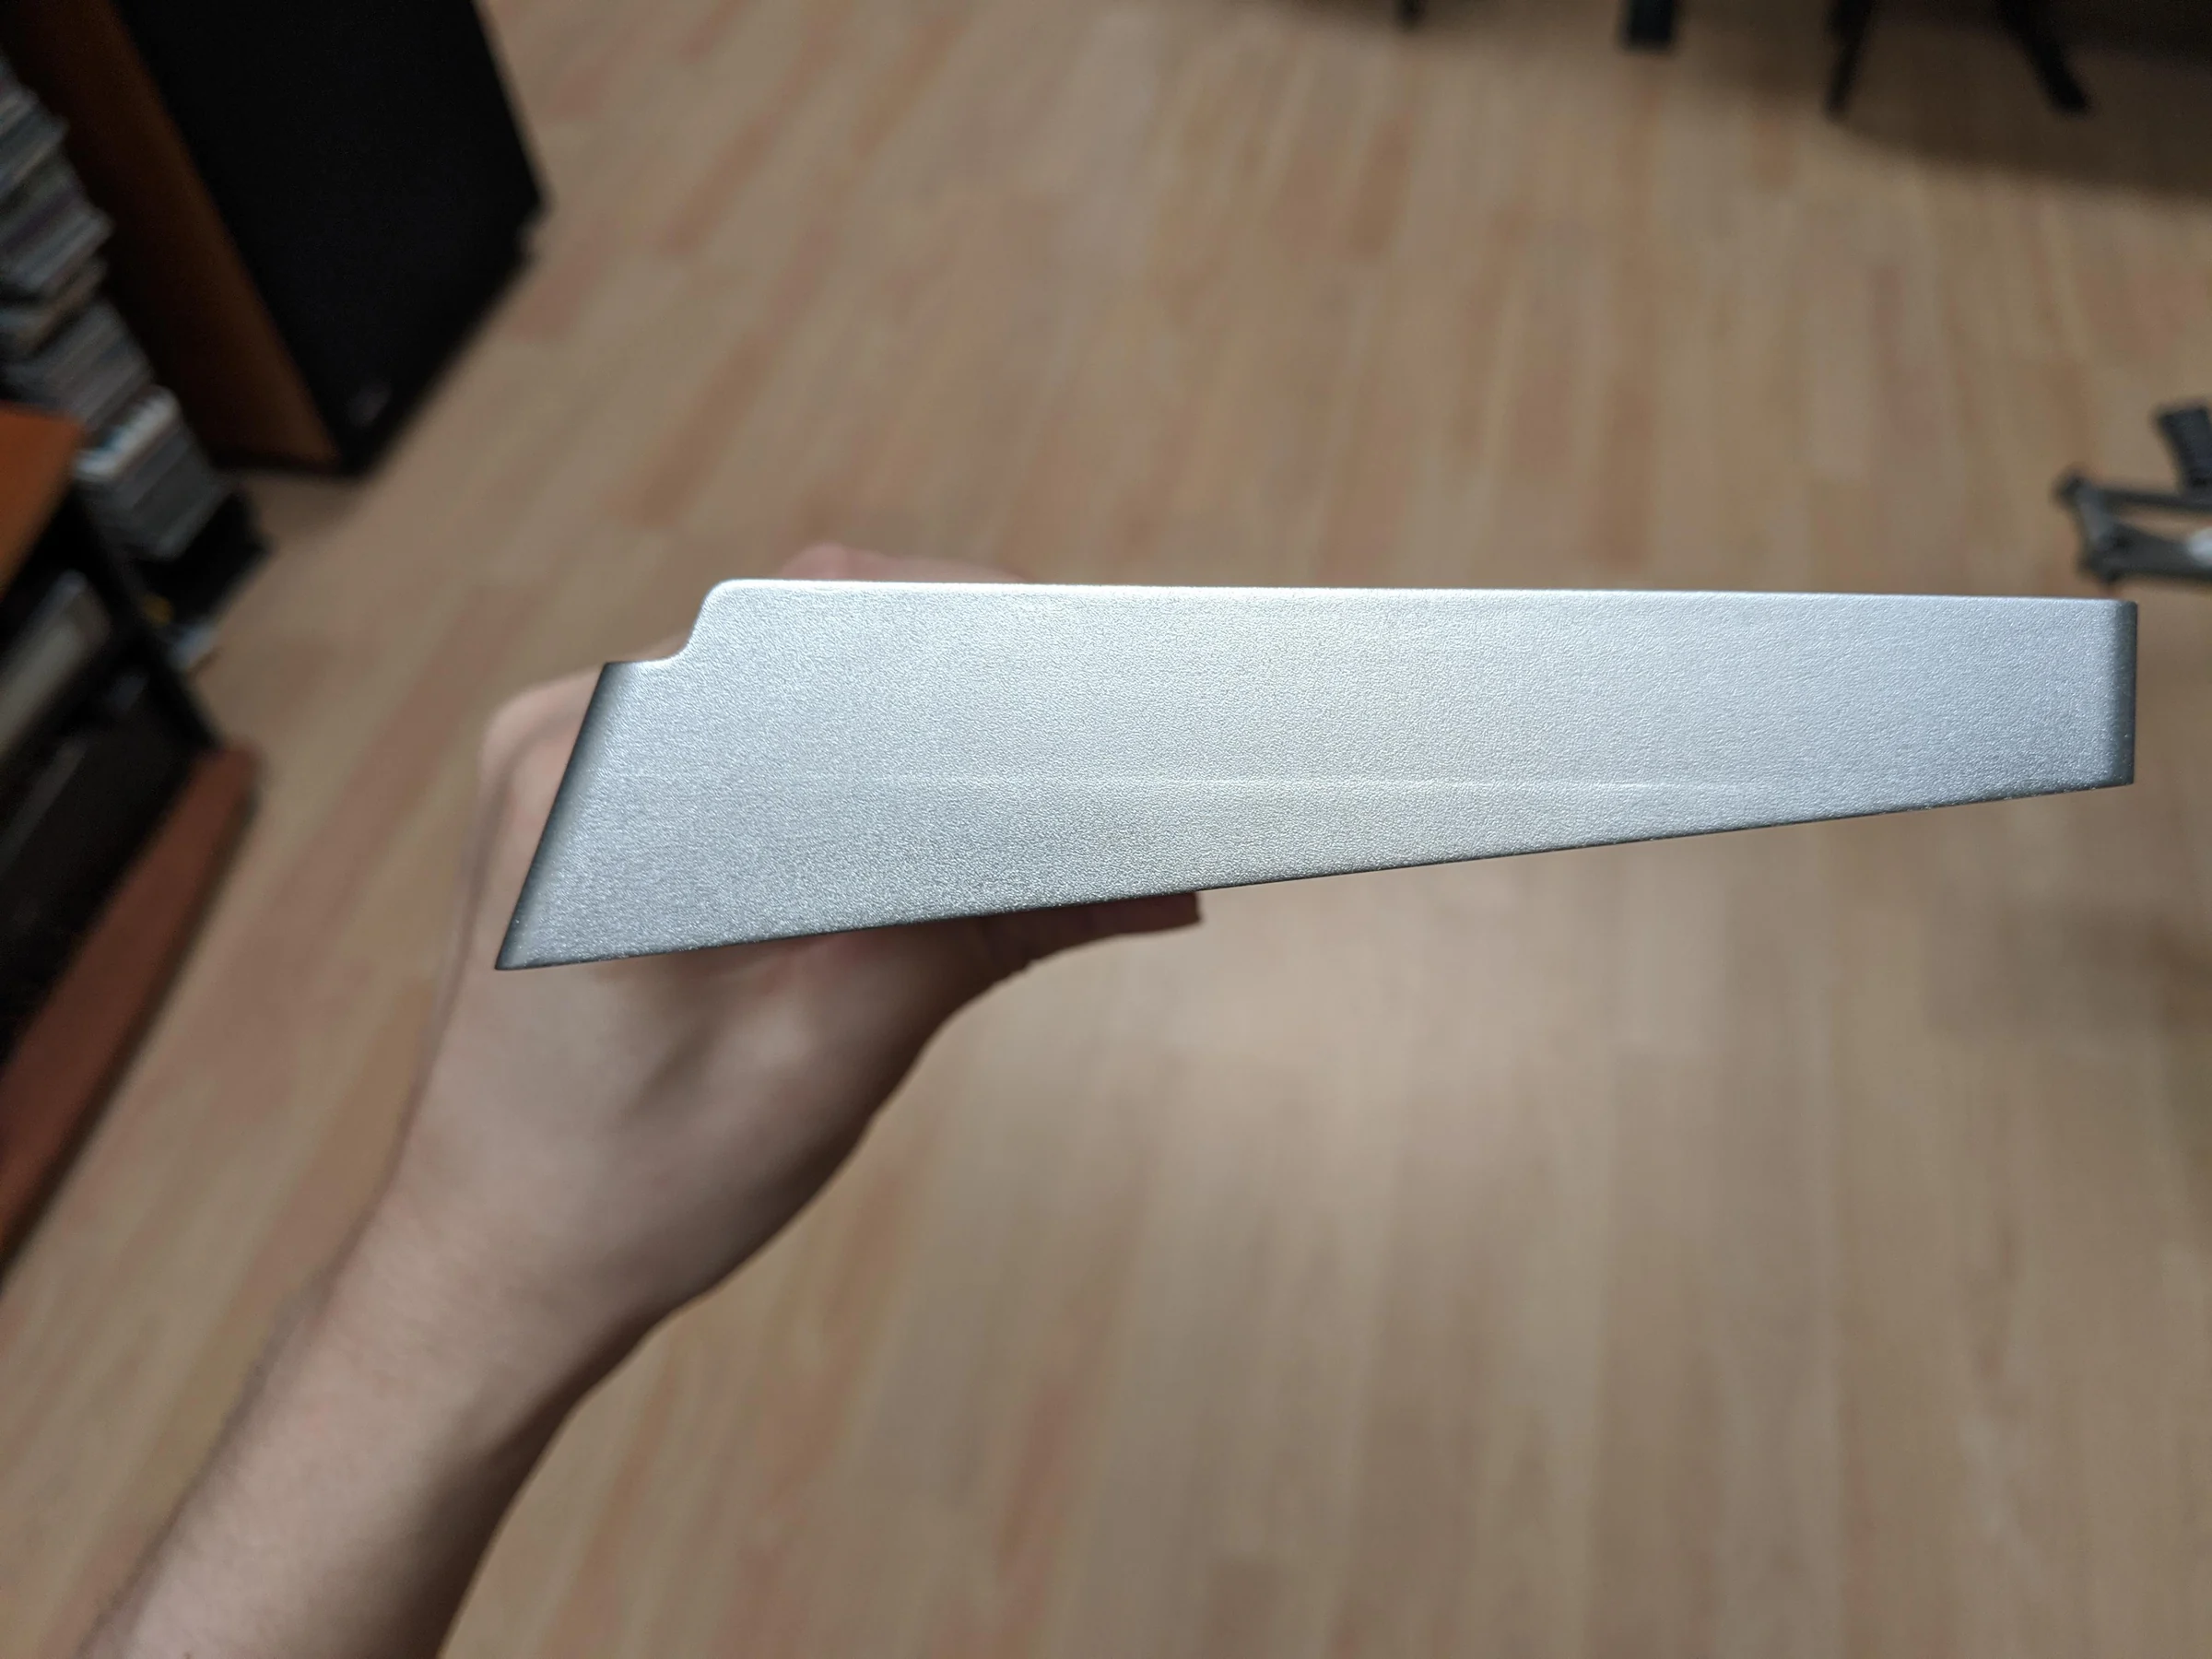
As mentioned earlier, the interior is very barebones and a pretty bad design honestly. Here's a closer look at it, since this is something that gets improved dramatically in later iterations.
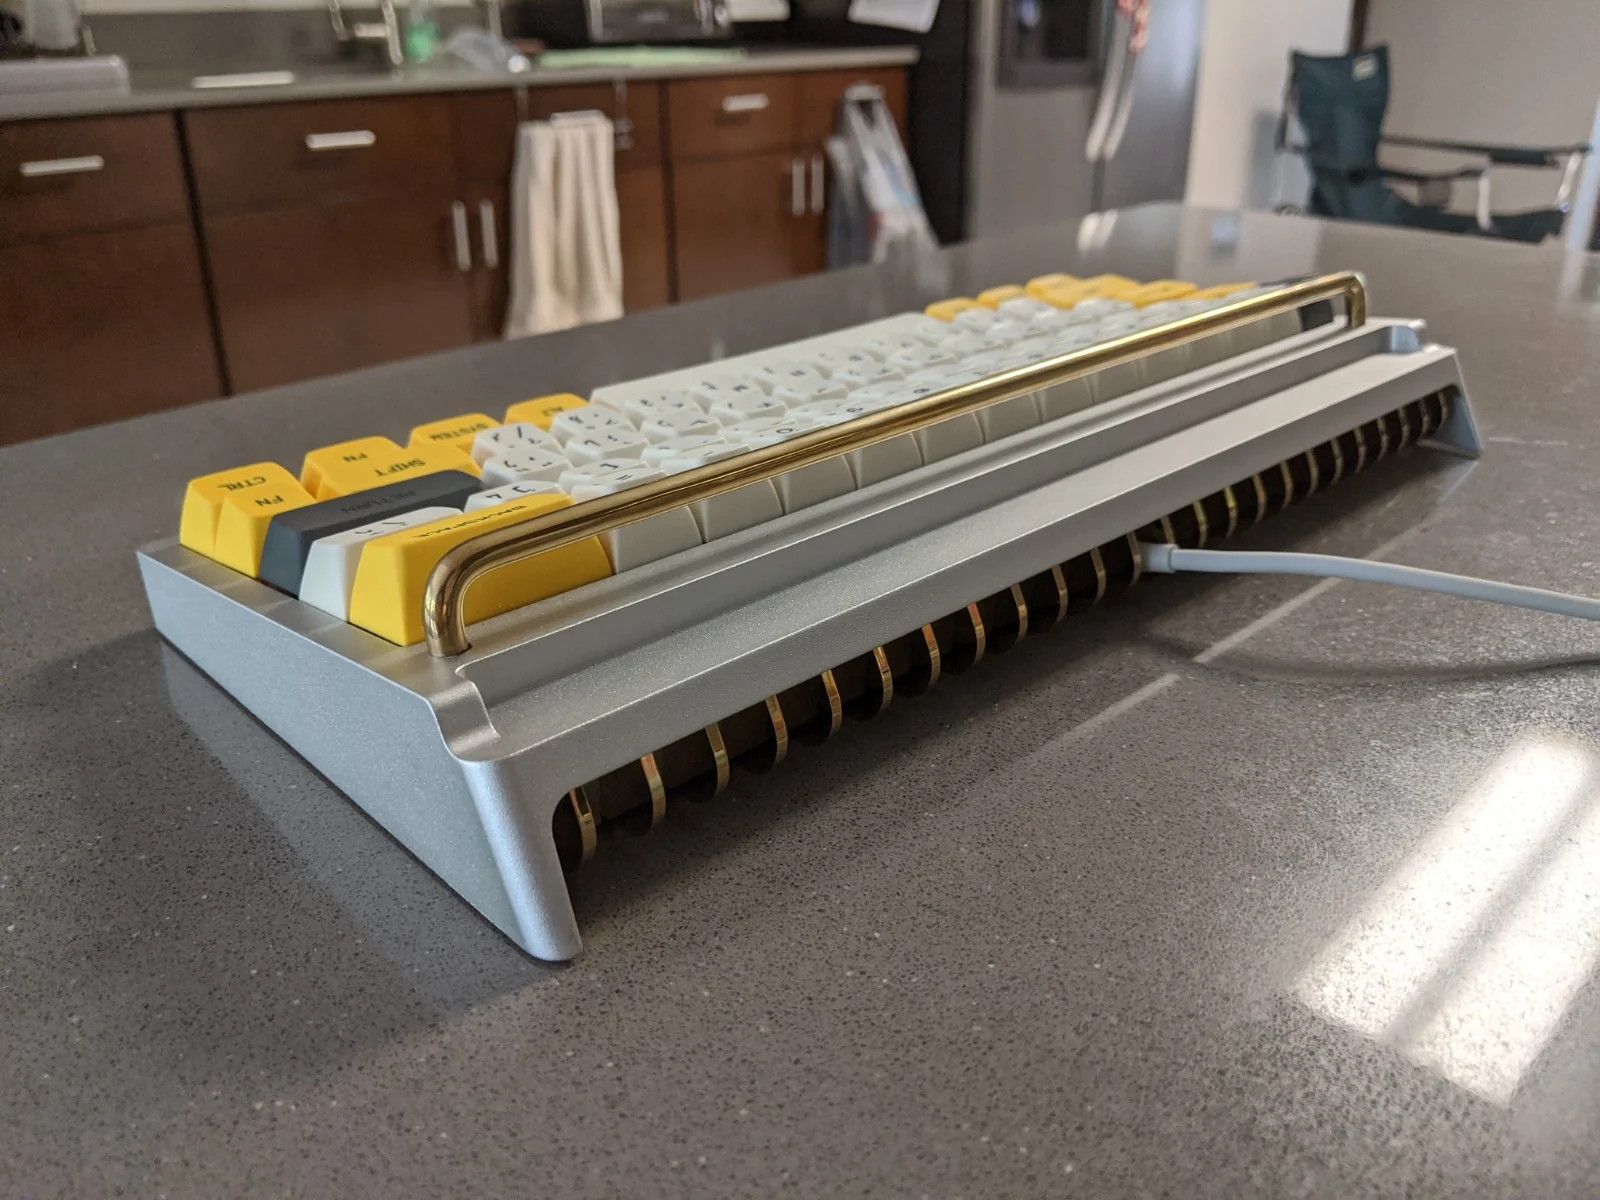
I built the keyboard out as much as I could anyway, which felt pretty awesome to see. However, it was far from ready in my eyes.
Too many quality control issues when it comes to surface-finish quality and manufacturing tolerances. I ultimately decided not to go with this CNC manufacturer.
The poor interior design also made the sound and feel of typing just seem very hollow. I knew it needed a lot of improvement after this.
Trying other manufacturers
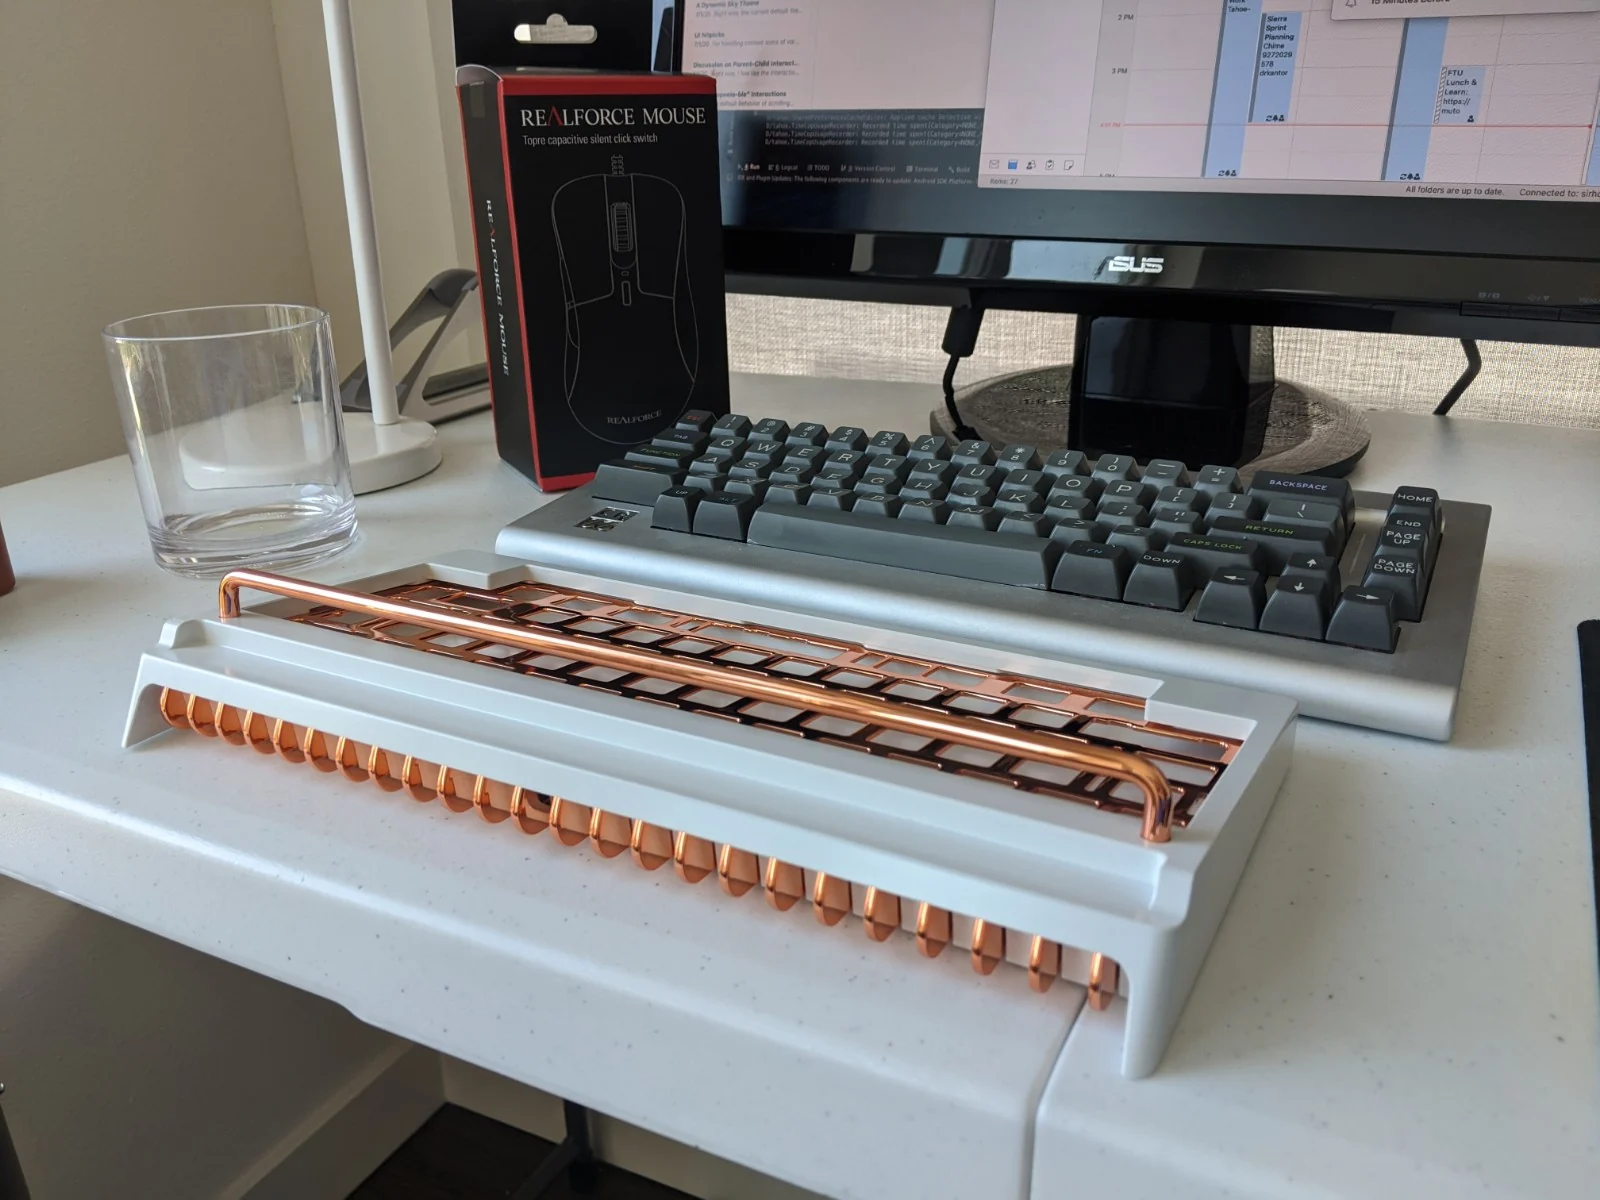
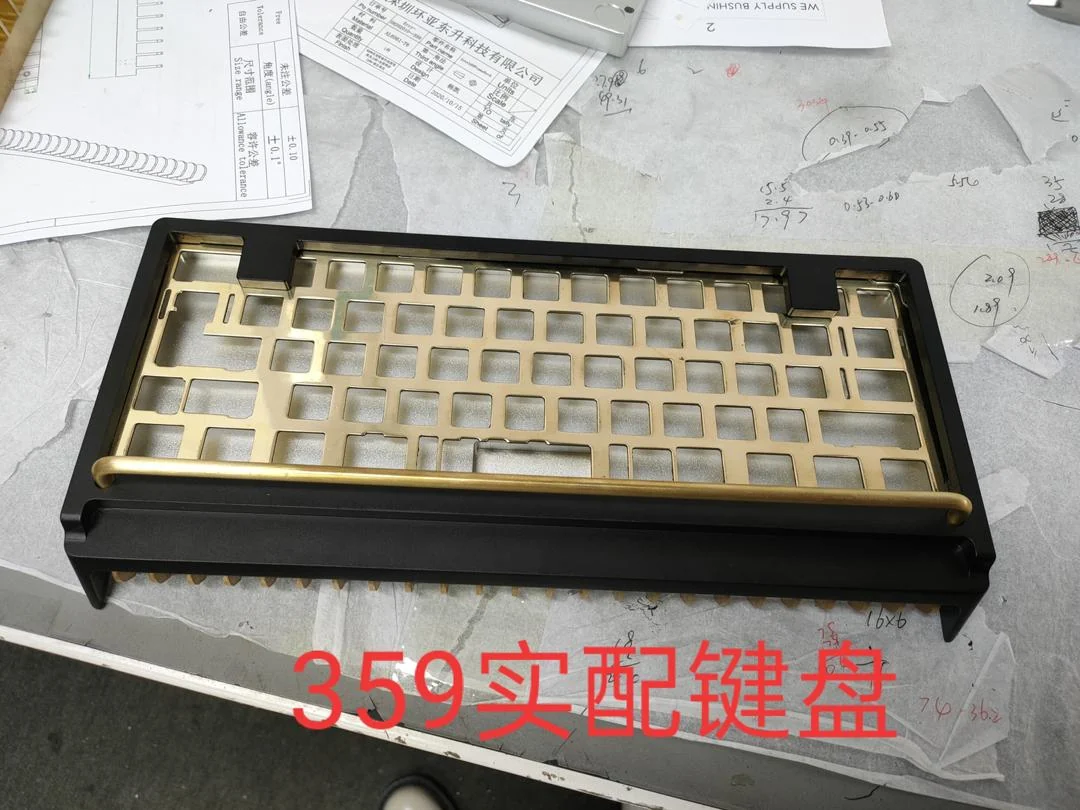
I shopped around trying other manufacturers and small improvements to the design. Here is another one.
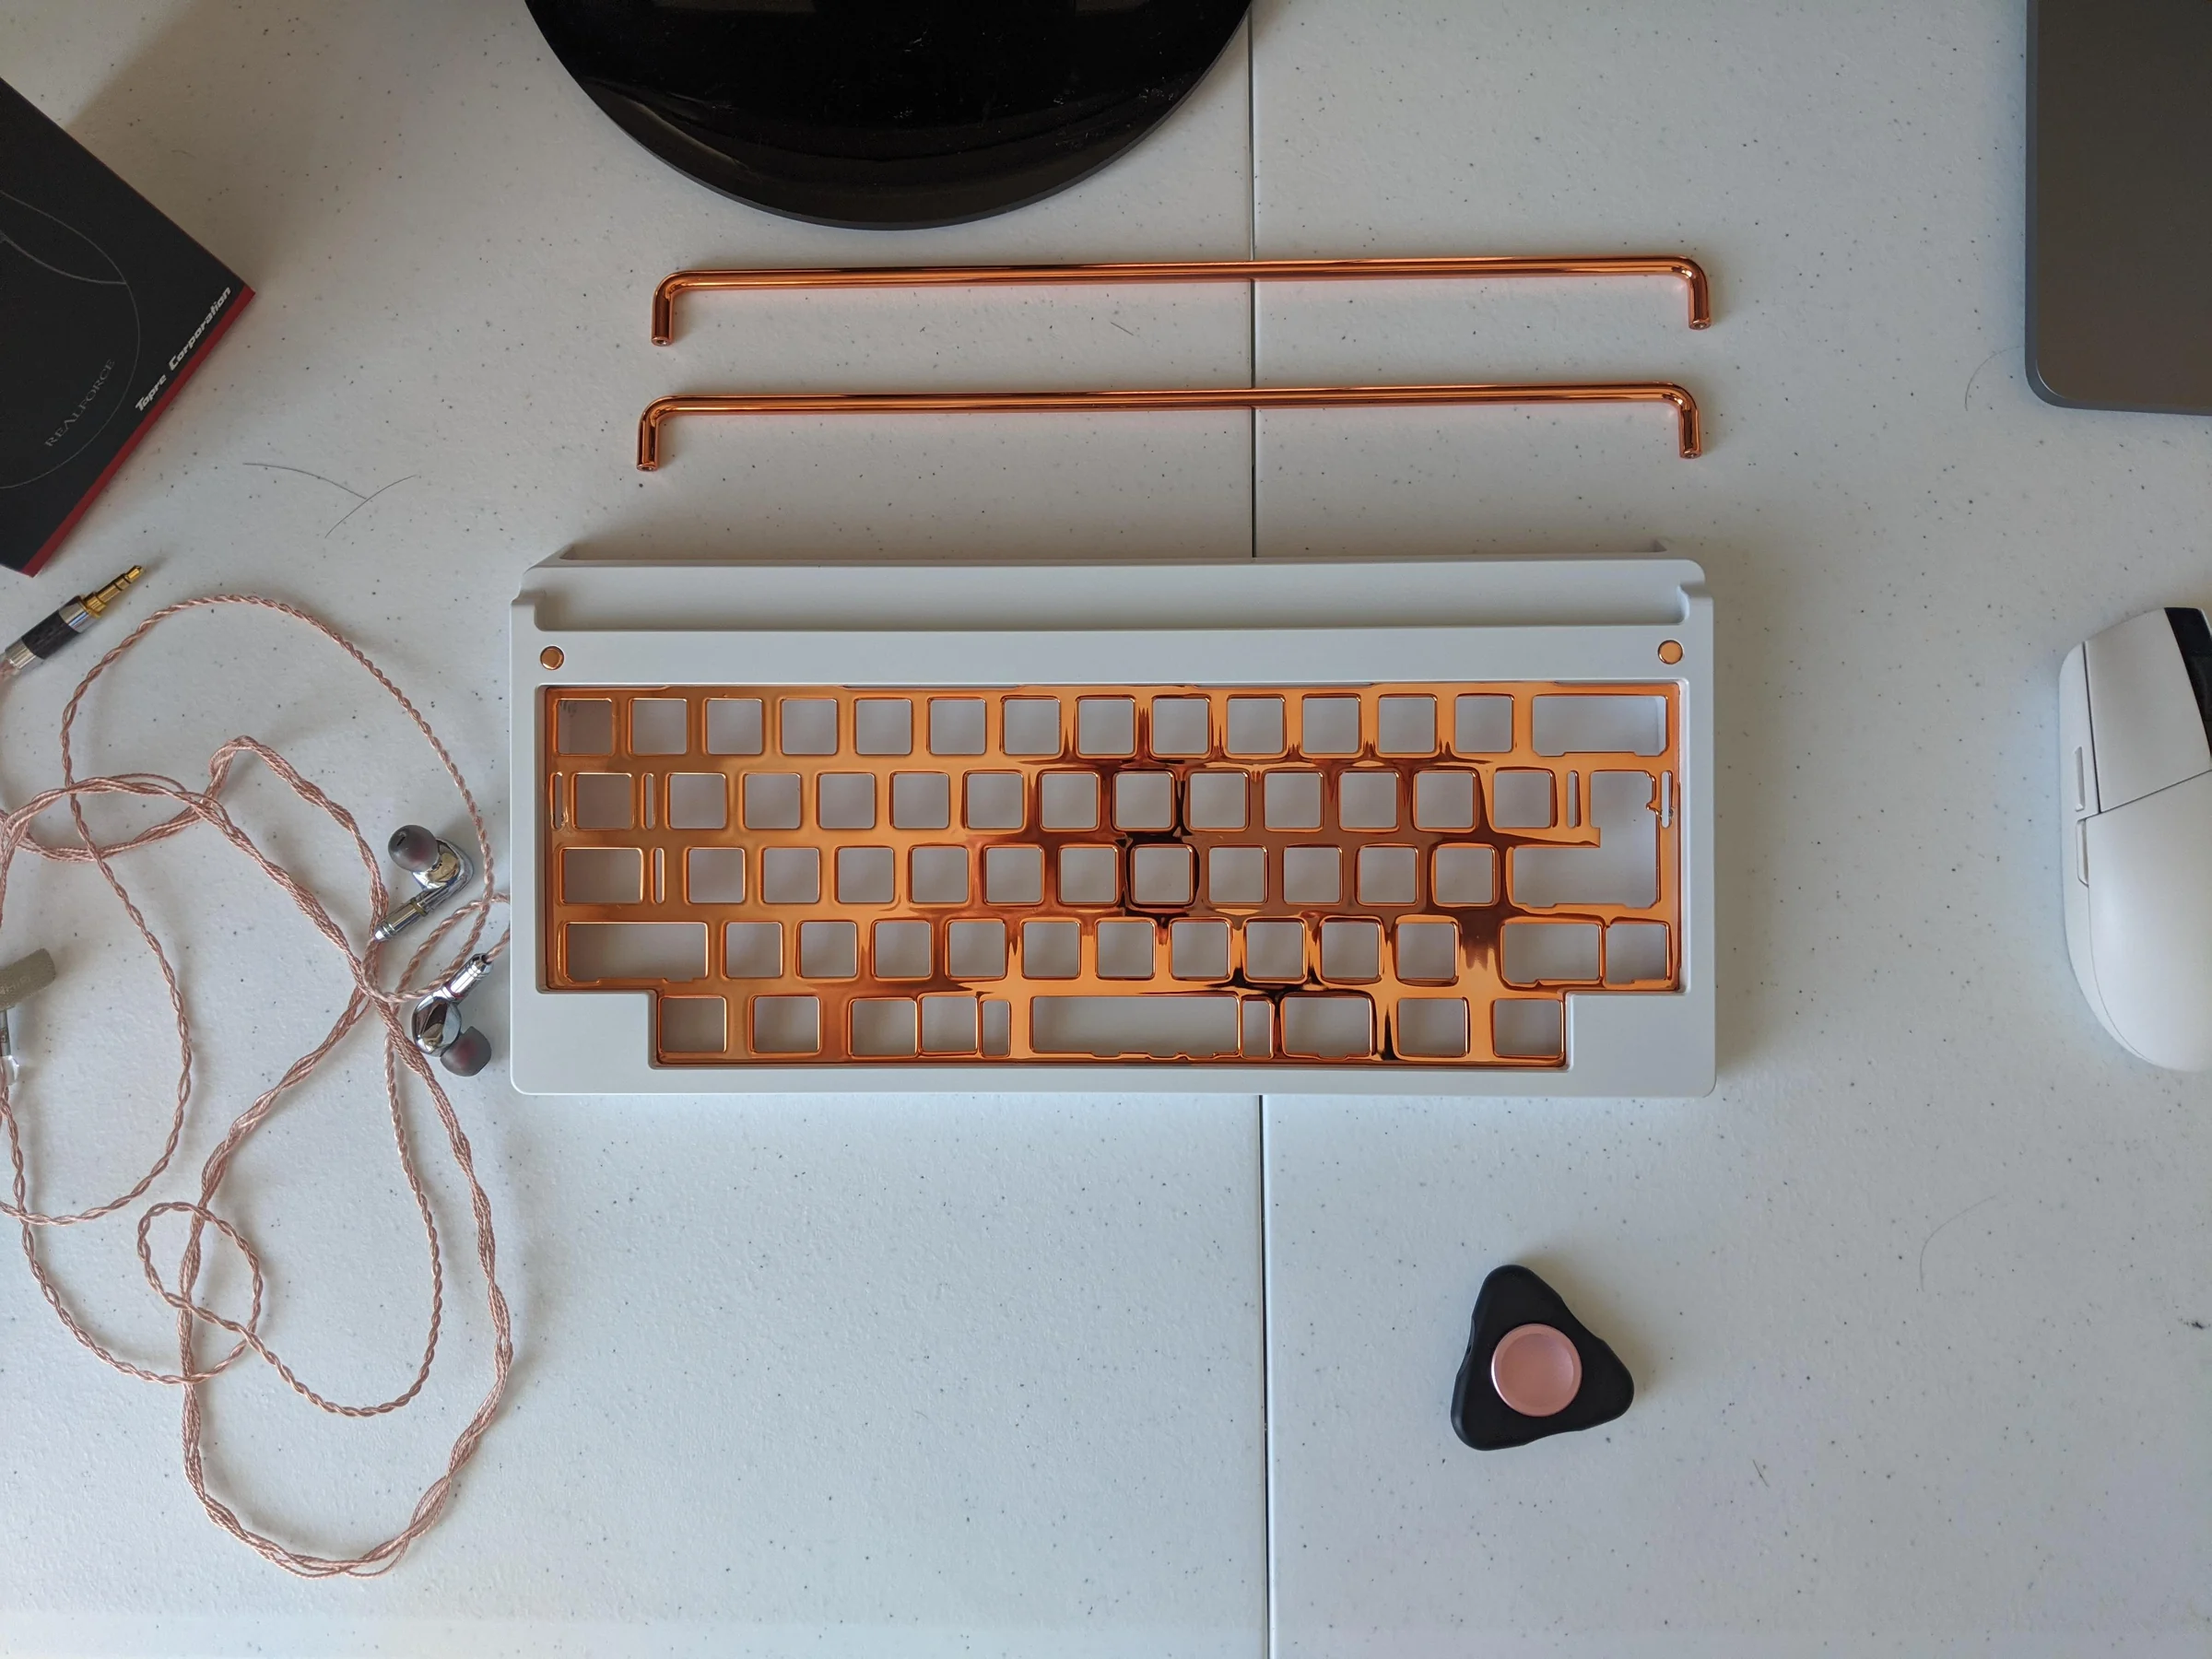
Still it wasn't quite there yet.
Feedback and redesign
Later, I decided to post on Geekhack to get feedback from the mechanical keyboards community. I also wanted to focus more on improving the design as well. Here are some of the renders I made for that.
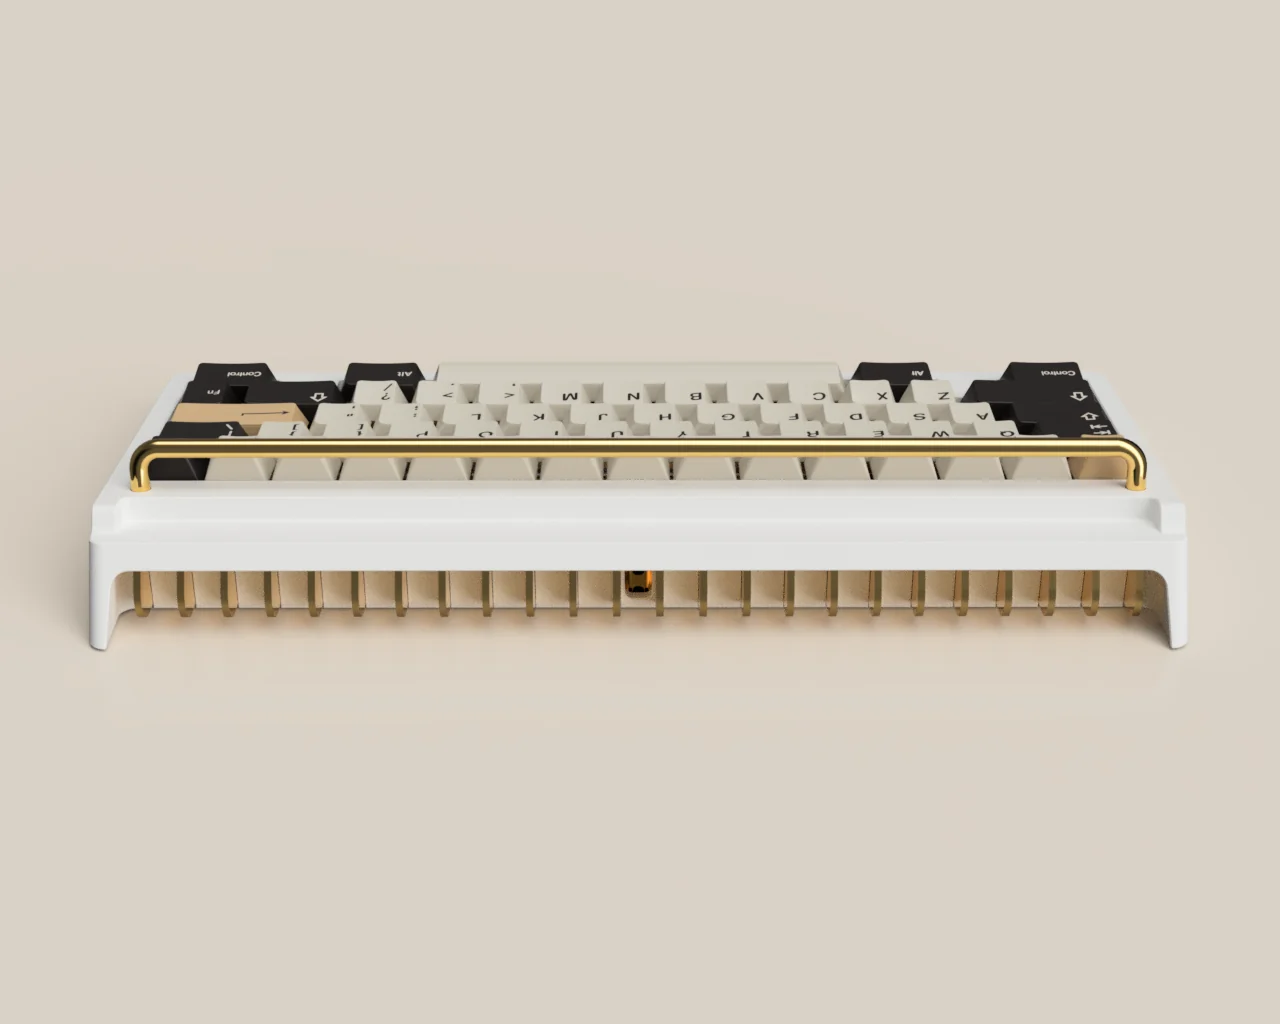
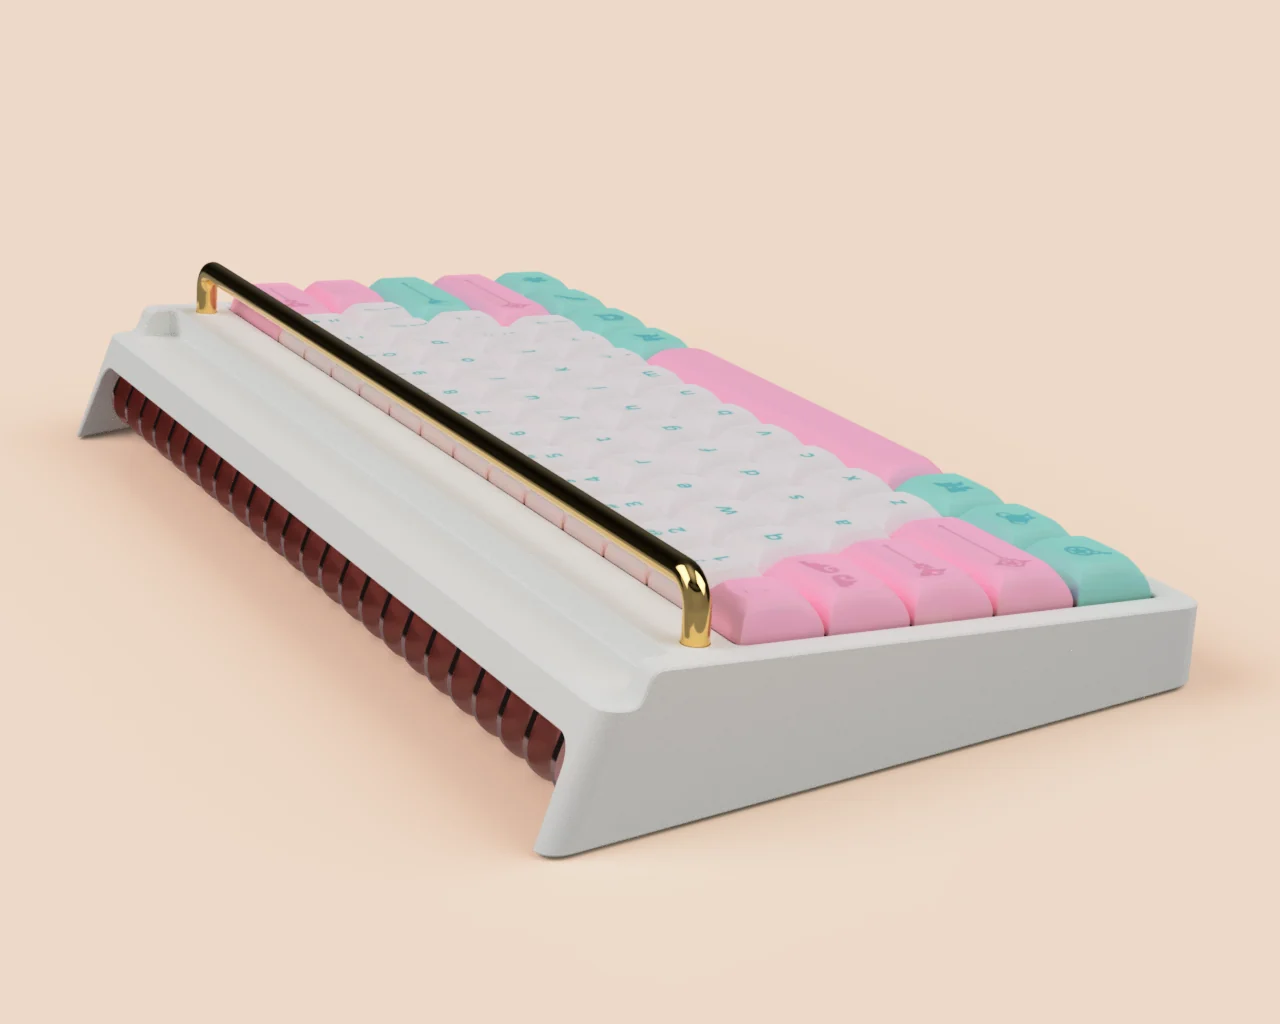
I made some significant changes to the interior, raising the floor of the interior to match the typing angle of the board. This also meant having a cavity where the USB daughterboard was housed.
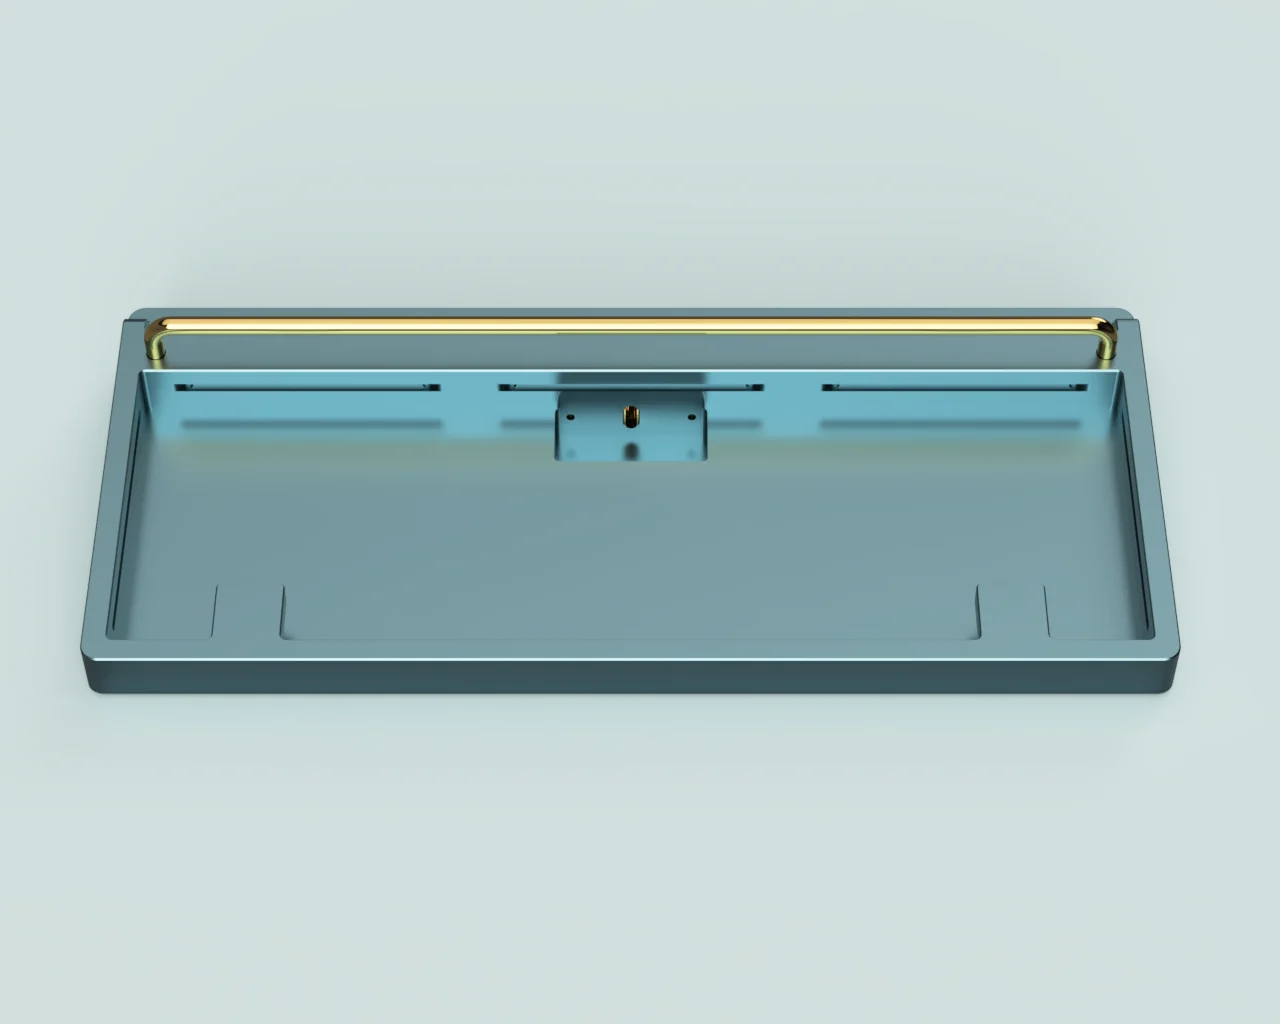
This made quite a massive improvement in typing sound and feel.
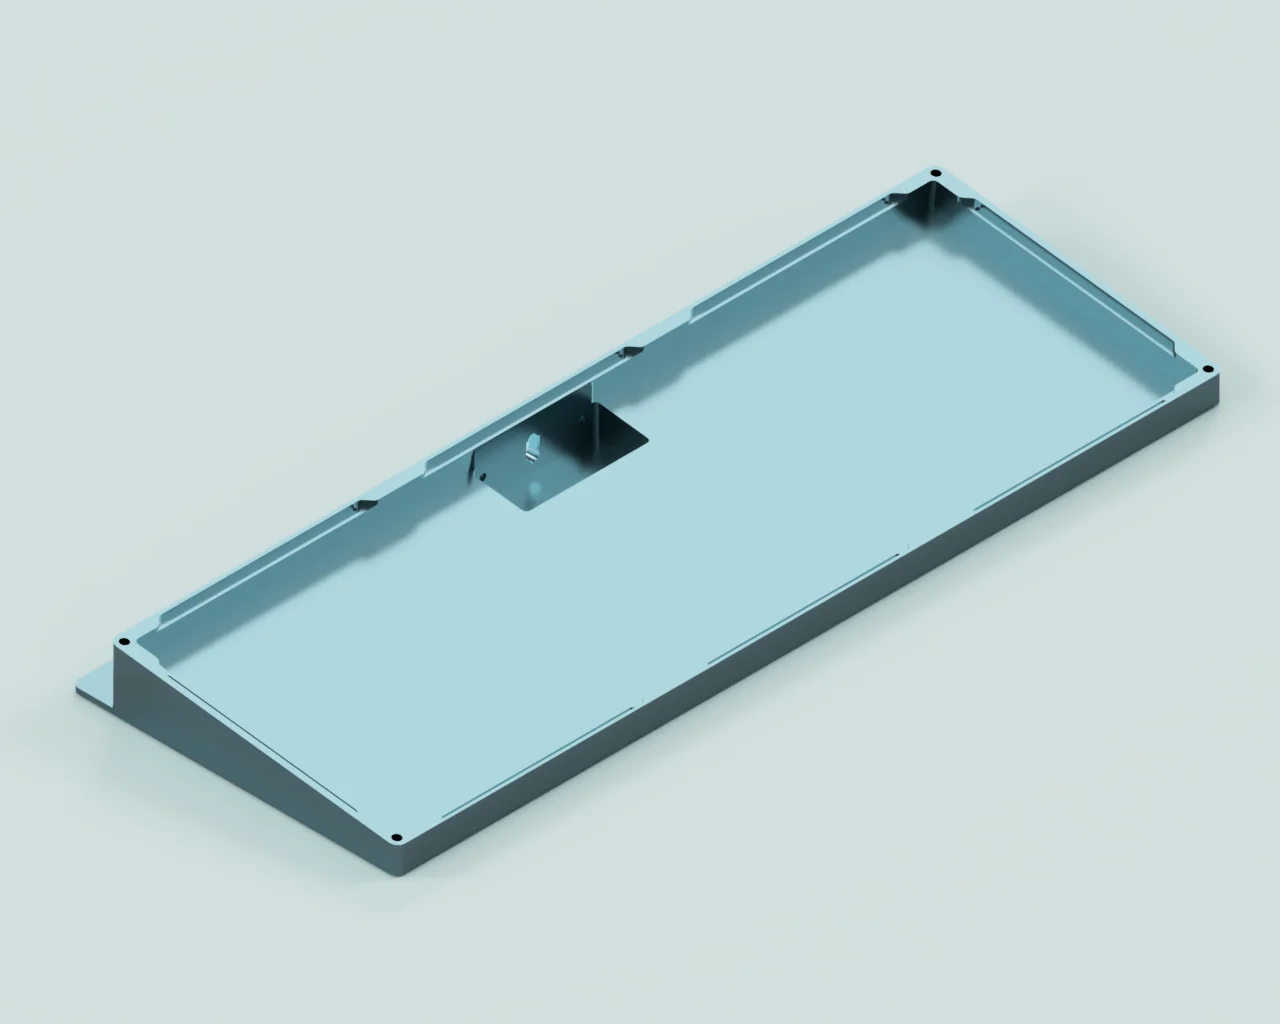
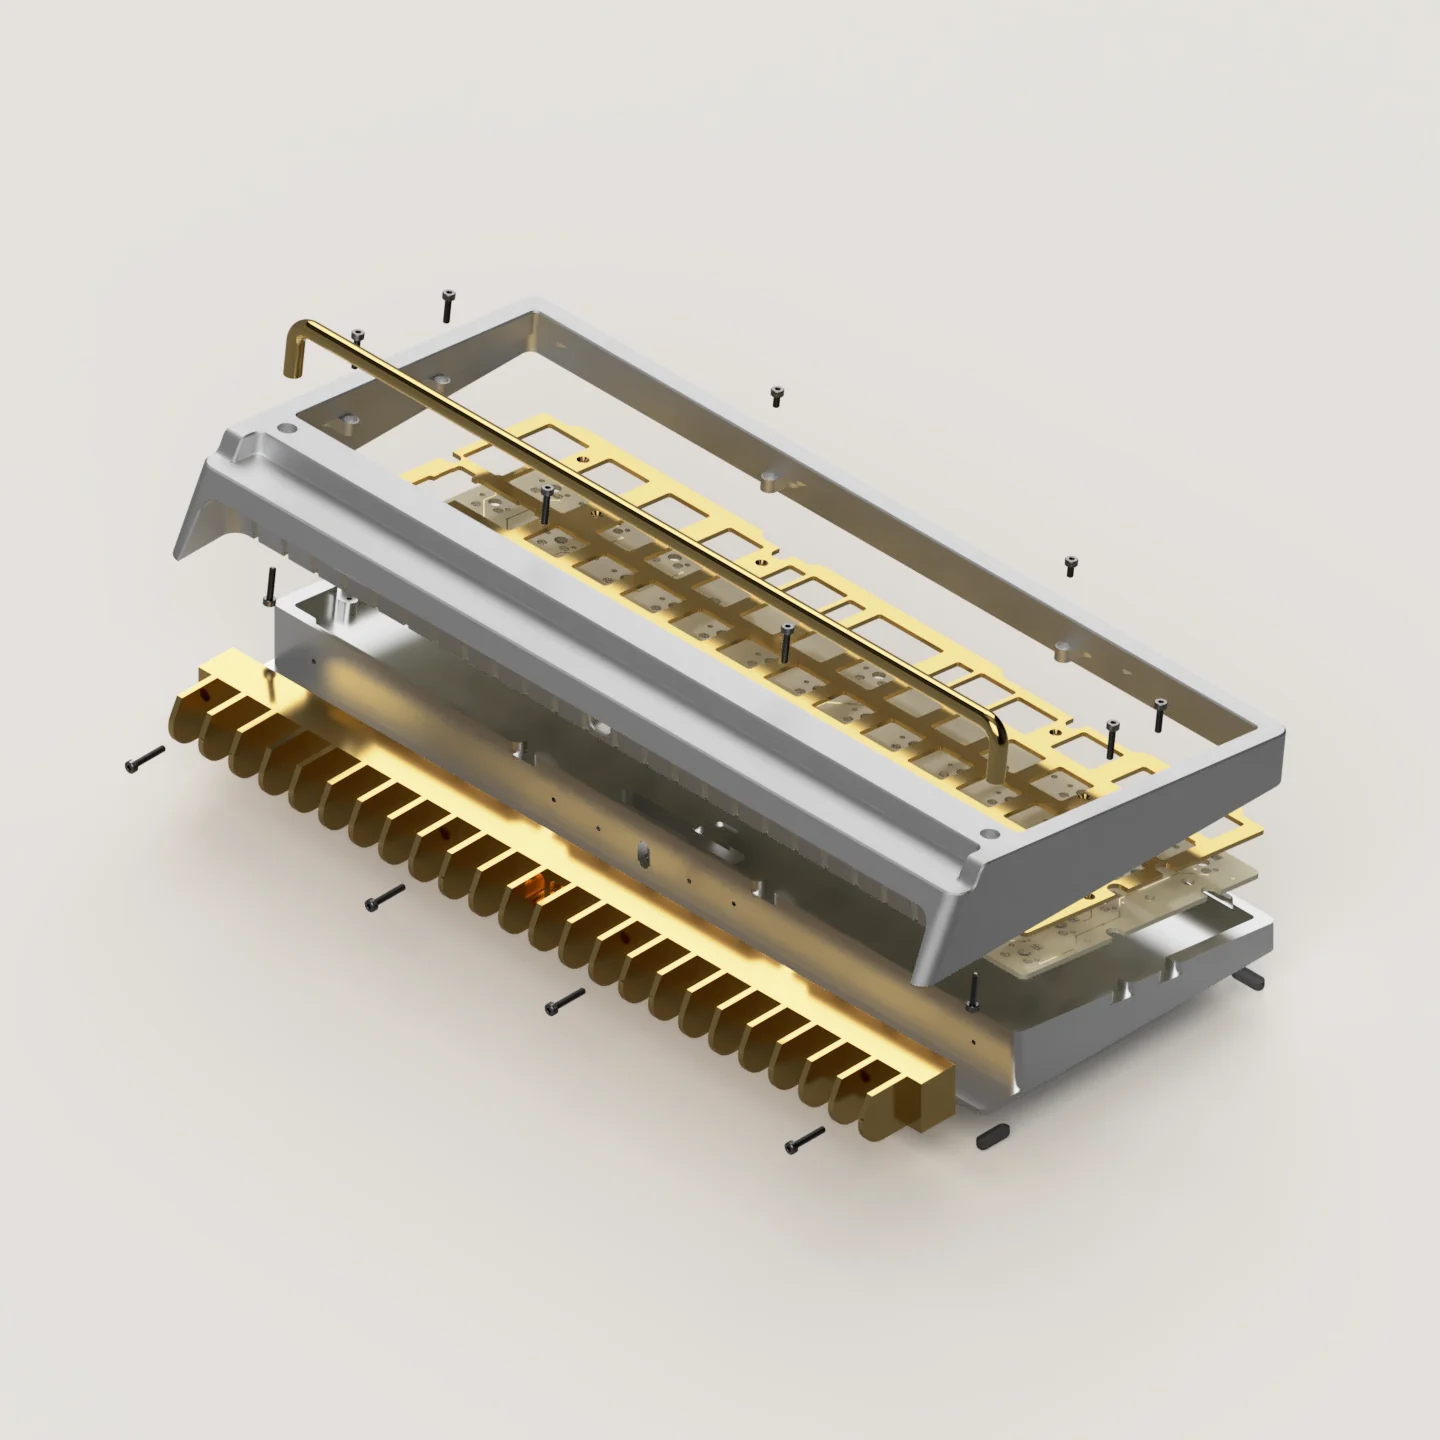
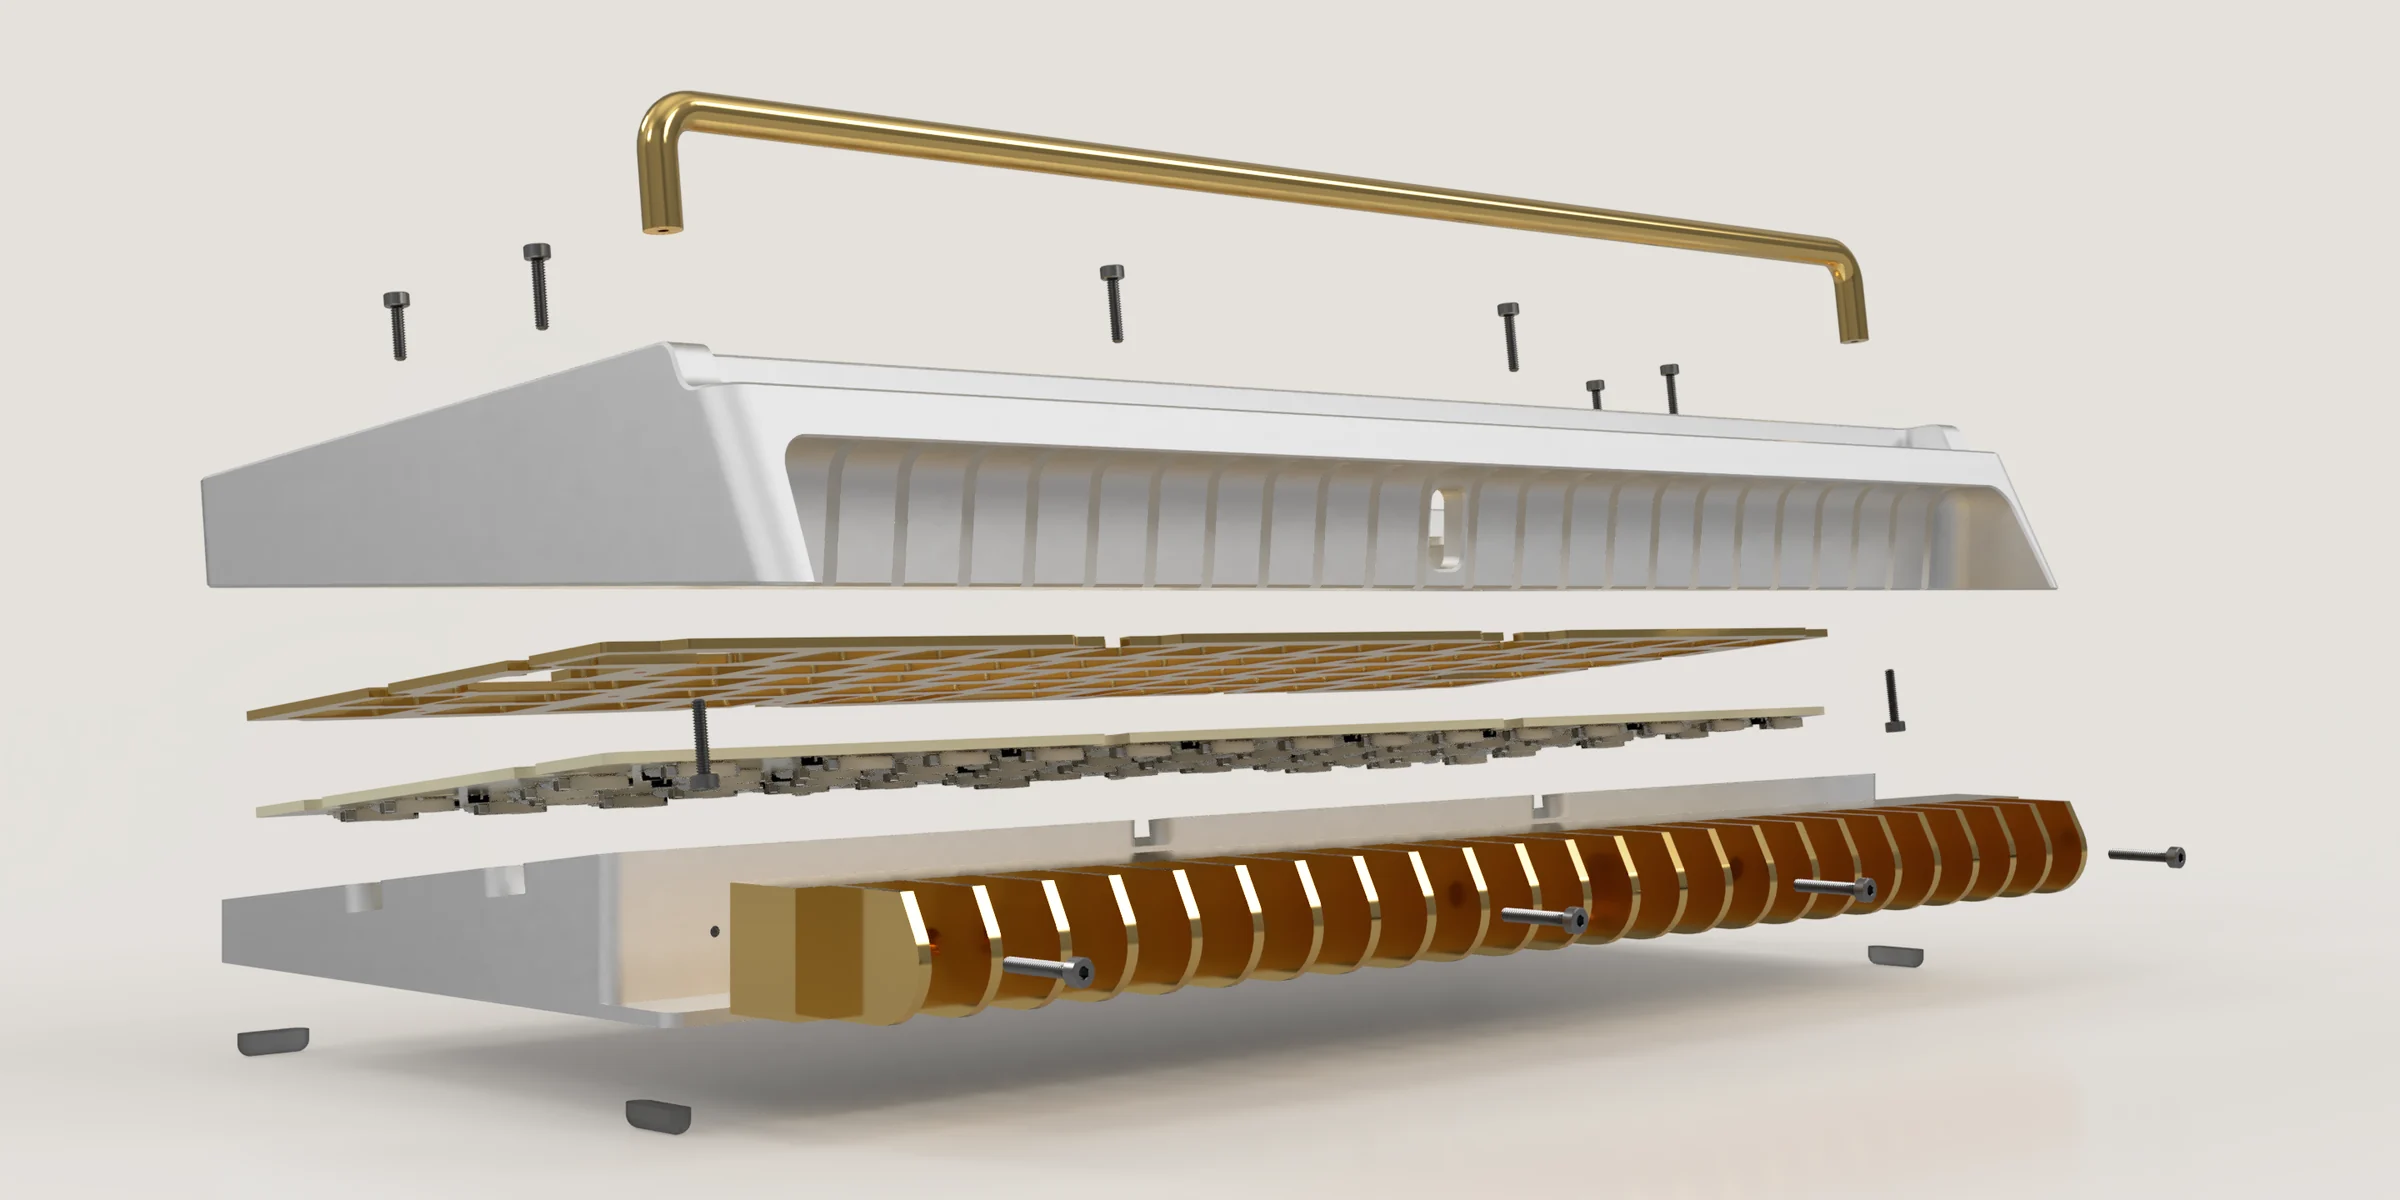
In yet another revision, I've removed all exterior-facing screws, in favor of putting the screws through the front (under the keycaps). This gives the keyboard a seamless appearance, with all the screw holes nicely hidden.
I've also revised how the rear weight and top rail is mounted, and made dimensioning changes to the gasket system to improve its feel.
Standoff holes were also added to the plate, allowing it to be rigidly attached to the PCB. This makes the switch hotswapping a bit more robust.
The silicone feet were also changed to match the pill-shaped feet used on the Solo Macropad, giving it more of a cohesive identity with the rest of my brand.
I also got in contact with 0xCB (keeb.supply), who helped me quite a lot with the PCB design!
And I also got in contact with Keebwerk, who became my manufacturer.
A prototype that worked
With Keebwerk, we were able to get another prototype manufactured. This one was fully-functional, and was the first one with quality that I deemed good.
It was so nice to see these quality improvements, and also to see my design improvements had worked out nicely.
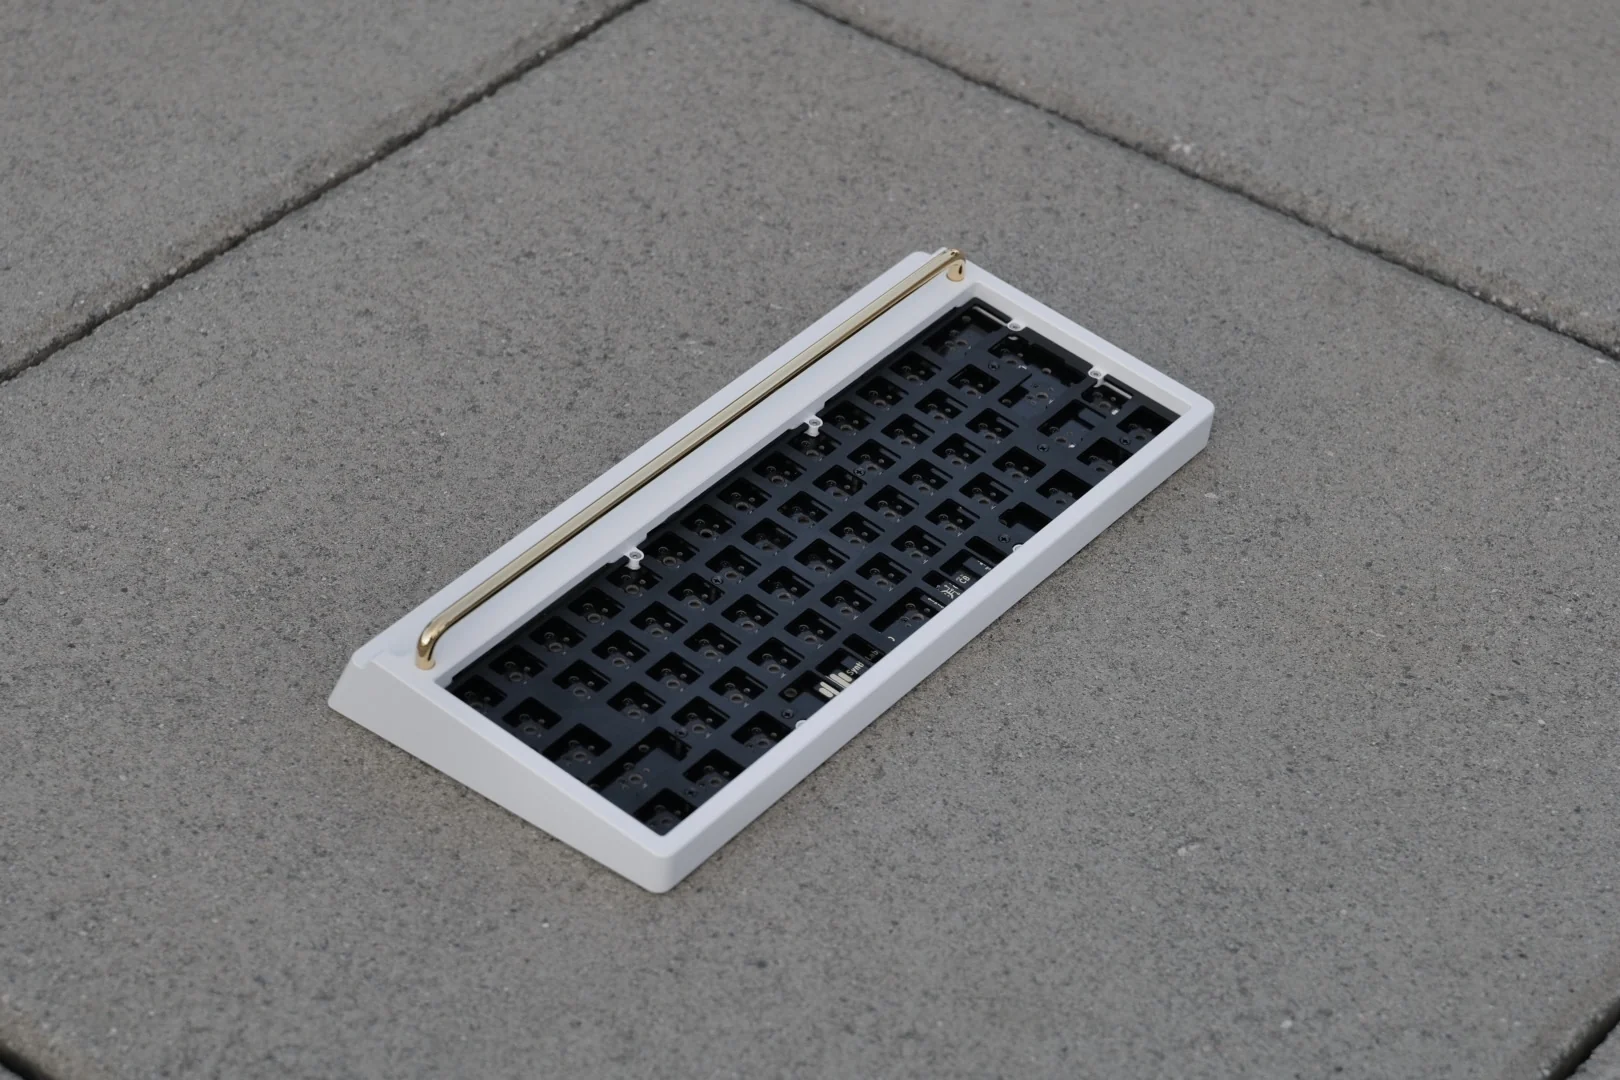
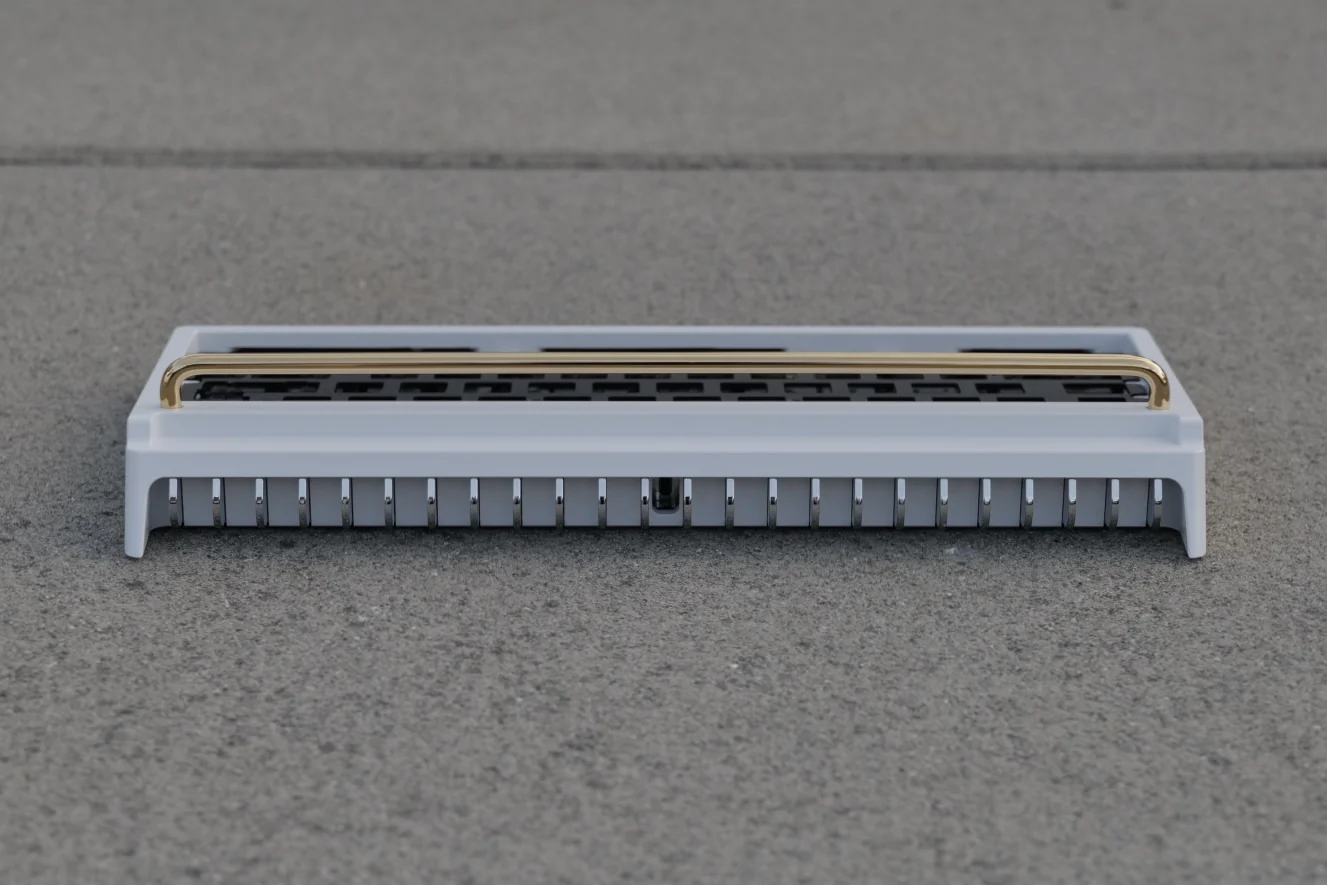
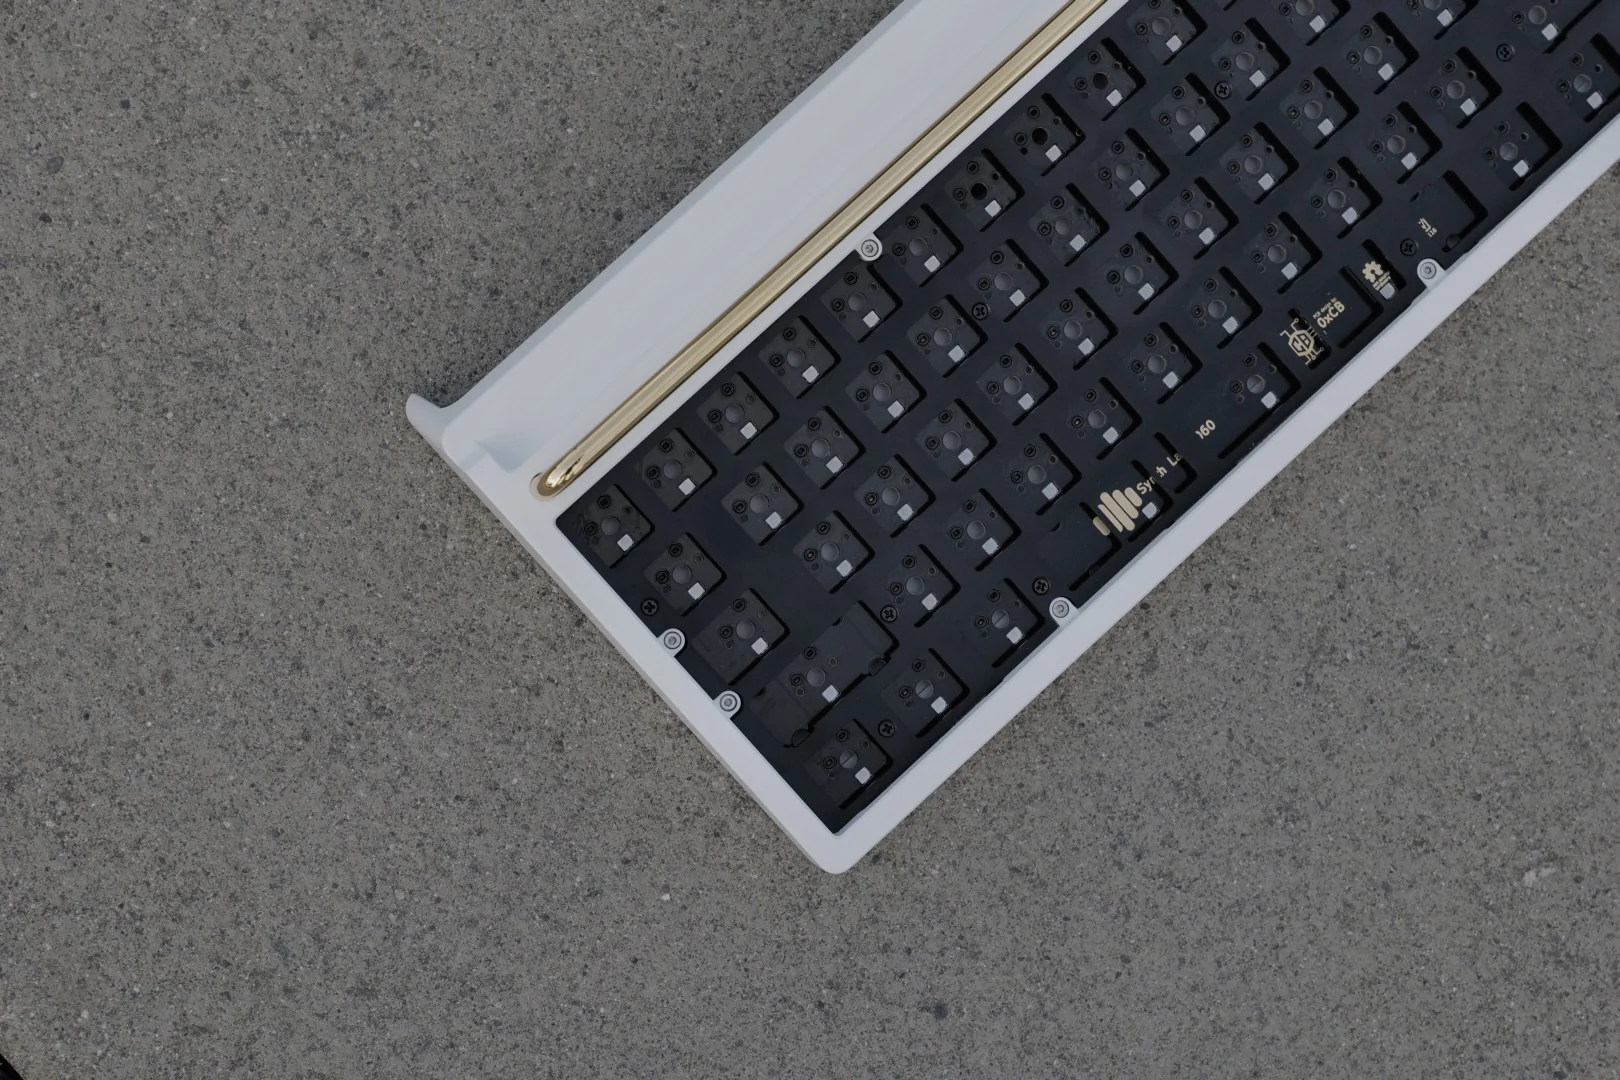
Fully built, I could finally enjoy typing on it, and it was sooo nice!
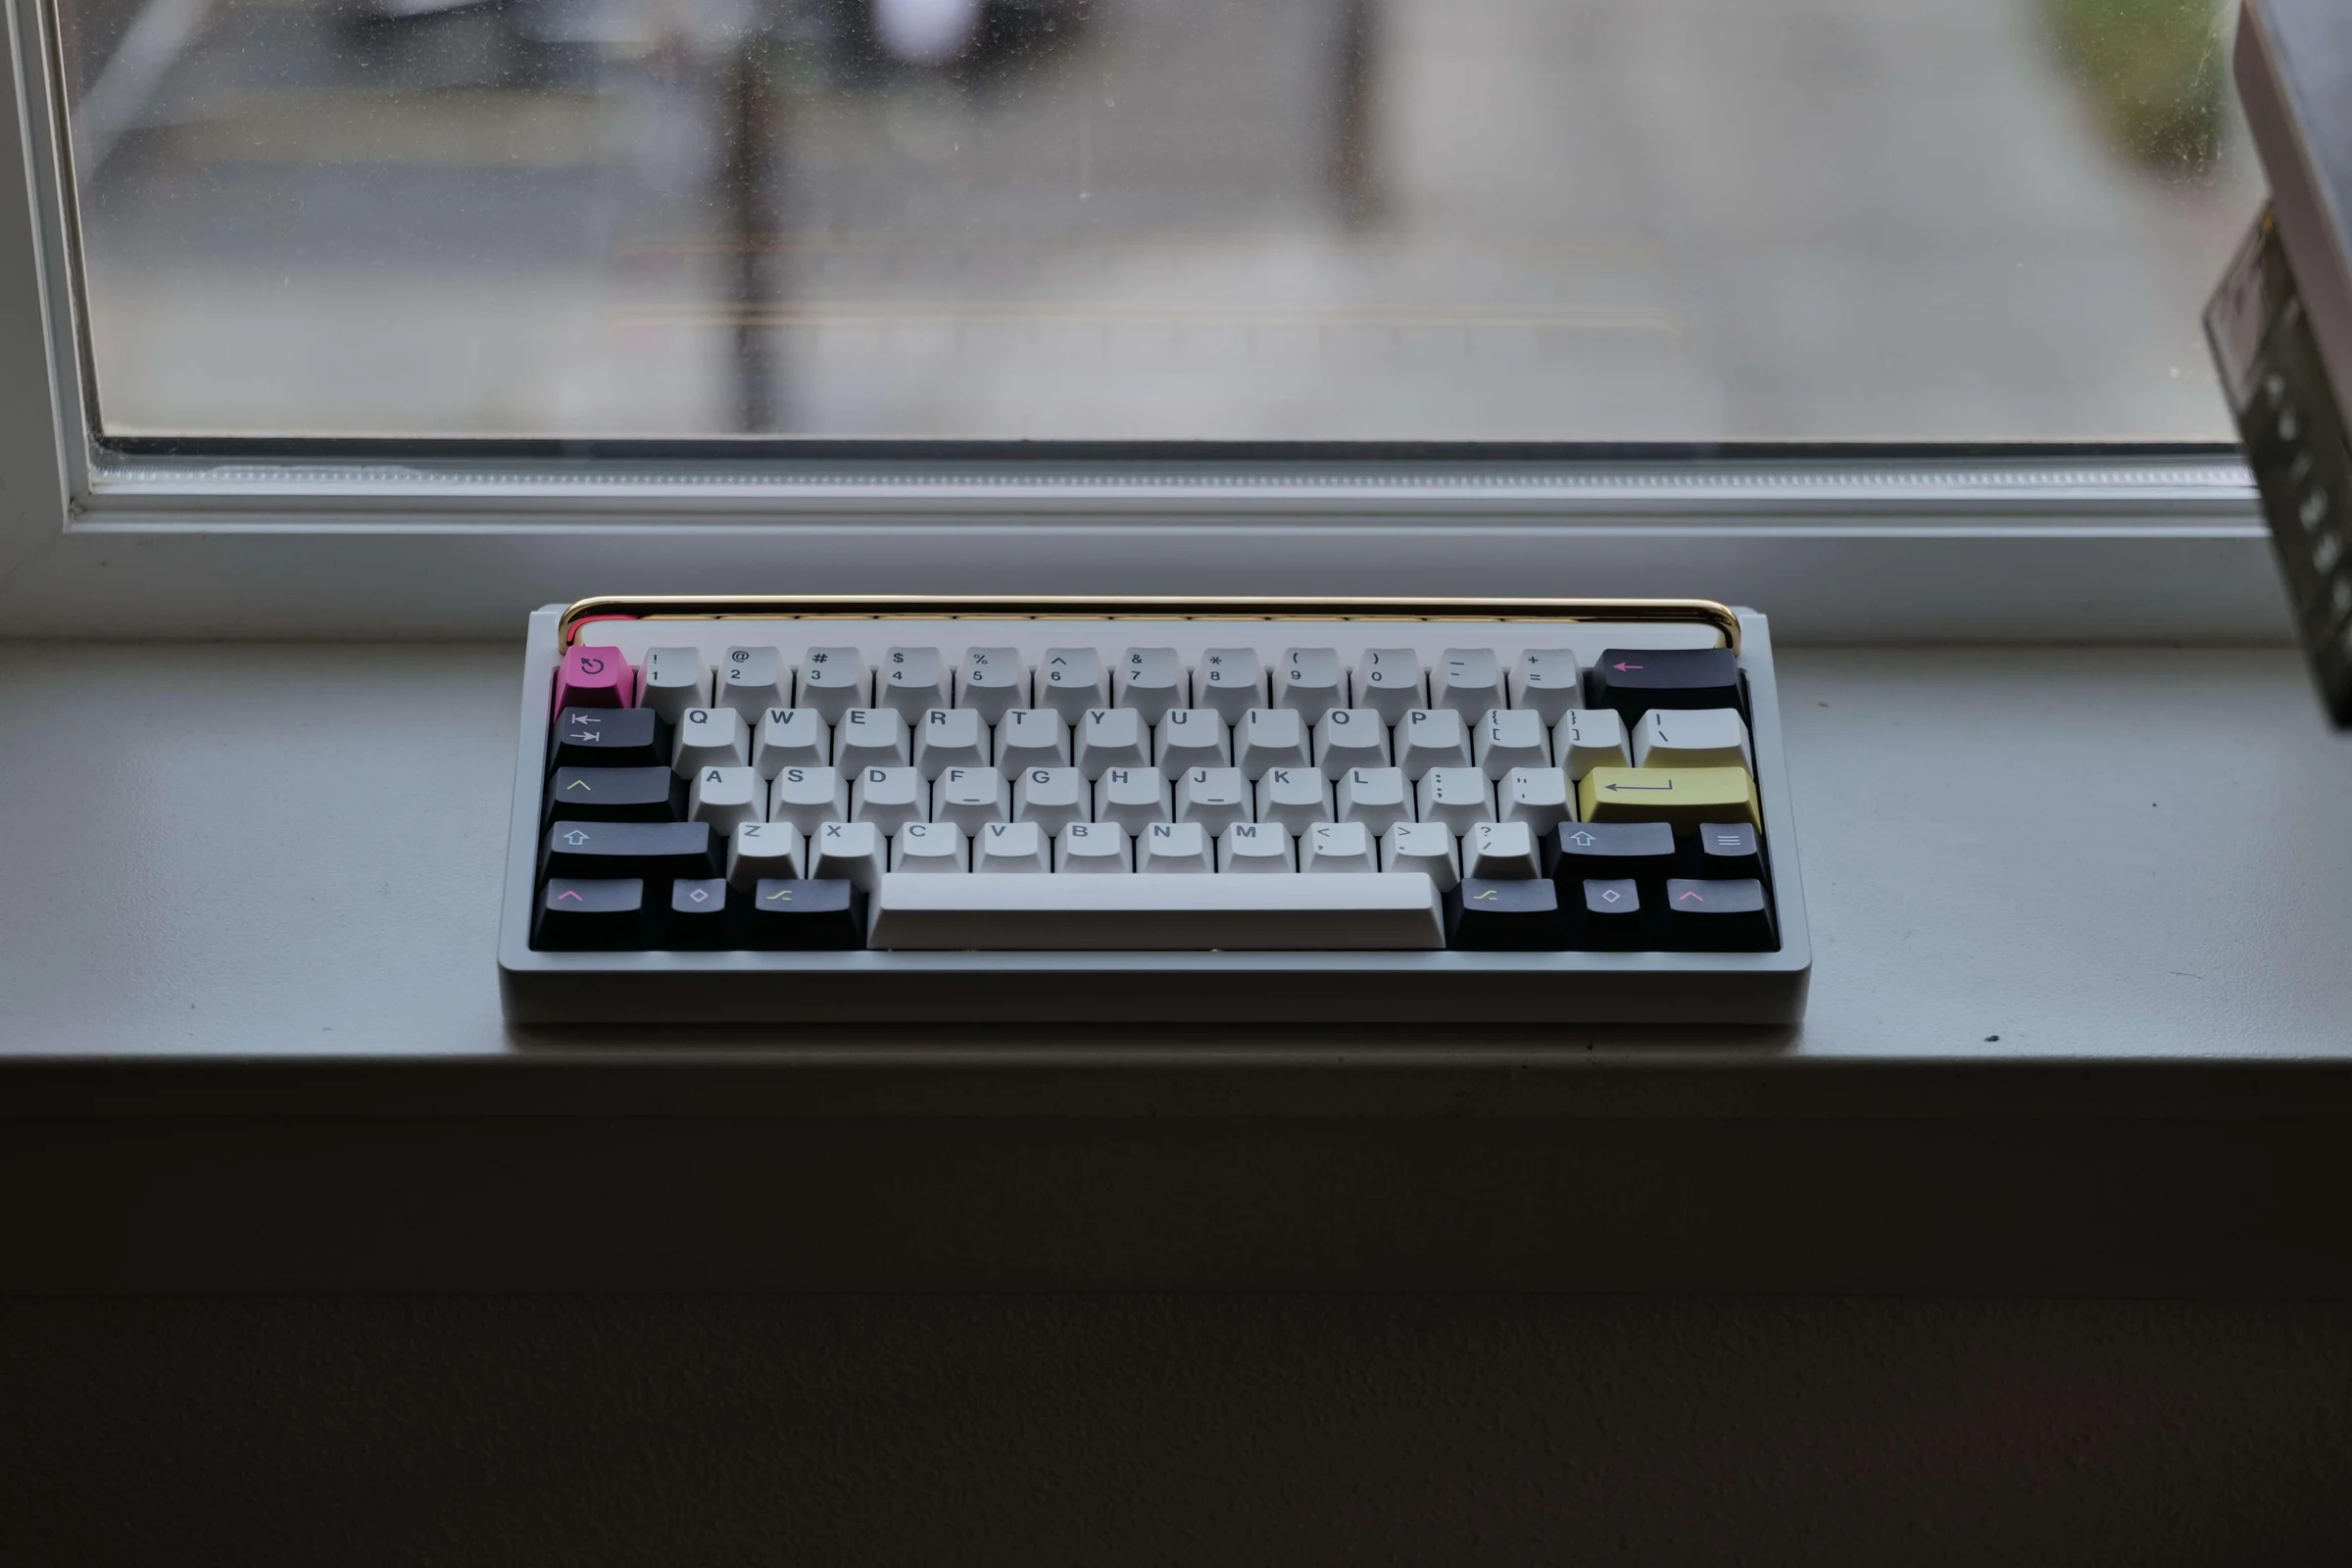
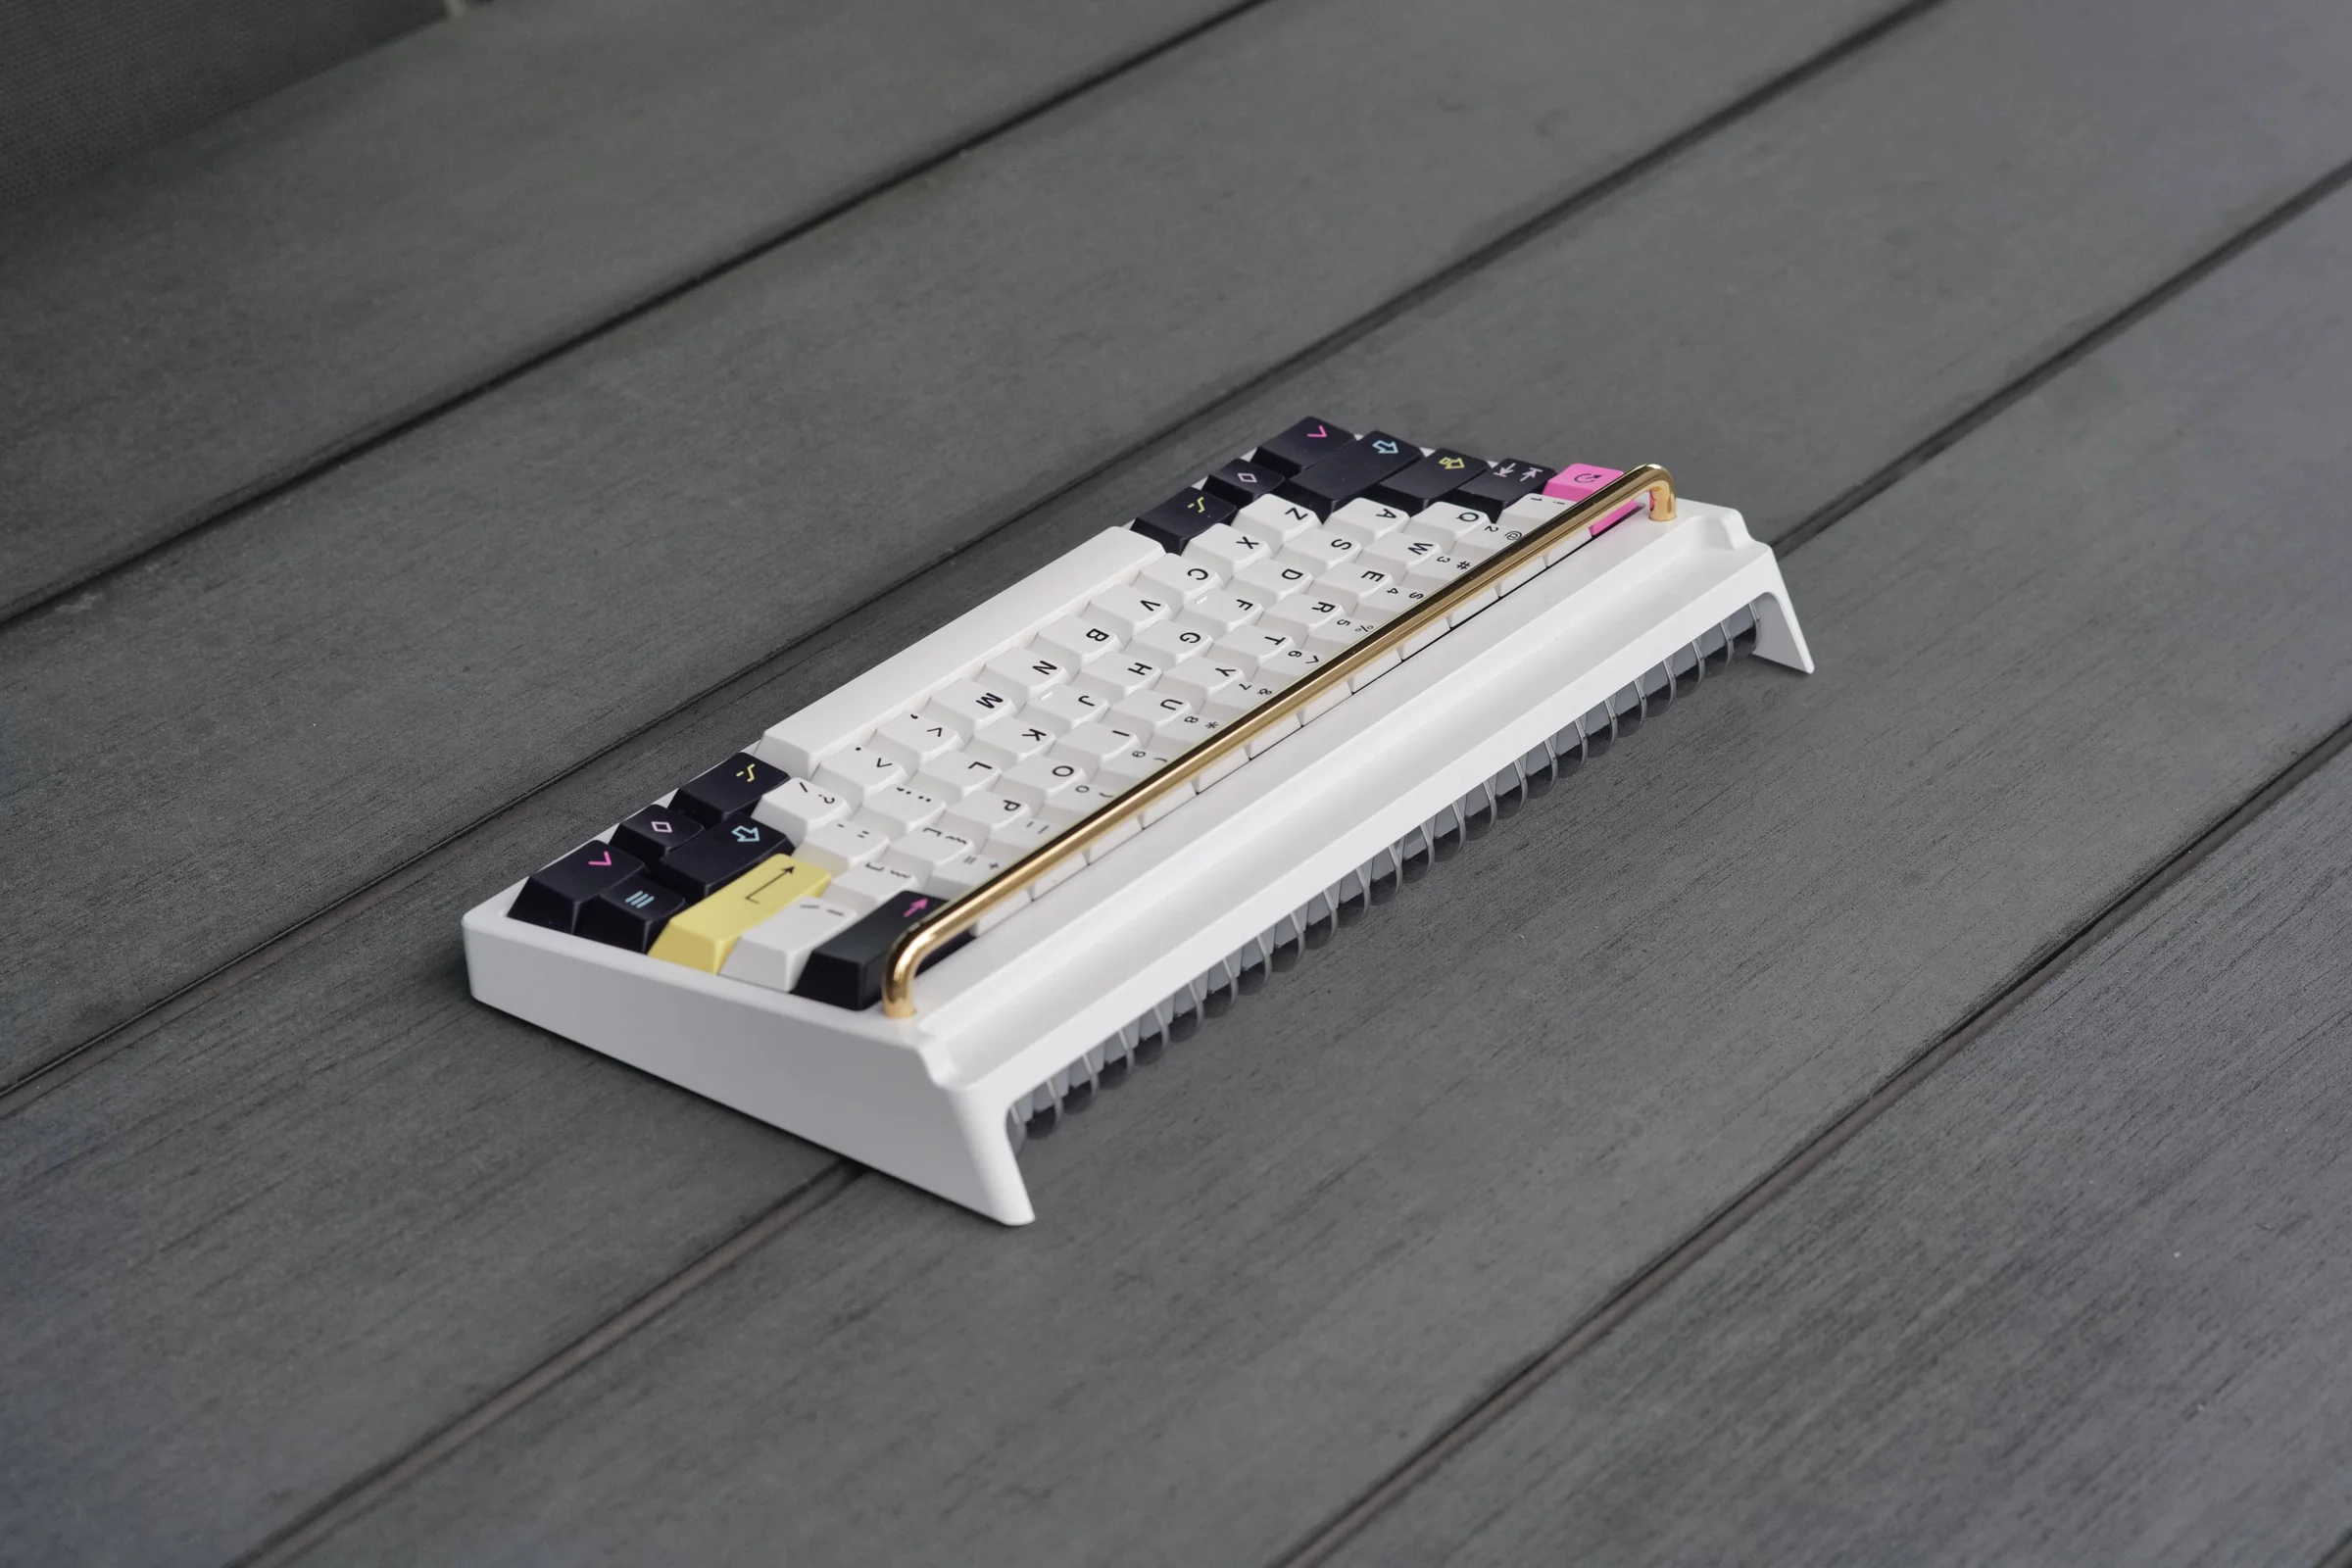
At this point, it felt like this was the one. So we started to push for final production.
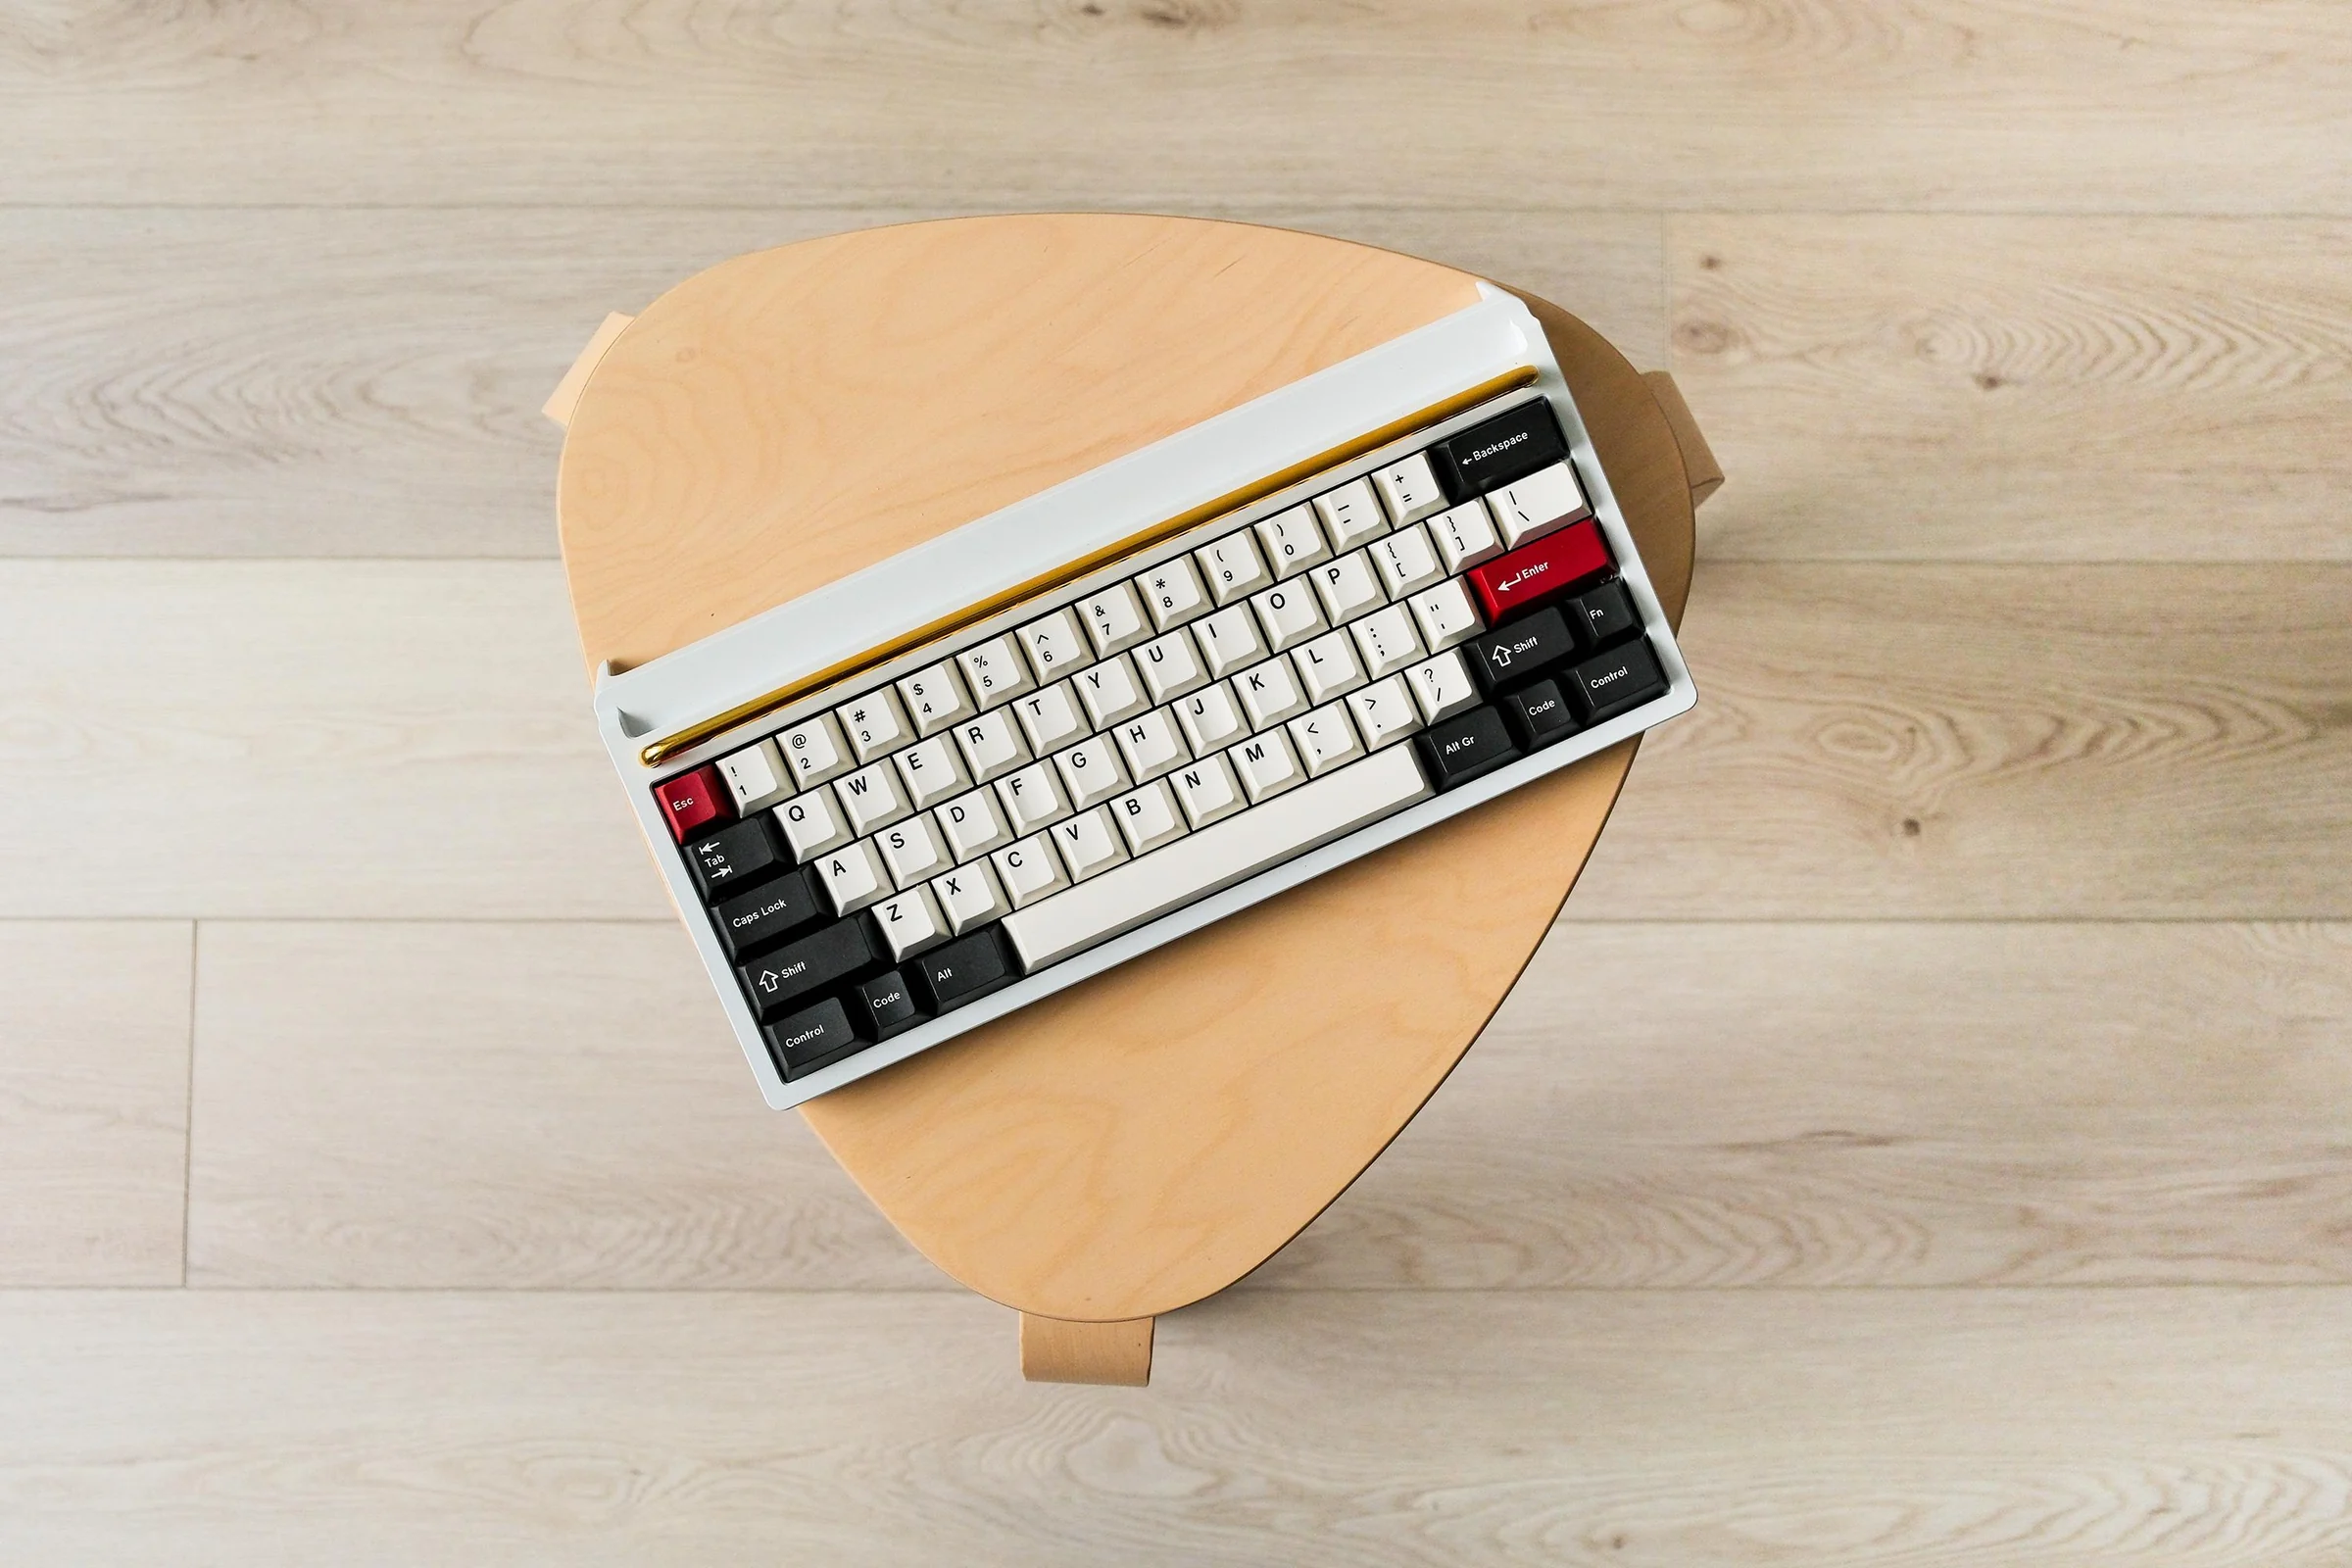
Refinements before production
Still, I did want to take anything I could learn from this last round of prototypes and make whatever improvements I could think of before the final production. And so I did.
I added a cover on top of the daughterboard cavity, which helps acoustics.
I also refined the standoffs for the case assembly, so that they are easier to assemble for the soldered PCB variants.
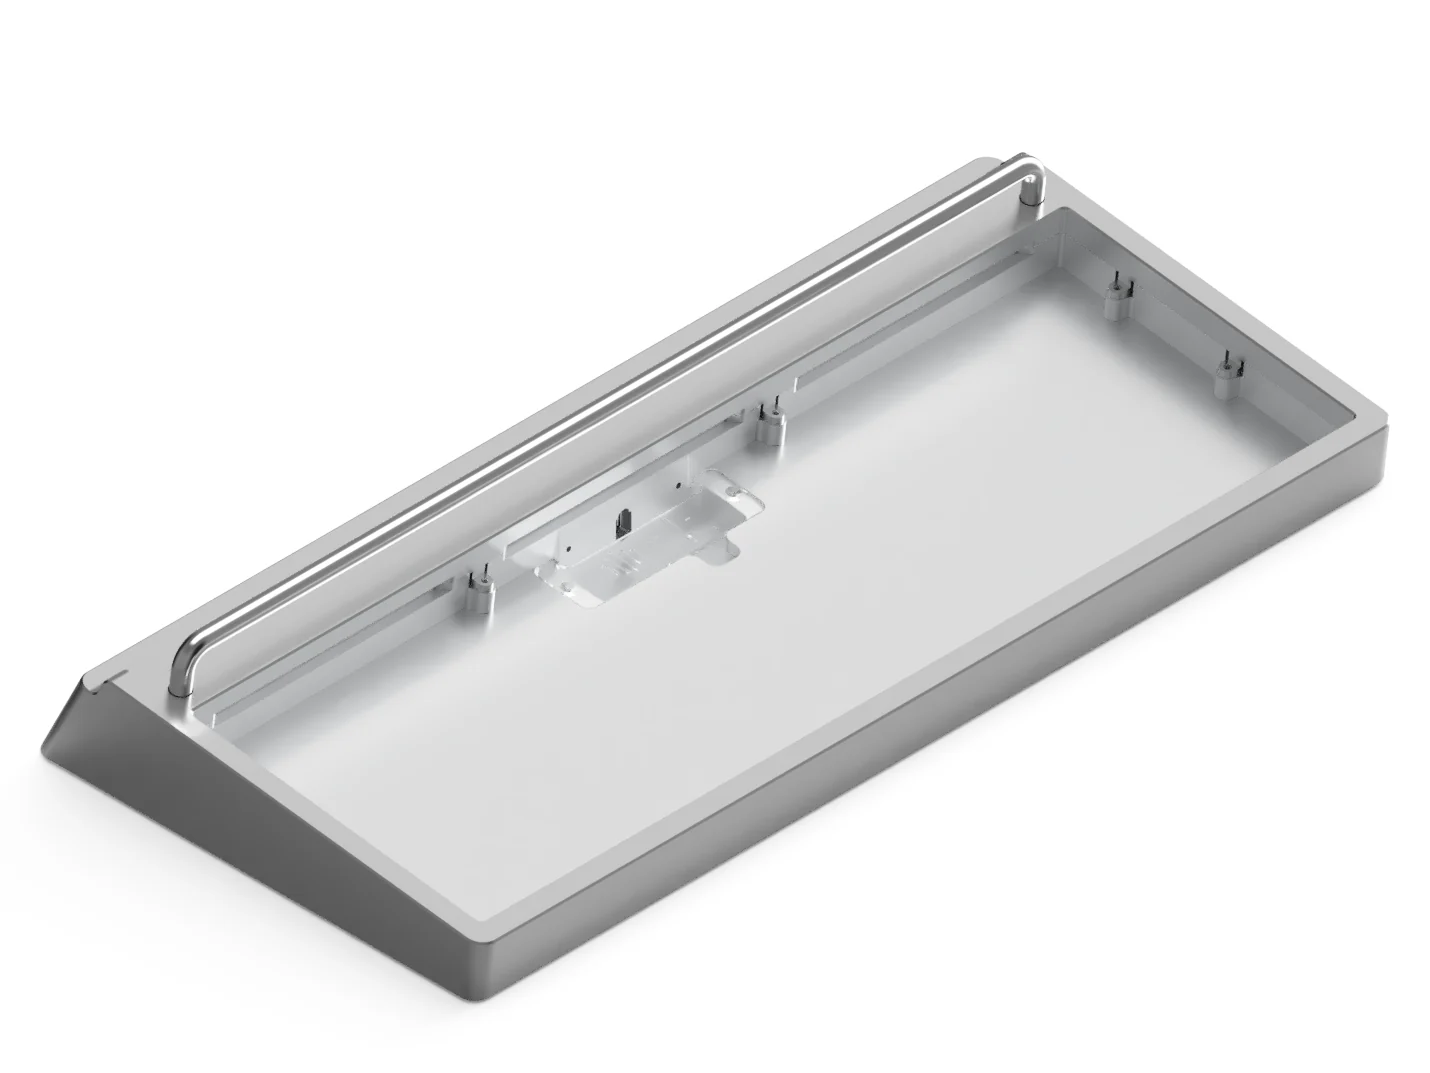
Here's a closeup of that new daughterboard cover.
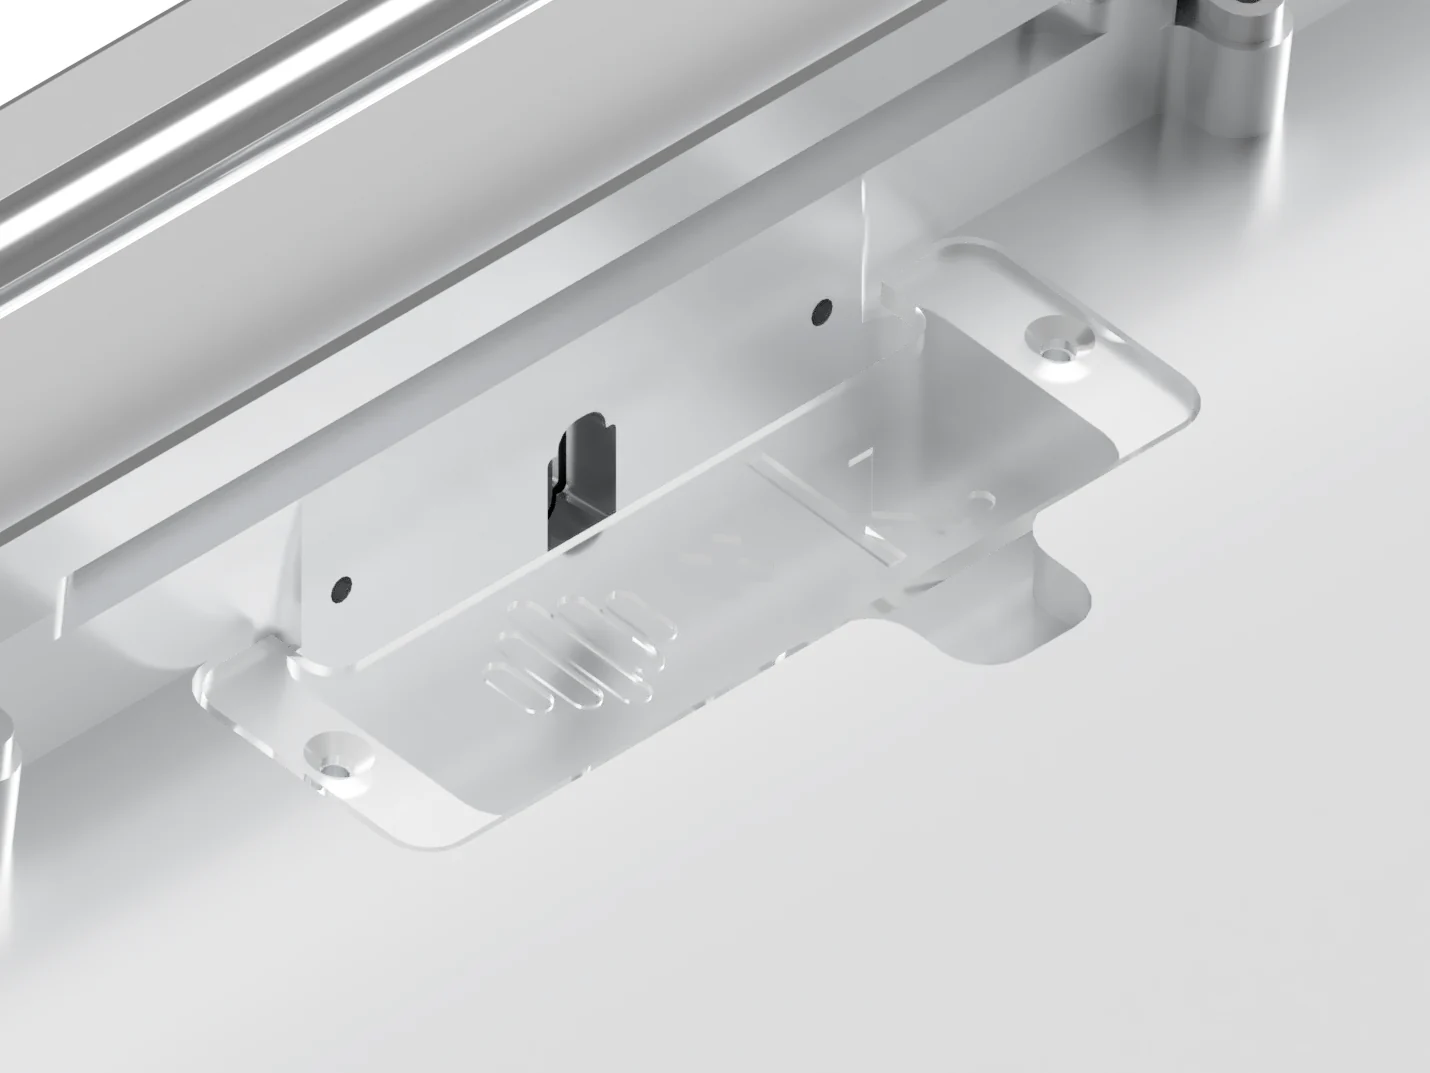
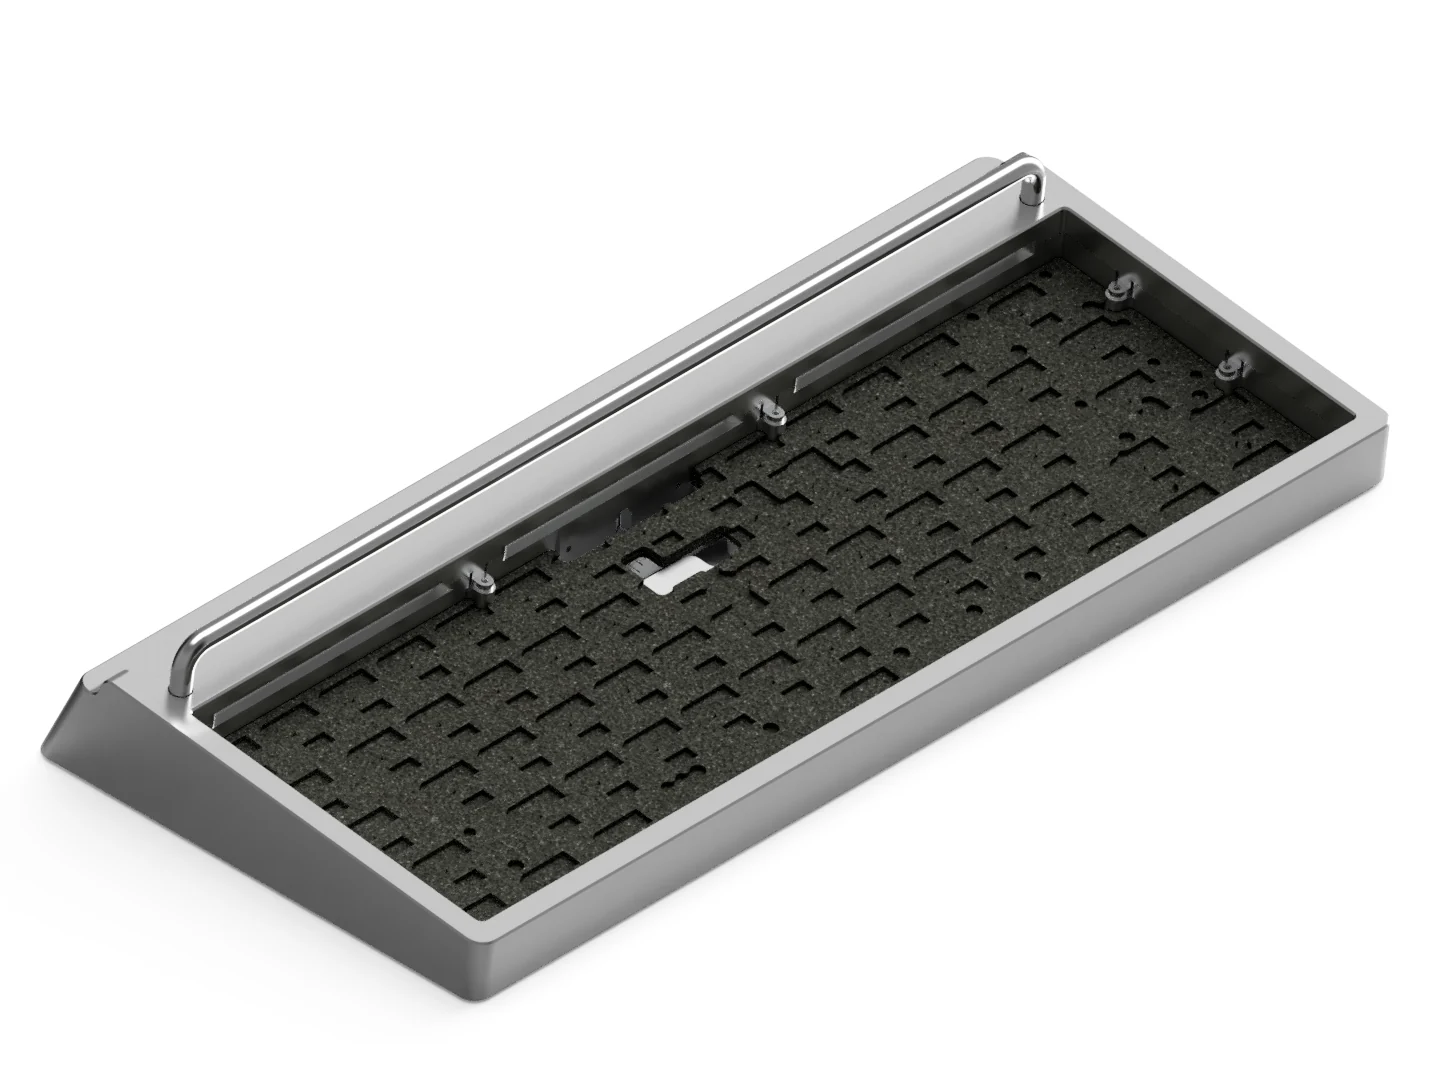
I also added acoustic foams. They are just two sheets of PORON foam, which I've added specific cutouts to so that they form-fit around the bottom of the PCB.
This allows it to occupy as much air space as possible, without getting in the way of anything mechanically. This also improved the typing sound quite a lot.
Production
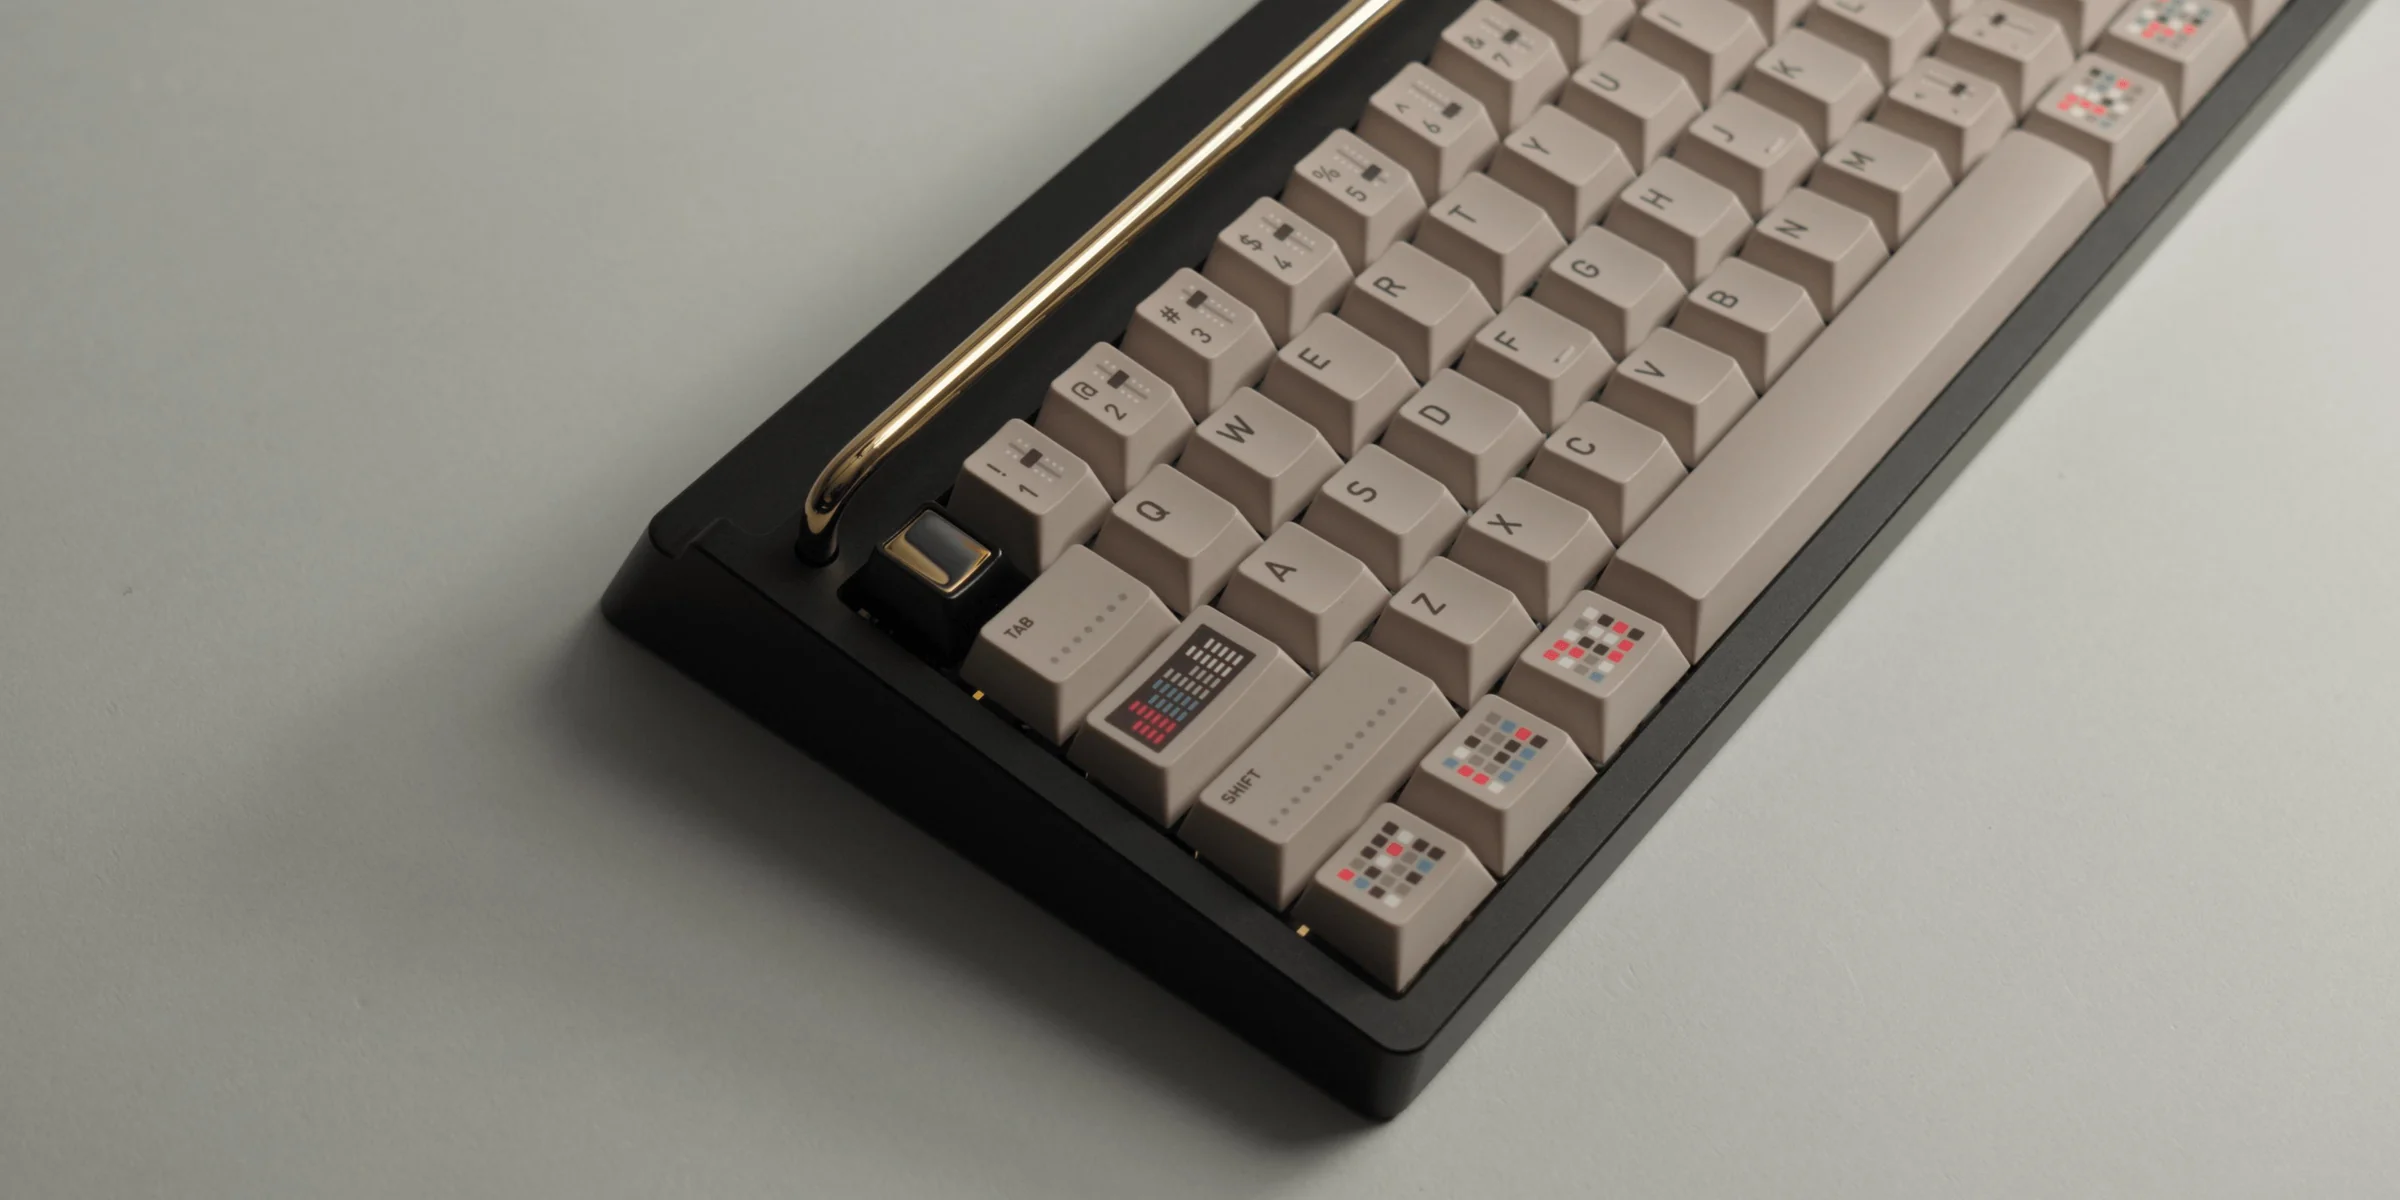
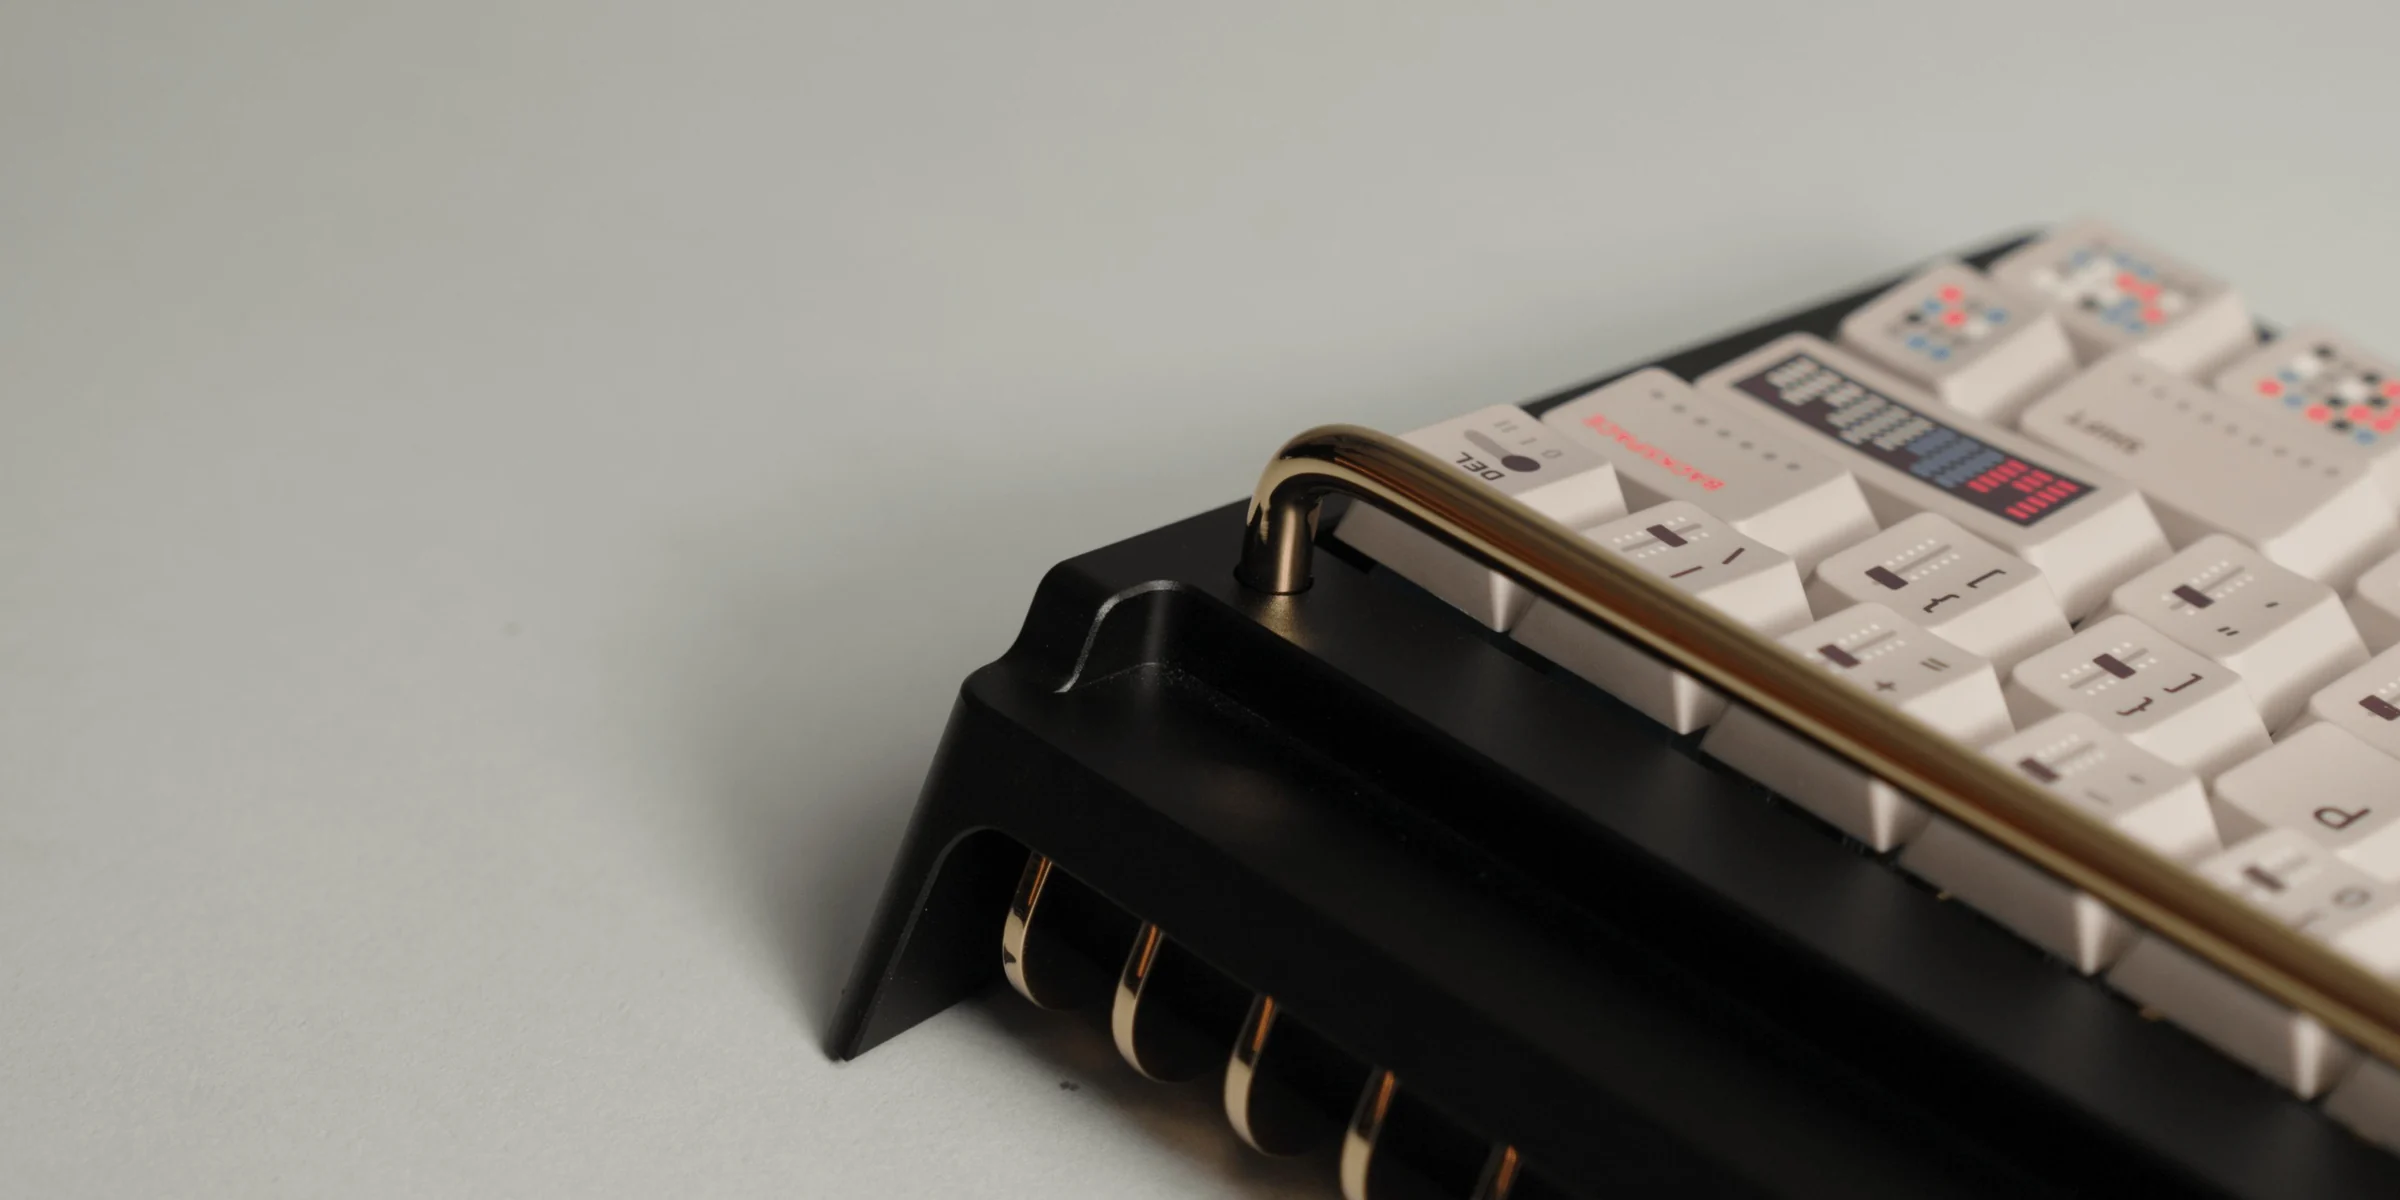
Here are some pictures of the final production.
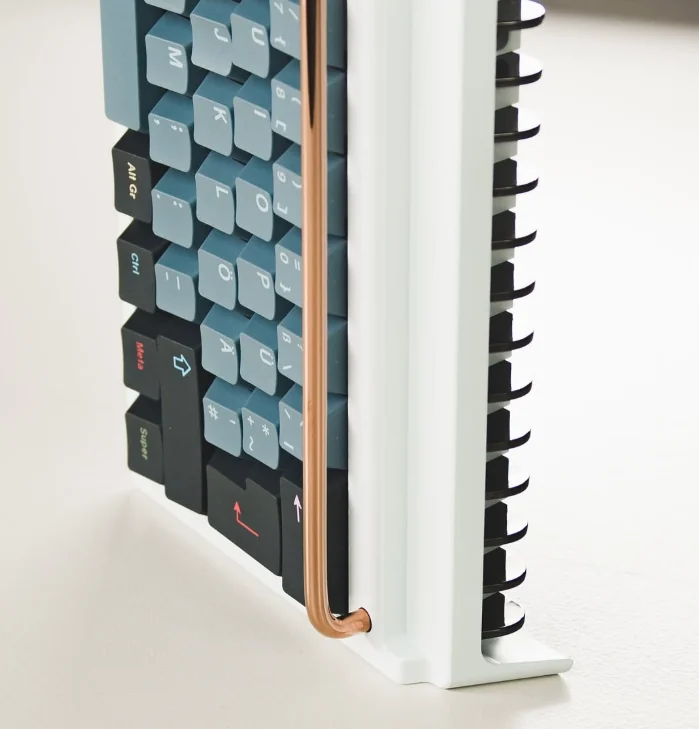
And finally, here's a picture of my own personal unit that I still use daily.